Subscribe to Our Youtube Channel
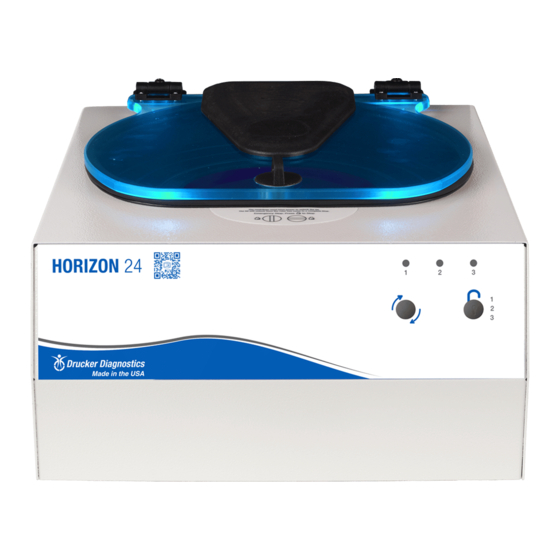
Summary of Contents for Drucker Diagnostics Horizon 24
- Page 1 200 Shadylane Drive Philipsburg, PA 16866 www.druckerdiagnostics.com Service Manual Horizon 24 Centrifuge DRUCKER DIAGNOSTICS SM016 HORIZON 24 SERVICE MANUAL REV A...
-
Page 2: Table Of Contents
Contents PREFACE INTENDED USE GENERAL DESCRIPTION OF MAJOR COMPONENTS WARRANTY INFORMATION SPECIFICATIONS TROUBLESHOOTING SERVICE INSTRUCTIONS WIRING DIAGRAM SPARE PARTS LIST DRUCKER DIAGNOSTICS SM016 HORIZON 24 SERVICE MANUAL REV A... -
Page 3: Preface
Failure to follow the procedures in this document may result in personal injury or instrument damage. Drucker Diagnostics will not be held liable for any injury or damage because of improper servicing. -
Page 4: Specifications
Rotor is loose Tighten rotor screw per section 7-2 PROBLEM POSSIBLE CAUSE SOLUTION Debris in air intake / exhaust ports Remove power before clearing debris. Whistling noise while running Gasket failure Requires service DRUCKER DIAGNOSTICS SM016 HORIZON 24 SERVICE MANUAL REV A... -
Page 5: Service Instructions
Remove the rotor from service if any of the following are found: cracks, deep scratches, corrosion or discoloring. 7.4. Rotor Screw • If the rotor screw needs to be tightened, use a 1/8” hex key and tighten to 3.5 Nm. 7.5. Speed Calibration DRUCKER DIAGNOSTICS SM016 HORIZON 24 SERVICE MANUAL REV A... - Page 6 – do not over tighten. Each nut sets the height of a separate control panel button. Too low, and they cannot be actuated, too high and they jam against DRUCKER DIAGNOSTICS SM016 HORIZON 24 SERVICE MANUAL REV A...
- Page 7 Attach the motor to the motor mount plate with four #8 screws and torque to 18 in-lbs (Fig 2). • Secure the motor wire harness with a zip tie as shown. Snip the tag end of the zip tie flush when complete. DRUCKER DIAGNOSTICS SM016 HORIZON 24 SERVICE MANUAL REV A...
- Page 8 Fig 3 Fig 4 Fig 5 • Insert the Elastomer bushings into the motor mount plate as shown (fig 4). • Push the grommets onto the bushings as shown (fig 5). DRUCKER DIAGNOSTICS SM016 HORIZON 24 SERVICE MANUAL REV A...
- Page 9 (fig 9). • Feed the motor wire harness into the base passthrough so that the wire harness is not pinched between the base and the guard bowl (fig 10). DRUCKER DIAGNOSTICS SM016 HORIZON 24 SERVICE MANUAL REV A...
- Page 10 Carefully place the cabinet onto the base taking care not to pinch any wires between the two. • Complete the assembly by replacing the eight #8 screws with a 3/32 hex key. DRUCKER DIAGNOSTICS SM016 HORIZON 24 SERVICE MANUAL REV A...
- Page 11 8. WIRING DIAGRAM DRUCKER DIAGNOSTICS SM016 HORIZON 24 SERVICE MANUAL REV A...
- Page 12 9. SPARE PARTS LIST DRUCKER DIAGNOSTICS SM016 HORIZON 24 SERVICE MANUAL REV A...


Need help?
Do you have a question about the Horizon 24 and is the answer not in the manual?
Questions and answers