IKUSI SPI-300 Basic Manual
Programme classa modules
Hide thumbs
Also See for SPI-300:
- Basic manual (56 pages) ,
- Setup manual (16 pages) ,
- Basic handling (5 pages)
Table of Contents
Advertisement
Quick Links
Advertisement
Table of Contents

Subscribe to Our Youtube Channel
Related Manuals for IKUSI SPI-300


Summary of Contents for IKUSI SPI-300
- Page 1 SPI-300 BASIC GUIDE to Programme ClassA Modules...
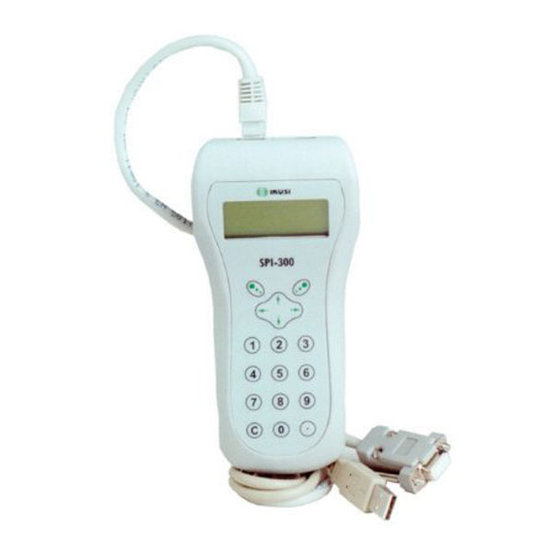
- Page 2 SPI-300 - Basic Guide PRESENTATION This guide explains the Basic Handling of the SPI-300 (Ref. 4070) Progra- mming Unit to programme ClassA and SZB headend modules from IKUSI. The particular user guides for each type of module, which explain in detail the respective programming processes are on the website of each module.
- Page 3 Connecting the Cable To programme ClassA modules you must use the enclosed RJ-45 / DB-9 cable. The RJ-45 tip plugs in the rear socket of the SPI-300 and the DB-9 tip plugs in the CONTROL socket of the module. ClassA modul...
-
Page 4: Table Of Contents
2.4 - Looking Up Information 2.5 - Using Module Configurations 2.6 - Updating Module Firmware Appendix A — Firmware Update A.1 - Installing Load Software on the PC A.2 - Loading Firmware Files on the SPI-300 A.3 - Updating SPI-300 Firmware... -
Page 5: User's Interface
SPI-300 - Basic Guide 1. USER'S INTERFACE Access to programming functions of the SPI-300 is very simple through a collection of screens that allow to select options, adjust parameters and obtain diverse information. 1.1 - Screens All screens have a similar format. There are 5 types: The Menu Screens, the Setting Screens, the Information Screens, the War- ning Screens and the Error Screens. - Page 6 DONE command just when the values have been sent. - DONE : The setting values are simply stored in the SPI-300, so that they remain available either to be sent to the module (SEND command) or to constitute a "module configuration".
- Page 7 SPI-300 - Basic Guide Information Screen They present the results of a determined operation and inform about the configuration and status of the connected module. The About... screen is an example of this type of screens: SPI-300 vXX.XX (DD/MM/YY) Copyrigt 2009 IKUSI OK These screens close using the OK command at the lower right corner —by...
-
Page 8: The Main Menu Screen
—Info menu : Allows to get access to detailled information about the functionning of the module, further on the one provided by the screen that comes after the initial screen (this screen appears just when the SPI-300 is connected to the module). -
Page 9: Entering Data
• Factory Reset : Restores all parameter values that were established in the module when it left the factory. • About... : Indicates simply the firmware version of the SPI-300. The contents of the Settings and Info menus are different for each type of functional module and they are explained in the particular user guides. -
Page 10: Programming The Modules
CONTROL socket. 2.2 - Detection of the Module When you connect the SPI-300 to the module, all data for identification, configuration and status of the module are loaded on the SPI-300. A detection screen appears for a short time, and next the display shows the Basic Information screen, which identifies the module and presents its most representative configuration and status data. -
Page 11: Parameter Setting
If because of any circumstance the module has not been detected (it is not powered, there is a failure in the connection to the SPI-300, ...) the following error screen appears: ATTENTION... -
Page 12: Looking Up Information
SEND command, these values are not sent to the module, but they are stored in the RAM memory of the SPI-300. If you use the CANCEL command, the screen closes without having effect the parameter values previously entered. -
Page 13: Using Module Configurations
The SPI-300 allows to create, and to use later on, up to 500 different configurations for each type of module; for this, it utilizes the... -
Page 14: Updating Module Firmware
To perform an update process, first you must load the firmware file on the SPI-300 in the way that is explained in the Appendix A - Firmware Update. Once the firmware has been loaded on the SPI-300, choose Update in the General menu. - Page 15 SPI-300 - Basic Guide "Versions" : This line displays two version numbers: the current firmware version of the module —on the left of the arrow— and the version of the file shown in the "Firmware" line (that is to say, the last four digits).
-
Page 16: Appendix A - Firmware Update
• The Instaling Load software "Install SPI-300". Install the pc to interact with the SPI-300, when it is intended to update the firmware of both Clas- sA modules, such as the own SPI-300 to be able to recognize new control modules. -
Page 17: Loading Firmware Files On The Spi-300
You must copy these files in the hard disk of your PC. A.2 - Loading Firmware Files on the SPI-300 The load of the firmware files on the SPI-300 is carried out from the PC on which you have installed the Load Software. Using the RJ-45 / DB-9 cable, connect the SPI-300 to the serial port of the computer. -
Page 18: Updating Spi-300 Firmware
A.3 - Updating SPI-300 Firmware The load of the firmware files on the SPI-300 is carried out from the PC on which you have installed the Load Software. Using the RJ-45 / DB-9 cable, connect the SPI-300 to the serial port of the computer. - Page 20 Ángel Iglesias, S.A. Paseo Miramón, 170 20014 San Sebastián, Spain Tel. +34 943 44 88 00 Fax +34 943 44 88 20 television@ikusi.com www.ikusi.tv 120331H (EN)
Need help?
Do you have a question about the SPI-300 and is the answer not in the manual?
Questions and answers