Table of Contents
Advertisement
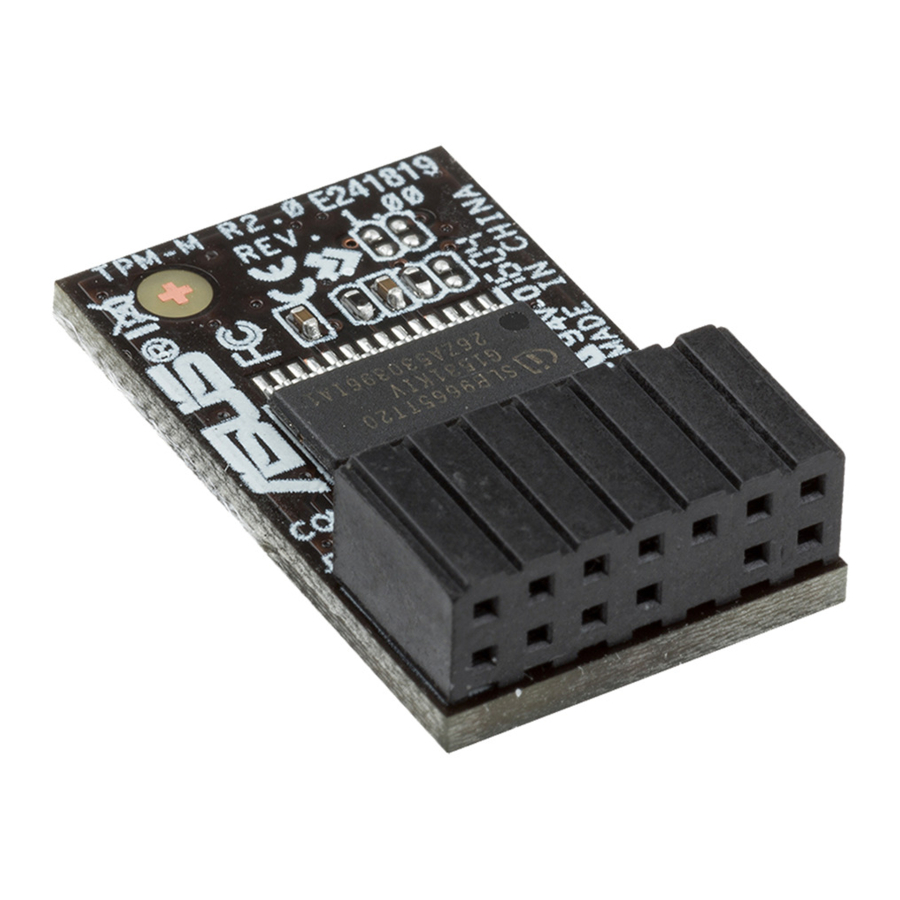
Using the TPM-M R2.0 / TPM-L R2.0 card
The TPM-M R2.0 / TPM-L R2.0 card securely store keys, digital certificates, passwords, and
data. It helps enhance the network security, protects digital identities, and ensures platform
integrity.
The TPM-M R2.0 / TPM-L R2.0 card only supports the following OS:
•
64-bit Windows
NOTE: You have to set the Launch CSM item in the BIOS to Enabled, the OS Type item
to Other OS. Refer to the user guide of your motherboard on how to change the BIOS
settings.
•
64-bit Windows
•
64-bit Windows
To use the TPM-M R2.0 / TPM-L R2.0 card:
1.
Insert the TPM-M R2.0 card to the TPM connector on your motherboard.
TPM-M R2.0 (14-1)
TPM-L R2.0 (20-1)
Quick Start Guide
7, UEFI OS, with KB2920188 Windows hotfix installed
®
8.1, UEFI OS
®
10, UEFI OS
®
Pin definition:
• TPM-M R2.0 (14-1)
+3VSB
S_PCIRST#_TBD
GND
C_PCICLK_TPM
+3V
+3V
PIN 1
• TPM-L R2.0 (20-1)
LPCPD#
NC
GND
CLKRUN#
+3VSB
SERIRQ
NC
NC
LAD0
GND
+3V
LAD1
LAD3
LAD2
LREST#
NC
LFRAME#
LCLK
GND
PIN 1
E14029
LPCPD#
F_SERIRQ
F_FRAME#
F_LAD3
F_LAD2
F_LAD1
F_LAD0
Advertisement
Table of Contents

Related Manuals for Asus TPM-M R2.0


Summary of Contents for Asus TPM-M R2.0
-
Page 1: Quick Start Guide
TPM-L R2.0 (20-1) Quick Start Guide Using the TPM-M R2.0 / TPM-L R2.0 card The TPM-M R2.0 / TPM-L R2.0 card securely store keys, digital certificates, passwords, and data. It helps enhance the network security, protects digital identities, and ensures platform integrity. - Page 2 Set the Security Device Support and TPM State items to [Enabled]. Press <F10> to save the changes, exit the BIOS Setup program and boot into the OS. Now you can start using the TPM-M R2.0 / TPM-L R2.0 card with Windows BitLocker.
- Page 3 7 64-bit. ® Launch the Trusted Computing BIOS screen. NOTE: For details, refer to steps 2-4 of the section Using the TPM-M R2.0 / TPM-L R2.0 card. Set the Pending operation item to [TPM Clear]. Press <F10> to save the changes and exit the BIOS Setup program.
- Page 4 Click Restart to restart your computer. When the DOS prompt appears, press <F12> to clear the TPM. Wait until your computer boots up and the OS completes its TPM initialization.
-
Page 5: Updating The Firmware
NOTE: As an example, here we list down detailed steps of updating from version FW5.61.2785 to FW5.63.3144 for your reference. Download the latest firmware update package for your TPM-M R2.0 / TPM-L R2.0 card from the ASUS support website at https://www.asus.com/support/. Extract the content of the zip package onto a USB flash drive. - Page 6 Go to Boot > CSM(Compatibility Support Module), and set the Launch CSM item to [Disabled]. Go to Boot > Secure Boot, and set the OS Type item to [Other OS].
- Page 7 Press <F10> to save your changes, exit the BIOS Setup program, and reboot your system. The EFI Shell prompt screen displays. EFI Shell version 2.60 [5.13] Current running mode 1.1.2 Device mapping table :Removable HardDisk - Alias hd6c0b blk0 PciRoot(0X0)/Pci(0x14,0x0)/USB(0x2,0x0)/HD(1, MBR, 0x25474627,0x3F, 0x777 FC1) blk0 :Removable HardDisk - Alias...
- Page 8 Find and execute TPMFactoryUpd -update tpm20-emptyplatformauth -firmware PM20_5.61.2785.0_to_TPM20_5.63.3144.0.BIN to update your firmware. fs0:\TPM_FU_5.63\Tools\UEFI\Bin\x64> DIR Directory of: fs0:\TPM_FU_5.63\Tools\UEFI\Bin\x64 02/13/18 05:53p <DIR> 4,096 . 02/13/18 05:53p <DIR> 4,096 .. 12/05/17 02:54a 316,544 IFXTPMUpdate.efi 12/05/17 03:17a 371,259 TPM20_5.61.2785.0_to_TPM20_5.63.3144.0.BIN 12/05/17 02:54a 438,224 TPMFactoryUpd.efi 3 File(s) 1,126,027 bytes 2 Dir(s) fs0:\TPM_FU_5.63\Tools\UEFI\Bin\x64>...