Moxa Technologies EOM-G103-PHR-PTP Series Quick Installation Manual
Hide thumbs
Also See for EOM-G103-PHR-PTP Series:
- User manual (22 pages) ,
- Quick installation manual (6 pages)
Table of Contents
Advertisement
Quick Links
EOM-G103-PHR-PTP Series
Quick Installation Guide
First Edition, January 2015
Product Overview
The EOM-G103-PHR-PTP full Gigabit managed redundancy
modules are compliant with the latest IEC 62439-3 standards and
provide an easy and cost-effective integrated solution for adding a
redundancy module to a non-IEC 62439-3 supported product. The
modules support two IEC 62439-3 Ethernet ports
(SGMII/SERDES(1000Base-X) interface) for constructing PRP or
HSR networks and one standard Ethernet port
(SGMII/SERDES(1000Base-X) interface) for connecting with
standard IEEE 802.3 Ethernet devices. The EOM-G103-PHR-PTP
series also provides an extra standard Ethernet port
(SGMII/SERDES(1000Base-X) interface) for building up a local
access Ethernet console port to easily maintain, control, and
manage certain devices right at the local site.
Package Checklist
The EOM-G103-PHR-PTP series evaluation kit packet contains the
following items:
•
1 EOM-G103-PHR-PTP embedded module
•
1 EOM-G103-PHR-PTP evaluation board
•
1 universal power adapter
•
2 power cords
•
1 cross-over Ethernet cable
•
1 USB-IF complaint cable
•
Warranty card
– 1 –
Layout of the Evaluation Board
1. 12 VDC power jack
2. System reboot button
3. JP2 connector for connecting to EOM-G103 JP2
4. JP1 connector for connecting to EOM-G103 JP1
5. Terminal block for DI and Relay
6. USB storage (ABC-02-USB-T)
7. USB console
8. Reset to default button
9. Ethernet Console port: 10/100/1000BaseT(X)
10. Interlink port: 10/100/1000BaseT(X)
11. PRP/HSR redundant port B: 10/100/1000BaseT(X)
12. PRP/HSR redundant port A: 10/100/1000BaseT(X)
13. Interlink port: 100/1000BaseFX
14. PRP/HSR redundant port B: 100/1000BaseFX
15. PRP/HSR redundant port A: 100/1000BaseFX
16. Interlink port LED
17. Ethernet console port LED
18. Port B LED
19. Port A LED
20. HSR mode LED
21. PRP mode LED
22. Fault LED
23. STATE LED
24. Power LED
– 2 –
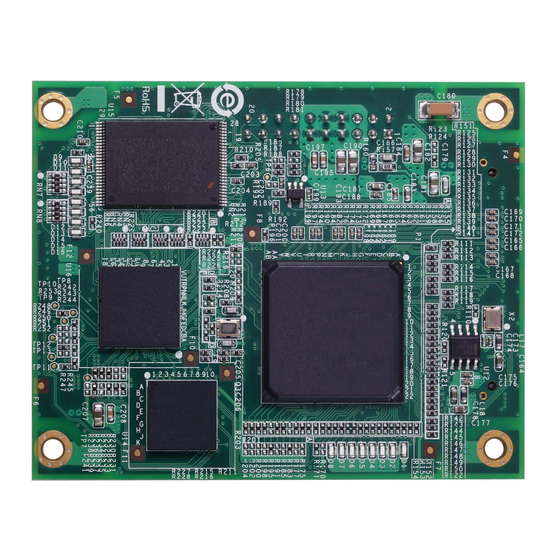
Layout of the EOM-G103-PHR-PTP Series
Hardware Installation Procedure
(Before installing the EOM-G103, please check to make sure that
all items in the Package Checklist are in the box.)
Step 1: Connect the EOM-G103-PHR-PTP module into the
sockets on the top of the evaluation board
Step 2: Connect the power source to the evaluation board
Connect the 12 VDC power line to the evaluation board's power
jack.
Step 3: Connect the network cable to the evaluation board
Use the RJ45 Ethernet cable to connect the Ethernet cable to the
evaluation Ethernet console port.
Step 4: Set up the connected device IP address
Configure the IP address for the connected device so that the
device belongs to the EOM-G103's Subnet. The default IP address
of the EOM-G103 is 192.168.127.253 and the subnet mask is
255.255.255.0.
Step 5: Configure the EOM-G103 Series
Please refer to the EOM-G103 user's manual
– 3 –
Advertisement
Table of Contents

Subscribe to Our Youtube Channel
Related Manuals for Moxa Technologies EOM-G103-PHR-PTP Series


Summary of Contents for Moxa Technologies EOM-G103-PHR-PTP Series
-
Page 1: Quick Installation Guide
Step 2: Connect the power source to the evaluation board Package Checklist 6. USB storage (ABC-02-USB-T) Connect the 12 VDC power line to the evaluation board’s power The EOM-G103-PHR-PTP series evaluation kit packet contains the 7. USB console jack. 8. Reset to default button... - Page 2 JP2 (2x10 connector pin assignment) Pin Assignment SIGNAL SIGNAL JP1 (2x40 connector pin assignment) Reserved 3.3V Reserved SIGNAL SIGNAL Reserved PRP_LED Reserved Reserved DTR (UART) FAULT_LED Reserved DCD (UART) Reserved 3.3V Reset_PHY RTS (UART) STAT_R_LED 3.3V Reset DSR (UART) Reserved 3.3V Reserved TXD (UART)
Need help?
Do you have a question about the EOM-G103-PHR-PTP Series and is the answer not in the manual?
Questions and answers