Fisher & Paykel OM25BLCX1 Installation Instructions
Hide thumbs
Also See for OM25BLCX1:
- User manual (28 pages) ,
- Installation manual/user manual (30 pages)
Advertisement
Quick Links
Installation instructions
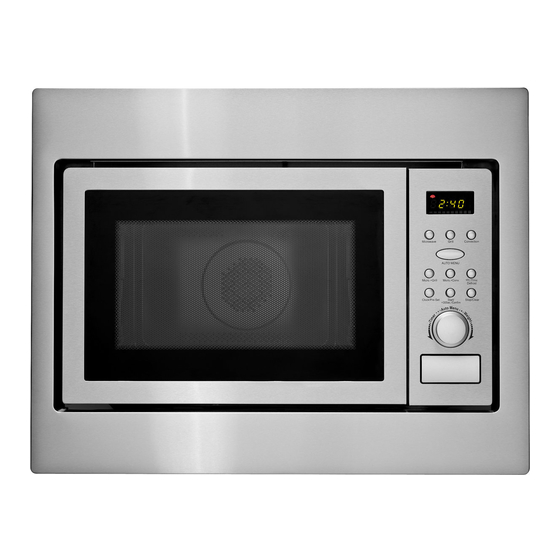
Microwave oven
OM25BLCX1 model
Important!
SAVE THESE INSTRUCTIONS
The model shown in this document may not be available in all markets and is subject to change at any time. For current details about model and specification availability in your country, please go to our local website
listed at the end of this document or contact your local Fisher & Paykel dealer.
SAFETY AND WARNINGS
1
WARNING!
Electric Shock Hazard
Read and follow the IMPORTANT SAFETY INSTRUCTIONS outlined in this
Installation instructions before installing or operating this appliance.
Failure to do so can result in death, electric shock, fire or injury to persons.
Important safety instructions
The oven is fitted with a plug and must be only connected to a properly installed earthed socket. In
■ ■
accordance with the appropriate regulations, the socket must only be installed and the connecting
cable must only be replaced by a qualified electrician.
If the plug is no longer accessible following installation, an all-pole isolating switch must be present on
■ ■
the installation side with a contact gap at least 3mm.
This microwave oven must be placed on a flat, stable surface to hold its weight and the heaviest food
■ ■
likely to be cooked in the oven.
GETTING STARTED
2
Tools required (not included)
No. 2 drill bit – long
■ ■
Electric drill
■ ■
Phillips head screwdriver
■ ■
Parts supplied
Screw type A (x 2)
Bracket (x 1)
CABINETRY DIMENSIONS
4
A
B
C
D
Installation diagrams for illustration purposes only
Cabinetry dimensions
(mm)
A
width
B
inside width
C
depth
D
height
E
air vent
Cut out dimensions above are to be used as minimum dimensions.
Screw type B (x 1)
Plastic cover (x 1)
C
E
E
D
OM25BLCX1 model
600
560 +8
550
450 +2
45
NZ AU
Do not place the oven where heat, moisture, or high humidity are generated, or near combustible
■ ■
materials.
Do not operate the oven without glass tray, roller support and shaft in their proper positions.
■ ■
Make sure that the power supply cord is undamaged and does not run under the oven or over any hot
■ ■
or sharp surface.
Do not use the oven outdoors.
■ ■
If the supply cord is damaged, it must be replaced by a Fisher & Paykel authorised technician in order
■ ■
to avoid hazard.
Before you install the microwave, please ensure that
All the packing materials are removed from the inside of the door.
■ ■
WARNING: Check the oven for any damage, such as misaligned or bent door, damaged door seals
■ ■
and sealing surface, broken or loose door hinges, latches and dents inside the cavity or on the door.
If there is any damage, do not operate the oven and contact a Fisher & Paykel authorised technician.
The socket must be readily accessible after installation so that it can be easily unplugged in
■ ■
an emergency.
The built-in cabinet shall not have a rear wall behind the appliance.
■ ■
Minimum installation height is 85cm.
■ ■
Do not cover ventilation slots and air intake points.
■ ■
PRODUCT DIMENSIONS
3
C
Installation diagrams for illustration purposes only
Product dimensions
(mm)
A
microwave height
B
microwave width
C
microwave depth
THE BOTTOM CABINET TEMPLATE
5
Read the instruction on the
BOTTOM CABINET TEMPLATE.
Put the template on the
cabinet's bottom panel.
A
B
OM25BLCX1 model
460
595
470
Advertisement

Related Manuals for Fisher & Paykel OM25BLCX1


Summary of Contents for Fisher & Paykel OM25BLCX1
-
Page 1: Microwave Oven
Installation instructions Microwave oven NZ AU OM25BLCX1 model Important! SAVE THESE INSTRUCTIONS The model shown in this document may not be available in all markets and is subject to change at any time. For current details about model and specification availability in your country, please go to our local website listed at the end of this document or contact your local Fisher &... - Page 2 Bracket Centre line INSTALL THE OVEN INTO THE CABINET Bracket Clearances (mm) OM25BLCX1 model minimum clearance to surrounding cabinetry fascia overhang to base panel FINISH SECURING OVEN TO CABINET FINAL CHECKLIST TO BE COMPLETED BY THE INSTALLER Has all packaging been removed from the appliance?
Need help?
Do you have a question about the OM25BLCX1 and is the answer not in the manual?
Questions and answers