Advertisement
Getting Started
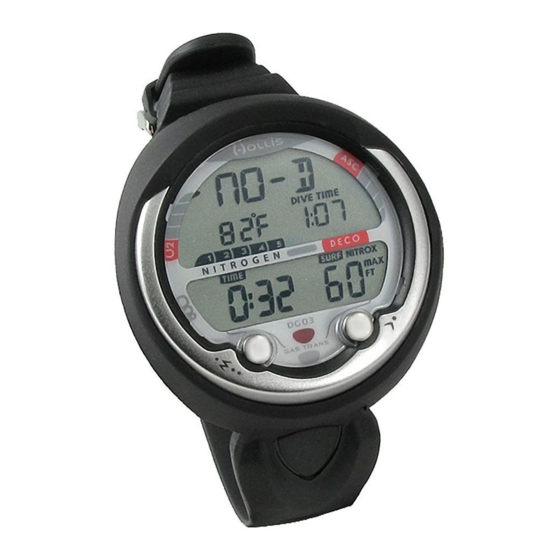
3 Control Buttons allow you to select mode options and access specific information. They are also used
to link the Transmitter(s), enter Settings, activate the Backlight, and acknowledge the Audible Alarm.
Left/Front – Mode (M) button
Navigating Menus
Pressing any of the Control Buttons will turn the computer on.
Pressing A (< 2 sec) will switch between operating mode, planning, and the date, time, temp screen.
Holding M (> 2 sec) will switch between 3 operating modes: NORM (Normal Air/Nitrox Dive
Computer), GAUG (Digital Gauge Mode), and FREE (Free Dive Mode). Release M when the operating
mode you wish to select appears with the mode graphic flashing. Then press the M button to
choose that mode.
Pressing S (> 2 sec) will turn on the backlight
Pressing A and S (simultaneously for 2 sec) will access the Set Menus: F, A, U, T, and serial number
o Set F is where you program your gases.
o Set A is where you set your alarms.
o Set U is where you set wet activation, unites, deep stop, safety stop, conservative factor,
backlight duration, sampling rate, and transmitter 1, 2, and 3.
o Set T is where you set time and ate.
Pressing A (> 2 sec) while Set Menus are displayed will allow you to cycle through that menu's
options
Programming Gas Mixes
NOTE: The Default FO2 settings each new activation period will be Air with no PO2 value
1. Press A and S (simultaneously for 2 sec) to navigate to the SET F menu.
2. Press A until GAS 1 is displayed. The Air graphic will be flashing, it remains set for Air until set
for Nitrox (21-100%).
3. Press S to scroll upward through the Set Points from Air to 21 through 100 in 1% increments.
Pressing S (< 2 sec) will step upward through Set Points.
Pressing A (<2 sec) will save the FO2 setting and revert to SURF MAIN if Air, or flash the PO2
digits if Nitrox (21 to 100).
Pressing S (<2 sec) will step upward through PO2 Alarm Set Points from 1.20 to 1.60 (ATA) in
.10 increments.
Pressing A (< 2 sec) will save the FO2 setting and access Set FO2/PO2 Gas 2
Pressing A and S (simultaneously for 2 sec) will save the setting and revert to Set F.
DG03 Quick Start Guide
Right/Front – Advance (A) button
Right/Side – Select (S) button
Advertisement
Table of Contents

Related Manuals for Hollis DG03


Summary of Contents for Hollis DG03
- Page 1 DG03 Quick Start Guide Getting Started 3 Control Buttons allow you to select mode options and access specific information. They are also used to link the Transmitter(s), enter Settings, activate the Backlight, and acknowledge the Audible Alarm. Left/Front – Mode (M) button Right/Front –...
- Page 2 7. Pressing A while the last digit is flashing will save the Link Code and advance to TMT 2. Or pressing A and S (simultaneously for 2 sec) will save the setting and revert to SET U. To view the full DG03 Operating Manual on the DGX website, please visit the following link: https://www.divegearexpress.com/media/product_documents/d/g/dg03_om.pdf...
Need help?
Do you have a question about the DG03 and is the answer not in the manual?
Questions and answers