Advertisement
Quick Links
Advertisement

Subscribe to Our Youtube Channel
Related Manuals for Knight Anvil Eclipse Desk


Summary of Contents for Knight Anvil Eclipse Desk
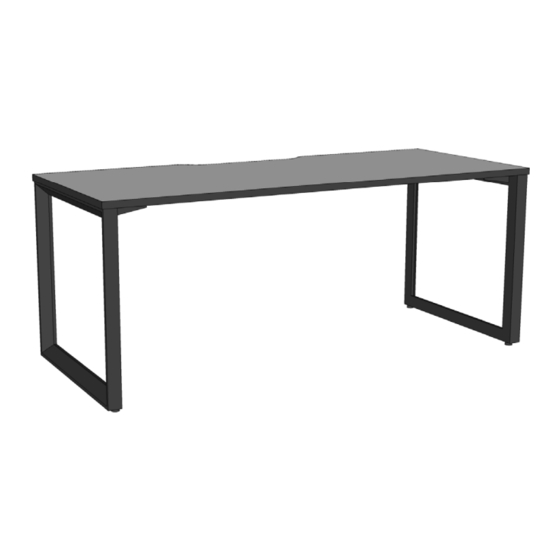
- Page 1 Anvil Eclipse Desk Assembly Instructions Tools Required: Powered screwdriver.
- Page 2 Anvil Eclipse Desk Page 2 Assembly Instructions · To prevent possible scratches or damage, assemble the desk upside down on a soft surface such as a blanket, carpet or packaging. · Attach Leg to the top assembly by using bolts, spring washer, flat washer.
- Page 3 Anvil Eclipse Desk Page 3 Assembly Instructions Step 1 Step 2 Loosely assemble frames & rails together Fix desk frame to worktop, allowing for a (screws 1 turn from tight). 5mm overhang on all sides. Fully tighten with provided screws.
- Page 4 Anvil Eclipse Desk Page 4 with Modesty Panel (Optional) Assembly Instructions Step 1 Step 2 Lay modesty panel on flat surface, fasten brackets Position modesty in front of the rail, fully to modesty with provided self-tapping screws. tighten the modesty to the worktop with provided self-tapping screws.
- Page 5 Anvil Eclipse Desk Page 5 with e-Panel Screen (Optional) Assembly Instructions Step 1 Clamp the e-Panel screen brackets onto the worktop, tighten with self-tapping screws. Step 2 Slide the e-Panel screen into brackets and tighten bracket by using allen key.
- Page 6 Anvil Eclipse Desk Page 6 with Basket Cable Trays (Optional) Assembly Instructions Step 1 Hold the basket cable trays perpendicular to the worktop, tighten cable trays to worktop using the provieded self tapping screw. Completed knightgroup.co.nz...
Need help?
Do you have a question about the Anvil Eclipse Desk and is the answer not in the manual?
Questions and answers