Table of Contents
Advertisement
Quick Links
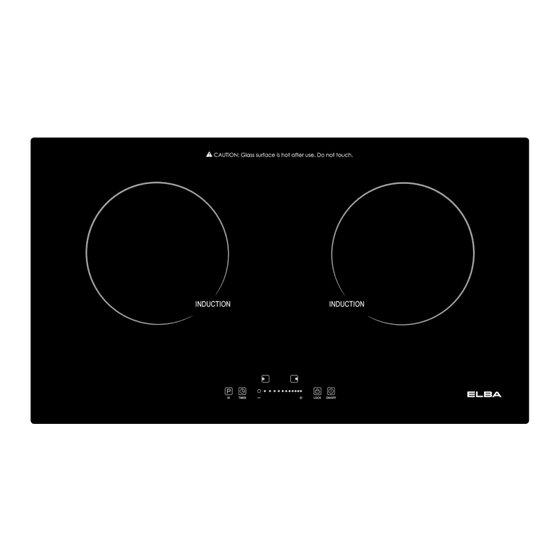
BUILT IN INDUCTION COOKER
MODEL: EIC-G3602ST(BK)
Owner's Manual
Please read this manual carefully before
operating your set.
Retain it for future reference.
Record model number and serial number
of the set.
See the label attached on the set and
quote this information to your dealer when
you require service.
For The Warranty Terms & Conditions, Please Refer To Warranty Certificate
Advertisement
Table of Contents

Subscribe to Our Youtube Channel
Related Manuals for Elba EIC-G3602STBK


Summary of Contents for Elba EIC-G3602STBK
- Page 1 BUILT IN INDUCTION COOKER MODEL: EIC-G3602ST(BK) Owner’s Manual Please read this manual carefully before operating your set. Retain it for future reference. Record model number and serial number of the set. See the label attached on the set and quote this information to your dealer when you require service.
-
Page 2: Safety Precautions
We recommend that you read the instructions in this owner’s manual carefully before using it for the best performance and to extend the lifespan of your appliance, as it will provide you with all the instructions you require to ensure its safe installation, use and maintenance. - Page 3 Never use metal scouring pads or sharp scrapers which will damage the glass surface leading to broken or scratches. In order to avoid burn or electric shock, never put too much food or metal utensils on the cooktop. ...
-
Page 4: Selection Of Installation Equipment
Installation Selection of installation equipment Cut out the work surface according to the sizes shown in the drawing. For the purpose of installation and use, a minimum of 50mm space shall be preserved around the hole. Be sure that the thickness of the work surface is at least 30mm. Please select heat-resistant work surface material to avoid larger deformation caused by the heat radiation from the appliance. -
Page 5: Before Locating The Fixing Brackets
Before locating the fixing brackets The unit should be placed on a stable, smooth surface (use the packaging). Do not apply force onto the controls protruding from the hob. Fix the hob on the work surface by screw four brackets on the bottom of hob (see picture) after installation. Adjust the bracket position to suit for different work surface’s thickness. -
Page 6: Product Overview
Product Overview Top View 1. Min/Max. 1800/2100 W zone 2. Min/Max. 1800/2100 W zone 3. Glass Cook Top 4. Control panel Control Panel 1. ON/OFF 2. Power Slider Control 3. Timer Control 4. Child Lock 5. Heating Zone 6. Boost Control... -
Page 7: Using The Touch Controls
Using the Touch Controls • The controls respond to sensor touch, so you don’t need to apply any pressure. • Use the ball of your finger, not its tip. • You will hear a beep corresponding to the sensor touch function. •... - Page 8 Using Suitable Cookware for Induction Use cookware made from ferromagnetic materials which are compatible with the induction principle. We recommend cookware made from cast iron, enamel coated steel or stainless steel cookware designed for induction cooking. Pans made of glass, ceramic and stoneware are not suitable for use in the induction zone.
-
Page 9: Using Your Induction Hob
Using your Induction Hob To start cooking After power on, the buzzer beeps once. All the indicators light up for 1 second then go out. Indicating the induction hob has entered the state of standby mode. Touch the ON/OFF control. All the indicators show “-“. Place a suitable pan on the cooking zone that you wish to use. -
Page 10: When You Have Finished Cooking
When you have finished cooking 1. Touching the heating zone selection control that you wish to switch off. 2. Turn the cooking zone off by slide to left to area “0” until display show “0”. 3. Turn the whole cooktop off by touching the ON/OFF control. 4. -
Page 11: Using The Boost Function
Using the boost function 1. Select the zone with boost function required. until power level indication shows “P”. 2. Touch boost control *Boost function is only last for 5 minutes, after that the boost zone will go back to level 9 automatically. -
Page 12: Locking The Controls
Locking the Controls • You can lock the controls to prevent unintended use (for example children accidentally turning the cooking zones on). • When the controls are locked, all the controls except the ON/OFF control are disabled. To lock the controls button. -
Page 13: Using The Timer As A Minute Minder
Using the Timer You can use the timer in two different ways: • Use it as a minute minder. In this case, the timer will not turn any cooking zone off when the set time is up. • Use it to turn off after the set time is up. You can set the timer for up to 99 minutes. Using the Timer as a Minute Minder If you are not selecting any cooking zone Make sure the cooktop is turned on and the zone selection key is not activated (zone... - Page 14 When the time is set, it will begin to count down immediately. The display will show the remaining time. Buzzer will beep for 30 seconds and the timer indicator shows “- -” when the setting time finished. Setting the timer to switch off one or more cooking zones If you are selected any cooking zone Touching the heating zone selection control that you want to set the time.
- Page 15 Set the timer setting by sliding the controls to right. Now the timer will from 15 minutes become 95 minutes. When the time is set, it will begin to count down immediately. The display will show the remaining time. 10. There will be a red dot in the right bottom corner of power indicator which indicate that zone has been selected.
-
Page 16: Cancel The Timer
Cancel the timer Touch the heating zone selection control that you wish to cancel the timer. Touch the timer control and the indicator will flash. Touch the slider control to set the timer to “00” then the timer will be cancelled. Cooking Guidelines Take care when frying as the oil and fat heat up very quickly, particularly at high power levels. - Page 17 Searing steak To cook juicy flavour steaks: Defrost the meat at room temperature for about 20 minutes before cooking. Heat up a heavy-based frying pan. Brush both sides of the steak with oil. Drizzle a small amount of oil into the hot pan and then lower the meat onto the hot pan.
-
Page 18: Heat Settings
Heat Settings The settings below are reference guidelines only. The exact setting will vary depending on several factors, including your cookware and the amount of food you are cooking. Experiment with the hob to find the best settings that suit you. Purpose Heat Setting •... -
Page 19: Cleaning And Maintenance
Cleaning and Maintenance What? How? Important! When the power is switched off, there Everyday soiling on 1. Switch off the power. will be no ‘hot surface’ indication but glass (fingerprints, 2. Apply a cooktop cleaner while the marks, stains left by glass is still warm. -
Page 20: Technical Specification
Troubleshooting Guides Problem Possible causes What to do The cooktop cannot be No power. Make sure the cooktop is connected to the turned on. power supply and it is switched on. Check whether there is a power outage in your area.
Need help?
Do you have a question about the EIC-G3602STBK and is the answer not in the manual?
Questions and answers