Table of Contents
Advertisement
Advertisement
Table of Contents

Related Manuals for Douwe Egberts Cafitesse 2100


Summary of Contents for Douwe Egberts Cafitesse 2100
- Page 1 Quick Reference Guide Cafitesse 2100 75532900...
-
Page 2: Description Of The Machine Components
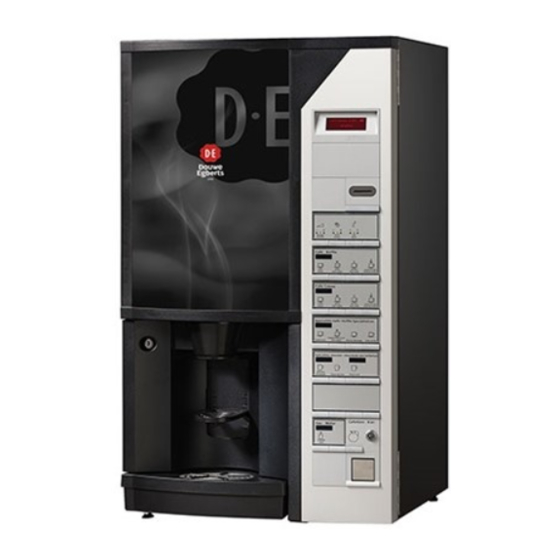
Description of the Machine Components Cabinet top Cabinet Cabinet Display door Door lock Cup station Operator panel Cup carrier Pot platform Cabinet top lid with bracket Exstra instant ingredient for lid interlock canister in cabinet side Ingredient storage top lid Ingredient RS 232 plug storage door... -
Page 3: Reference Card Error Types
Reference Card Error Types Display Possible cause Possible action The function "Rinse Time Period" is The "rinse time period" has passed. Clean Cleaning the machine manually, and then use the active. required rinse function, see the Operating Instructions. Out of The machine has a problem. - Page 4 Reference Card Error Types (continued) Error Possible cause Possible action Empty drip tray and dry sensors. Sensors in drip tray are wet No display or No power. Check power cord/fuses outside of machine not machine. operating Refill canister. Canister empty. Canister not correctly connected.
-
Page 5: Regular Cleaning
Regular Cleaning *) Opening machine • Open the door by turning the key clockwise (1). Ingredient canisters Ingredient storage • Open the door of the ingredient storage room (2). • Open and interlock the cabinet top lid and the ingredient storage top lid (3). •... - Page 6 Regular Cleaning (continued) • Take the ingredient canisters by the handles and pull them forwards (10). The lids are automatically triggered open. • If required, the ingredient canisters can be removed by lifting canisters upwards and pulling them forwards over the end stops in the guiding rails.
- Page 7 Regular Cleaning (continued) Cleaning inside and outside • Clean the door and housing inside and outside, and finally the bottom with a clean, damp cloth. Mounting the cleaned parts • Remount all parts. • If present, relocate ingredient canister: - insert it in its bracket in the side of the machine (17).
- Page 8 Deep Cleaning *) Opening and disconnecting • Open the door by turning the key clockwise (1). Filling ingredients • Remove the drip tray and place it outside of machine (2). • Pull the base tray slightly forwards to prevent pollution (3). •...
- Page 9 Deep Cleaning (continued) • Remove the ingredient packs (10). • Throw away empty packs. • Clean the doser holes in the bottom of the ingredient storage with a clean moist special brush (11). Do not pour any water and no cleaning agent into the ingredient storage.
- Page 10 Deep Cleaning (continued) • Remove and clean the powder traps (18). Dispense head and drip tray • Remove the outlet hoses from the dispense head (19,a). • Unclip and remove the drip tray with drain hose under the dispense head (19,b). •...
- Page 11 Deep Cleaning (continued) • Flush all parts, which have been soaking, thoroughly with clean and warm water. Check that no dirt or cleaning agent remains on the parts. • Dry all parts with a dry cloth. Mounting the cleaned parts •...
-
Page 12: Haccp Guidelines
HACCP Guidelines Guidelines • For correct operation of the machine, at least the guidelines mentioned below must be observed. The operator is held responsible for the correct operation. Storage of the Cafitesse products -18°C • Store coffee in a freezer at -18 °C/0 °F (1). ❄... - Page 13 HACCP Guidelines (continued) Cleaning the machine • Observe the cleaning instructions for the machine. • Only use cleaning agents that are approved by the food industry and recommended by the Cafitesse supplier (fig. 6). Observe the safety and Operating instructions indicated on the cleaning agent.
-
Page 14: Cleaning Record Card
Cleaning Record Card Declaration:This machine has been cleaned in compliance with the cleaning instructions. Signature Date Time Regular cleaning Weeky cleaning Monthly management check Date Signature Comment KEEP THIS CARD WITH THE CAFITESSE 2100 MACHINE (and file when completed)
Need help?
Do you have a question about the Cafitesse 2100 and is the answer not in the manual?
Questions and answers