Garmin VARIA UT800 Owner's Manual
Hide thumbs
Also See for VARIA UT800:
- Manual (162 pages) ,
- Owner's manual (18 pages) ,
- Owner's manual (47 pages)
Table of Contents
Advertisement
Advertisement
Table of Contents

Related Manuals for Garmin VARIA UT800


Summary of Contents for Garmin VARIA UT800
- Page 1 VARIA™ UT800 Owner’s Manual...
- Page 2 © 2017 Garmin Ltd. or its subsidiaries All rights reserved. Under the copyright laws, this manual may not be copied, in whole or in part, without the written consent of Garmin. Garmin reserves the right to change or improve its products and to make changes in the content of this manual without obligation to notify any person or organization of such changes or improvements.
-
Page 3: Table Of Contents
Table of Contents Introduction..............1 Installing the Out-Front Mount ............ 1 Installing the Helmet Mount ............1 Device Overview ................. 2 Turning On the Device ..............2 Bike Light Status LEDs ............... 2 Device Settings ............... 2 Pairing Your Bike Light with Your Edge 820 ....... 2 Customizing Headlight Settings with Your Edge 820 .... -
Page 5: Introduction
Handle with care. Installing the Out-Front Mount You can use the out-front mount to install the headlight and your Edge device. Garmin recommends that you adjust the mount ® for the Edge viewing angle before you install and adjust the headlight angle. -
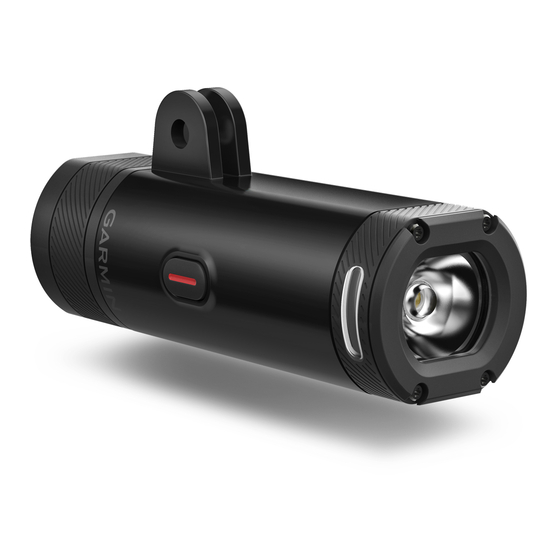
Page 6: Device Overview
The first time you turn on the device, it enters pairing mode. The status LED flashes purple. The device can be paired with a wireless remote or Edge device. Hold the device key for 2 seconds to turn off the device. The next time you turn on the device, it is in high intensity mode. -
Page 7: Customizing Headlight Settings With Your Edge 820
*The device withstands incidental exposure to water of up to 1 m Battery type Rechargeable, built-in lithium-ion battery for up to 30 min. For more information, go to www.garmin.com /waterrating. Battery life Up to 1 yr. in standby mode Headlight Light Intensity Modes and... -
Page 8: Charging The Device
You can charge the device by plugging the USB cable into a NOTE: Stay 10 m (33 ft.) away from other ANT+ bike lights Garmin approved AC adapter with a standard wall outlet or a while pairing. USB port on your computer. Charging a fully depleted battery takes about 6 hours using a computer and 4 hours using an Turn on the Edge device. -
Page 9: Updating The Software Using Your Computer
Plug the USB ANT Stick into a computer USB port. Connect the device to your computer using the USB cable. When new software is available, Garmin Express sends it to your device. Follow the on-screen instructions. Do not disconnect your device from the computer during the update process. -
Page 10: Index
Index accessories 4 ANT+ sensors 2 battery 3, 4 charging 4 brightness 3, 4 charging 4 cleaning the device 4 customizing the device 2 device, care 4 Edge 2–4 Garmin Express, updating software 4 GPS, signal 2 installing 1 keys 2 mounting the device 1 pairing 2, 4 remote control 4 remote control, pairing 4 resetting, device 4 satellite signals 2... - Page 12 April 2017 190-02159-00_0A...