Table of Contents
Advertisement
Quick Links
Advertisement
Table of Contents

Related Manuals for Graco DuoLogic2


Summary of Contents for Graco DuoLogic2
- Page 1 English Installation Manual...
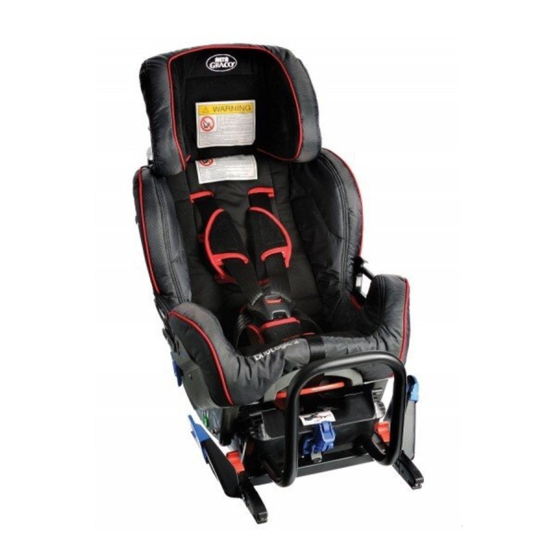
- Page 2 INSTALLATION MANUAL INSTALLATION MANUAL Important preparations Important preparations 1. Split the car seat by pulling handle (A) 2. Height adjustment of harness: Pull belt 6. Head protector for children from 9 kg. 5. Children under 9 kg. (20 lbs) should travel and remove seat from its base.
- Page 3 INSTALLATION MANUAL INSTALLATION MANUAL How to use DuoLogic With ISOFIX 10. To reach the right angle, support leg 11. Place base in desired location. To make should be extended completely before base installation easier, temporarily slide front is placed in car. If DuoLogic is installed in seat(s) all the way forward.
- Page 4 INSTALLATION MANUAL INSTALLATION MANUAL With ISOFIX Disassembly with ISOFIX 17. NOTE!! DISASSEMBLY! Lift red lock so 18. NOTE!! DISASSEMBLY! Lift ISOFIX buttons 15. Push base hard against seat back until it 14. Make sure indicator is showing "green" tension in base is released. Make sure the on both sides and pull in direction of red on both sides.
- Page 5 INSTALLATION MANUAL INSTALLATION MANUAL Lap and diagonal belt Lap and diagonal belt 24. Open clip (A) and thread chest portion 23. Thread lap portion of seat belt through 19. Extend support leg before placing base 20. Place base in desired location. To make of seat belt through blue clip (B), through on seat.
- Page 6 INSTALLATION MANUAL INSTALLATION MANUAL With lap belt (middle rear) Seat in place 32. Pull handles up on both sides. 28. Thread seat belt through blue clips on 31. If head protection is installed, pull up to 27. Secure base according to picture 19-21. top position.(See page 11 for information both sides.
- Page 7 INSTALLATION MANUAL INSTALLATION MANUAL Seat in place Safety 39. Adjust angle with handle in front of seat 40. Position "I" is used from newborn. Position 35. Put seat on top of base. Thread red 36. Please note indicator (A) is currently red. (see A, picture 1).