Table of Contents
Advertisement
Quick Links
Advertisement
Table of Contents

Related Manuals for Movisens Move II


Summary of Contents for Movisens Move II
- Page 1 Move II Physical Activity Sensor User Manual...
- Page 2 Imprint Version: 11/10/2013 movisens GmbH Fritz-Erler-Straße 1-3 76133 Karlsruhe Telefon: +49 721 381344-0 Telefax: +49 721 381344-90 Internet: www.movisens.com E-Mail: support@movisens.com © Copyright: movisens GmbH...
-
Page 3: Table Of Contents
Contents 1 Welcome! ......................1 2 Scope of application ..................3 3 Instructions for use ..................5 4 Scope of delivery and accessories .............. 7 Scope of delivery ...................... 7 Accessories ......................... 8 5 Description of the sensor ................9 6 Software Installation .................. - Page 4 10 Legal Notes ....................... 25 10.1 Copyright ........................25 10.2 Disclaimer .........................25 10.3 Trademarks .......................25...
-
Page 5: Welcome
1 Welcome! Dear customer, Thank you for choosing the physical activity Sensor Move II from movisens. With this sensor, you get the newest technology for mobile monitoring of physical activity in everyday life. Please read this manual completely and thoroughly before bringing... -
Page 7: Scope Of Application
2 Scope of application Move II is a scientific research instrument to capture the physical activity of a person and other secondary parameters. Move II is designed and tailored for the use in research applications. The physical activity sensor Move II is not a medical device! -
Page 9: Instructions For Use
To charge the battery of Move II, only use USB standard compatible devices. ! ! ! ! If Move II is used with wrist or chest straps, these have to be cleaned regularly. ! ! ! ! If any problems occur by wearing the sensor (e.g. -
Page 11: Scope Of Delivery And Accessories
To be able to do measurements a computer is needed in addition to the scope of delivery. Scope of delivery The sensor Move II is available in two variants: Article Order No. Move II Clip 10100 3D-Aktivitätssensor with clip for... -
Page 12: Accessories
Accessories The following accessories can be ordered optionally: Artikel Artikel-Nr. Wrist band Micro USB Cable 30102 USB Hub, 7 Ports 30101 Micro USB Charger for 110-240V 30100... -
Page 13: Description Of The Sensor
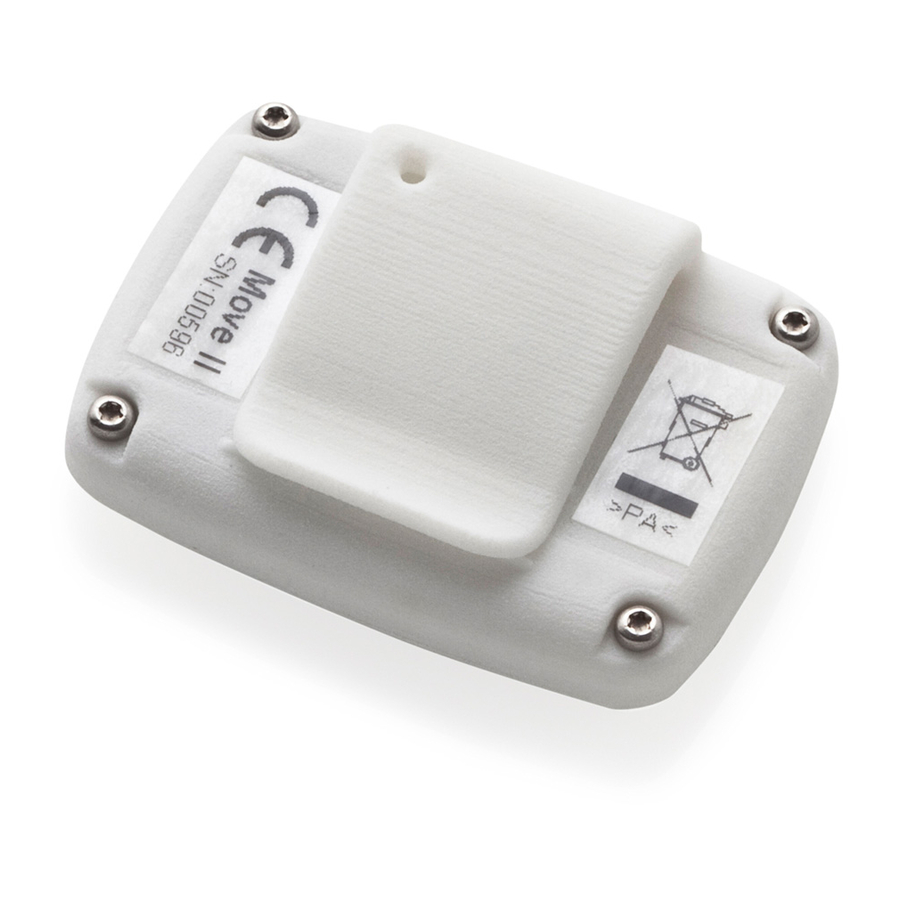
The preferred position for energy expenditure measurements is the hip. Move II is equipped with a Micro USB port, located at the right side of the sensor. Configuration of the sensor, charging of the battery and data transfer is done via this USB port. - Page 14 The Move II sensor is equipped with a multi-colored LED to show the status of the sensor: Status-LED Meaning Flashing red (once per The sensor is active and records data second) Flashing red slowly Delayed recording active (every two seconds)
-
Page 15: Software Installation
6 Software Installation This chapter describes how to install and uninstall the software and how to update it. Beside this, the system requirements are defined. System Requirements Before installing the software, please check if the following system requirements are fulfilled. PC with Windows XP or higher Administrator rights during installation A minimum of 300 MB free space on hard disc... -
Page 16: Updating The Software
Double click the file “movisens_SensorManager_Setup_Full.exe“ The Installation runs automatically in the background. After successfull installation, shortcuts are created in the Windows Start Menu under the entry “movisens SensorManager” Step 3: Double click the file “UnisensViewer_Setup_Full.exe“ The Installation runs automatically in the background. After successfull installation, a shortcut “UnisensViewer”... -
Page 17: Handling
Start the movisens SensorManager by selecting Windows Startmenu movisens SensorManager SensorManager SensorManager is now searching for available sensors. Step 2: Connect the Move II sensor with your PC using. The software will automatically detect the device and open the following window:... -
Page 18: Starting A Measurement
This application shows information about sensor hardware, sensor state and sensor configuration. Before you start a measurement please check the charging status of the battery. The maximum measurement duration can only be reached when the battery is fully charged. Starting a measurement To start a measurement do the following steps: Step 1: In the sensor manager software click on the „Start... - Page 19 Step 2: Please supply the following information into the text fields: Measurement duration: The maximum measurement duration depends on the manufacturer configuration of your sensor. Start time: You can start the measurement immediately or delayed at a specific time. If you want to start your measurement delayed please specify date and time.
-
Page 20: Attaching The Sensor To The Test Person
Use the Clip to attach the sensor to the right side hip. The clip can be used with belts or directly on other garments. The movisens logo should face directly to the right. Use the wrist band to attach the sensor to the non-dominant hand of the test person. -
Page 21: Stopping A Measurement
Step 1: Start the SensorManager by selecting Windows Start menu movisens SensorManager SensorManager Step 2: Connect Move II sensor to the PC using the cradle. After the SensorManager has detected the connected sensor, the following windows will be shown:... - Page 22 Step 3: Click on „Save Data“. You will see the following window: Step 4: Please type in the following information:...
-
Page 23: Viewing Measurement Data
You can now directly show the stored data. The measurement will be opened in the UnisensViewer. If you have installed the movisens DataAnalyzer you can directly start data analysis and generate reports be clicking on “Analyze data”. You can find more information in the DataAnalyzer manual. - Page 24 If you have any further questions, please do not hesitate to contact us. On demand, other parameters could be...
-
Page 25: Maintenance And Proper Disposal
Please contact us in the case when a replacement is necessary. Cleaning instructions If you want to clean the Move II sensor, please note the following: Disconnect the sensor from the PC Use a soft slightly moistened cloth Take care that no humidity enters the sensor housing... -
Page 26: Proper Disposal
Proper disposal The Move II is subject to the EU directive WEEE (Waste Electrical and Electronic Equipment). Please consider your local regulations for waste disposal. -
Page 27: Technical Data
9 Technical Data Power supply Lithium-Ion battery Supply voltage Battery voltage 2,7 - 4,2 V Number of charging cycles 300 with 1C/1C > 80% Maximum recording capacity 21 days Battery run time (recording) ~ 7 days Size of sensor 50 x 40 x 16 mm (W x H x D) 3D acceleration sensor: Measurement range: +/- 8 g... -
Page 29: Legal Notes
The activity sensor Move II is no medical device and is not intended to be used for medical purposes. 10.3 Trademarks Windows and Windows XP are registered trademarks of Microsoft Corporation. - Page 30 GmbH Tel.: +49 (0) 721 3813440 Fax: +49 (0) 721 38134490 Fritz-Erler-Str. 1-3 info@movisens.com 76133 Karlsruhe www.movisens.com...
Need help?
Do you have a question about the Move II and is the answer not in the manual?
Questions and answers