Brother 882-D80 Manuals
Manuals and User Guides for Brother 882-D80. We have 3 Brother 882-D80 manuals available for free PDF download: Operation Manual, Manual De Instrucciones
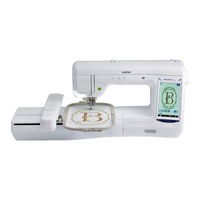
Brother 882-D80 Operation Manual (180 pages)
Embroidery Machine
Brand: Brother
|
Category: Sewing Machine
|
Size: 13.92 MB
Table of Contents
-
-
-
Lcd Screen22
-
Home22
-
-
-
Embroidering65
-
-
Eembroidering 2
120-
Editing Patterns125
-
Key Functions126
-
-
After Editing143
-
-
Appendix151
-
A Appendix 1
152-
Troubleshooting163
-
A Appendix 2
164-
-
Troubleshooting169
-
Error Messages172
-
Specifications175
-
Index178
-
Lower Threading178
-
-
Lcd Screen164
-
Advertisement
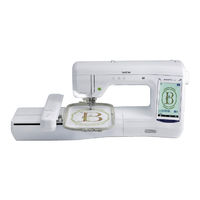
Brother 882-D80 Operation Manual (180 pages)
Brand: Brother
|
Category: Sewing Machine
|
Size: 14.07 MB
Table of Contents
-
-
Home22
-
Lcd Screen22
-
Changing52
-
-
Embroidering65
-
-
Eembroidering 2
120-
Editing Patterns125
-
Key Functions126
-
After Editing143
-
Appendix151
-
A Appendix 1
152-
Lower Thread153
-
Embroidery Foot154
-
Fabric154
-
Needle154
-
Upper Thread154
-
Upper Threading154
-
Troubleshooting163
-
A Appendix 2
164-
Troubleshooting169
-
Error Messages172
-
Specifications175
-
Index178

(Spanish) Brother 882-D80 Manual De Instrucciones (180 pages)
Users Manual - Spanish
Brand: Brother
|
Category: Sewing Machine
|
Size: 13.7 MB
Table of Contents
-
-
-
Pantalla Lcd22
-
-
Bordado65
-
Ebordado 1
66-
-
-
Pantalla Lcd77
-
-
-
Giro del Patrón102
-
-
-
Ebordado 2
120-
-
Giro del Patrón127
-
A Anexo 1
152-
Con Bobinas152
-
-
A Anexo 2
164-
Problemas164
-
Especificaciones175
-
Índice178
-
Advertisement