Table of Contents
Advertisement
Read this manual carefully before you use this machine and keep it handy for future reference.
For safe and correct use, be sure to read Safety Information before using the machine. This
manual briefly describes the procedure for installing this machine. For more details about other
information, see User Guide in the CD-ROM .
Manuals in English are on the supplied CD-ROM . To read a manual on the CD-ROM , do as
follows:
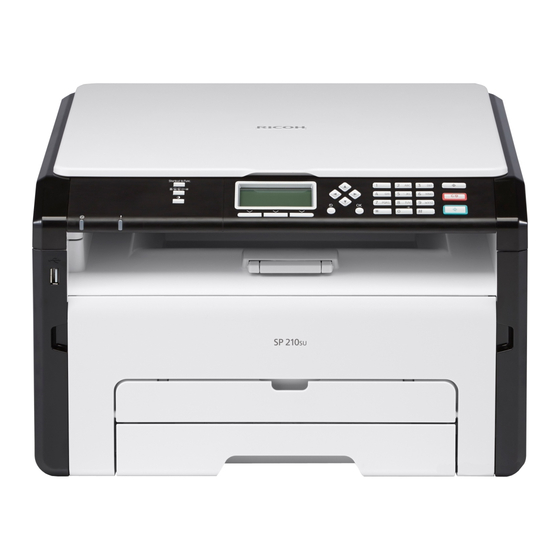
SP 210/SP 210S/SP 210SU/SP 210SF/
SP 212Nw/SP 212SNw/SP 212SFNw
DAC345
DCT073
DCT092
1
Setup Guide
CXP074
Advertisement
Table of Contents

Related Manuals for Ricoh SP 210


Summary of Contents for Ricoh SP 210
-
Page 1: Setup Guide
SP 210/SP 210S/SP 210SU/SP 210SF/ SP 212Nw/SP 212SNw/SP 212SFNw Setup Guide Read this manual carefully before you use this machine and keep it handy for future reference. For safe and correct use, be sure to read Safety Information before using the machine. This manual briefly describes the procedure for installing this machine. -
Page 2: Setting Up The Machine
SP 210SU 10 cm 40 cm (4.0”) (15.8”) 20 cm (7.9”) 10 cm 45 cm (4.0”) (17.8”) DCT085 DCT027 SP 210/SP 212Nw 10 cm 40 cm (4.0”) (15.8”) 20 cm (7.9”) 10 cm 45 cm (4.0”) (17.8”) CTT017 DCT071 Power Source •... - Page 3 DCT024 DCT028 DCT062 CTT049 DCT026...
-
Page 4: Loading Paper
Loading Paper tray 1 CTT074 DCT063 DCT032 CTT148 DCT049 CTT300 CTT029 CTT073... -
Page 5: Bypass Tray
Using the Fax Function Bypass tray SP 210SF/ SP 212SFNw Only Connecting the Handset DCT029 DCT077 DCT013 DCT078 DCT014 DCT079 DCT080... - Page 6 Connection Selecting the Telephone Line Type Press the [ ] key. CTT093 1. Port For Handset 2. Port For External Telephone DCT802 3. Port For LINE Press the [ ] or [ ] keys to select [Admin. Tools], and then press the [OK] key.
-
Page 7: Basic Operation For Sending A Fax
Setting the Outside Line Ac- Basic Operation for Sending a cess Number If you have selected PBX, use the following Press the [ ] key. procedure. Press the [ ] key. Press the [ ] or [ ] keys to select [Admin. -
Page 8: Installing The Software
2. Installing the Software Checking the available connection SP 210/SP 210S/ SP 212Nw/SP 212SNw/ SP 210SU/SP 210SF SP 212SFNw Available Available Ethernet Not available Available Wi-Fi Not available Available • To install the software over a USB connection, a USB cable and the supplied CD-ROM are required. - Page 9 Checking the flowchart USB Connection DCT075 Connecting the Machine via USB (See page 10) Quick Install for USB (See page 10) Network Connection (IPv4 Environment) DCT076 Connecting the Machine via Network (See page 13) Selecting the Type and Method of IP Address Configuration (See page 14) Connecting the Computer and Machine (See page 15) Printing a Configuration Page (See page 16) Changing the IP Address Settings (See page 17)
-
Page 10: Connecting The Machine Via Usb
"Installing the Driver and Software", User Guide . DCT043 USB Quick Install ‹ The software to be installed differs depending on the model being used. SP 210/SP 212Nw SP 210S/SP 210SU/SP 212SNw SP 210SF/SP 212SFNw • Printer driver •... - Page 11 • Do not connect the USB cable to the machine until prompted to do so in the installer window. If you connect the machine to the computer before the prompt appears, the machine will be identified prematurely by the computer and you will be unable to install the driver correctly. CXP122 Make sure the machine is off.
- Page 12 Follow the instructions in the installation wizard. If a message to turn on the power and connect the USB cable appears, do the following: • Connect the machine and computer with a USB cable. CTT137 • Turn the power on. DCT084 DCT069...
-
Page 13: Connecting The Machine Via Network
Connecting the Machine via Network This section explains how to connect the machine to a computer using a network cable, and how to install the software using "Quick Install for Network". • "Network Quick Install" cannot be used to install the PC FAX driver. If you want to use the PC FAX driver for SP 212SFNw, install the PC FAX driver only. -
Page 14: Selecting The Type And Method Of Ip Address Configuration
Selecting the Type and Method of IP Address Configuration What is an IP address? ‹ The IP address is an identification number allocated to computers and other devices con- nected to an IP network. An IP address is an address for use on a network. There are two types of IP address: IPv4 and IPv6. -
Page 15: Connecting The Computer And Machine
Connecting the Computer and Machine • If you are using the machine in a wireless LAN environment, make sure the network cable is disconnected. Proceed to Step 3. Connect the network cable to the Ethernet port. CTT138 Plug the other end of the cable into a network device, such as a hub. Connect the power cord. -
Page 16: Printing A Configuration Page
Printing a Configuration Page Before you install the software, print the configuration page to check the network information. SP 212Nw Turn off the power. While holding the [ ] key down, switch the power on and do not release the ] key until 13 seconds elapse. -
Page 17: Changing The Ip Address Settings
Press the [ ] or [ ] key to select [Configuration Page], and then press the [OK] key. Press [Yes] in the confirmation screen. DCT059 Check the IP address on the configuration page. The address appears under Network Settings. If the IPv4 address is not automatically assigned by the DHCP server, the machine automati- cally selects an unused IPv4 address starting with "169.254.xxx.xxx"... -
Page 18: Quick Install For Network
Quick Install for Network Turn on the power of the computer. Quit all applications currently running. Insert the CD-ROM into the CD-ROM drive. CXP066 Select a language and product for the interface, and then click [OK]. Click [Network Quick Install]. If WPS cannot be used with SP 212Nw, click [PCL Printer Driver]. -
Page 19: Troubleshooting
Troubleshooting USB Connection The plug-in launcher does not work. „ 1. Check that the CD-ROM is inserted properly and is undamaged. 2. Check that the CD-ROM drive is working properly. When you cannot install properly. „ 1. Check that the USB cable is connected properly and is undamaged. 2. -
Page 20: Configuring The Ip Address Settings Using The Control Panel
3. Appendix This section explains how to configure the machine’s IP address. The setting procedure depends on the machine model. SP 212SNw/SP 212SFNw ‹ • Using the control panel See page 20 "Configuring the IP Address Settings Using the Control Panel". •... - Page 21 Configuring the Machine's IPv4 Address Manually Press the [ ] key. Press the [ ] or [ ] key to select [Network Settings], and then press the [OK] key. Press the [ ] or [ ] key to select [IPv4 Configuration], and then press the [OK] key. Press the [ ] or [ ] key to select [DHCP], and then press the [OK] key.
-
Page 22: Configuring The Ip Address Settings Using The Web Im- Age Monitor
Configuring the IP Address Settings Using the Web Im- age Monitor Starting Web Image Monitor Launch the Web browser. In the address bar, enter "http://(machine's IP address)/". • IPv4 Address Enter the IP address shown on the configuration page. Use a computer using the IP address shown on the configuration page with its variable part modified. - Page 23 Configuring the Machine's IPv4 Address Manually Launch Web Image Monitor. Click [Network Status]. Set [DHCP] to [Inactive]. DCT061 Specify the IP address in [IP Address]. Specify the subnet mask and default gateway address as required in accordance with the network environment. Specify other settings if necessary.
- Page 24 Configuring the IPv4 Address Settings Using the Smart Organizing Monitor On the [Start] menu, click [All Programs]. Click [Smart Organizing Monitor for SP xxx Series]. Click [Smart Organizing Monitor Status]. Click the [User Tools] tab. Click [IP Address]. Enter the MAC address. For the MAC address you need to enter, check the items on the configuration page.