Advertisement
Advertisement
Table of Contents

Related Manuals for ProScan PLED3792A


Summary of Contents for ProScan PLED3792A
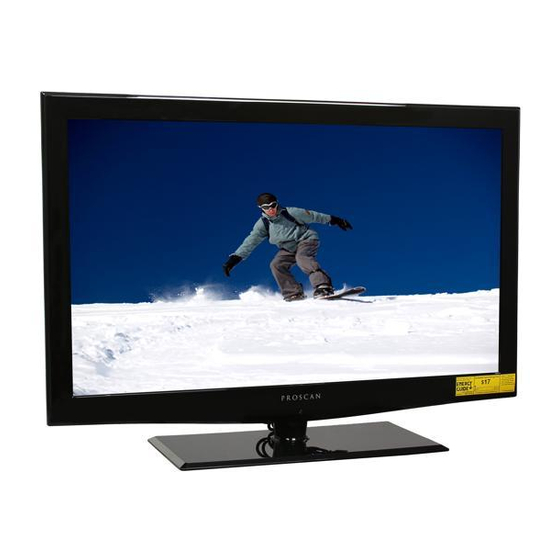
- Page 1 PLED3792A...
-
Page 2: Table Of Contents
4.3.Customizing theTIME Settings 4.4.Customizing the SETUP Settings 4.5.Customizing the Patental Settings TV Base Stand assemble 4.6.Customizing the TV Settings PC Mode Initial Setup 3.1. Initial Installation 3.2. Audio/Video Source Selection 3.3. DTV Mode Operations SETTINGS 4.1.Customizing the PICTUERE Settings 4.2.Customizing the Audio Settings... -
Page 5: Tv Base Stand Assemble
TV Base Stand assemble 3.Mounting on the wall This unit is VESA-complian,and is designed to be wall-mounted with a VESA-compliant 4"x10"(101.6mmx254mm)mounting kit designde for flat-panel TVs(not supplied).Mount this unit according to the instructions included in the monting kit. Length of screw should not exceed 8 mm NOTE Remove the base stand before mounting the unit on the wall. - Page 6 Audio out Audio VIDEO (For Service) HDMI1 HDMI2 PC AUDIO COAXIAL (For Service)
- Page 7 sound from speakers ASPECT Selects the screen size Universal Remote Code:08F7 (Universal Rmote Control is not included)
- Page 8 adaptor Audio out Audio VIDEO (For Service) HDMI1 HDMI2 PC AUDIO COAXIAL Audio out Audio VIDEO...
- Page 9 (For Service) HDMI1 HDMI2 PC AUDIO COAXIAL (For Service) HDMI1 HDMI2 PC AUDIO COAXIAL Note:Coaxial output (For Service) HDMI1 HDMI2 PC AUDIO COAXIAL (For Service) HDMI1 HDMI2 PC AUDIO COAXIAL...
-
Page 10: Initial Setup
Customizing the PICTURE 4.1. 3. Initial Setup Select TV source for example. (Press SOURCE bu on to select TV mode) 1. Press the POWER bu on to turn the LCD TV on. 2. Press the MENU bu on on the remote control to display the Main menu, and use the to select the PICTURE. -
Page 11: Customizing The Audio Settings
4.2. Customizing the Audio Customizing the TIMER Se ngs 4.3. Select TV source for example. (Press SOURCE bu on to select TV mode) Select TV source for example. (Press SOURCE bu on to select TV mode) 1. Press the POWER bu on to turn the LCD TV on. 1. -
Page 12: Customizing The Setup Settings
4.4. Customizing the SETUP Se ngs Select TV source for example. (Press SOUCE bu on to select TV mode) 1. Press the POWER bu on to turn the LCD TV on. 2. Press the MENU bu on on the remote control to display the Main menu, and use the bu ons to select the SETUP. - Page 13 4.5. Customizing the LOCK Se ngs Select TV source for example. (Press SOURCE bu on to select TV mode) 1. Press the POWER bu on to turn the LCD TV on. 2. Press the MENU bu on on the remote control to display the Main menu, and use the bu ons to select the LOCK.
- Page 14 Use the bu on to highlight the “US” item, then press the n to enter into the following menu. Use the bu on to highlight the “Canada” item, then press bu on to Canada enter into the following menu. Use the bu on to highlight the “TV”...
- Page 15 4.6. Customizing the CHANNEL Se ngs Select TV source for example. (Press SOUCE bu on to select TV mode) 1. Press the POWER bu on to turn the LCD TV on. 2. Press the MENU bu on on the remote control to display the Main menu, and use the bu ons to select the CHANNEL.
-
Page 16: Pc Mode
5. PC Mode Se ng up your PC so ware (based on Windows XP) The Windows display-se ngs for a typical computer are shown below. But the actual screen on your PC will probably be di erent, depending upon your par cular version of Windows and your par cular video card. - Page 18 PLED3792A 1920 x 1080 400cd/m² 120W AC 100-240V~, 50/60Hz Audio L/R Output USB(For service)