Table of Contents
Advertisement
Advertisement
Table of Contents

Related Manuals for La Crosse Technology WS-8007U


Summary of Contents for La Crosse Technology WS-8007U
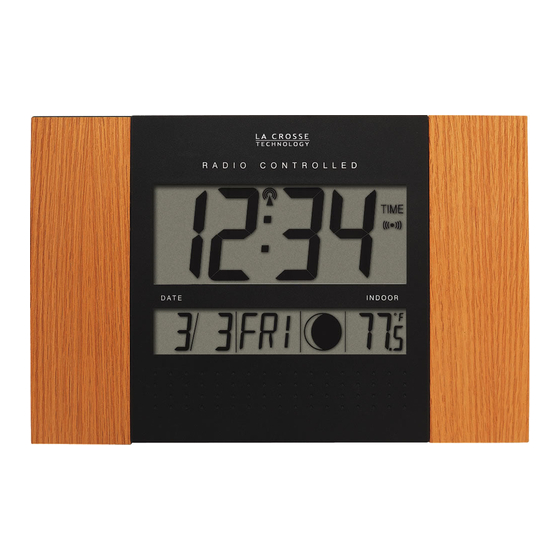
- Page 1 WS-8007U Radio Controlled Moon Phase Clock Instruction Manual...
-
Page 2: Table Of Contents
TABLE OF CONTENTS Topic Inventory of Contents/ Additional Equipment About WWVB Quick Set-Up Guide Detailed Set-Up Guide Battery Installation Program Mode Function Buttons Time Zone Setting DST (Daylight Saving Time) Setting Language Selection Time Setting Calendar Setting 12/24-Hour Setting Selecting °F or °C Features &... -
Page 3: Inventory Of Contents/ Additional Equipment
3) If there is no WWVB reception, manually set the time and date (see instructions in the Program Mode section). 4) Program the settings. 5) Mount the WS-8007U in a suitable location where WWVB signals can be received. DETAILED SET-UP GUIDE... -
Page 4: Program Mode
A) MOON PHASE CLOCK 1) Remove the battery cover, located on the backside of the moon phase clock and directly below the function buttons. 2) Observe the correct polarity, and install 2 AA batteries. 3) Replace Note: After the batteries have been installed a tone will sound, and all the LCD’s (Liquid Crystal Display) will briefly light up. -
Page 5: Function Buttons
Your clock will automatically set up with Eastern Time Zone, Daylight Saving Time On, English for the language, 12 hour clock (AM/PM) and °F for temperature. FUNCTION BUTTONS There are 4 function buttons located on the backside of the Moon Phase Clock. The function buttons are labeled: “SET”, “+”, “ALM”... -
Page 6: Time Setting
IV) LANGUAGE SELECTION FOR THE WEEKDAY 1) The default language “US” will be flashing in the time LCD. 2) Press and release the “+” button to select the desired language. There are 3 languages to select from: 3) Press and release the “SET” button to confirm the language setting and to advance to manually set the time. -
Page 7: 12/24-Hour Setting
9) Press and release the “SET” button to confirm the date and to set the weekday. 10) The default weekday “MON” (depends on selected language) will flash. 11) Press and release the “+” button to select the appropriate weekday. 12) Press and release the “SET” button to confirm the calendar settings and to advance to select either 12 or 24-hour time display. -
Page 8: The Alarm
2) Press and release the “+” button to set the alarm hour. 3) Press and release the “ALM” button to confirm the hour and to move to set the alarm minutes. 4) The alarm minutes flash. 5) Press and release the “+” button to set the alarm minutes. 6) Press and release the “ALM”... -
Page 9: Indoor Temperature
Waxing Moon Phases New Moon Crescent Moon First Quarter Moon Gibbous IV) INDOOR TEMPERATURE The Indoor Temperature appears on the right side of the Date LCD. The temperature is checked every 10 seconds, and updated whenever there is a change. MOUNTING Hanging Holes Function Buttons... -
Page 10: Maintenance & Care
3) Be sure the Moon Phase Clock is at least 6 feet from any 4) Remove batteries for five minutes, reinsert and leave the unit 5) If problems persist contact La Crosse Technology. Hour is incorrect (minute and date are correct). -
Page 11: Specifications
La Crosse Technology immediately upon discovery of any defects covered by this warranty. Before sending the moon phase clock in for repairs, contact La Crosse Technology. The moon phase clock will be repaired or replaced with the same or similar model. - Page 12 THE FOLLOWING TWO CONDITIONS: 1. THIS DEVICE MAY NOT CAUSE HARMFUL INTERFERENCE, AND 2. THIS DEVICE MUST ACCEPT INTERFERENCE RECEIVED, INCLUDING INTERFERENCE THAT MAY CAUSE UNDESIRED OPERATION. La Crosse Technology, Ltd 2809 Losey Blvd. S. La Crosse, WI 54601 Phone: 608.782.1610 Fax: 608.796.1020...