Table of Contents
Advertisement
Quick Links
INSTALLATION
AND
OPERATING INSTRUCTIONS
APPLIANCE MUST BE KEPT CLEAR OF COMBUSTIBLES AT ALL TIMES
FOR YOUR SAFETY: Do not store or use gasoline or other flammable vapors and
!
liquids in the vicinity of this or any other appliance.
WARNING: Improper installation, adjustment, alteration, service or maintenance can
!
cause property damage, injury or death. Read the Installation, Operating and
Maintenance Instructions thoroughly before installing or servicing this equipment.
Initial heating of appliance may generate smoke or fumes and must be done in a well ventilated area.
Overexposure to smoke or fumes may cause nausea or dizziness.
This equipment has been engineered to provide you with year-round dependable service when used
according to the instructions in this manual and standard commercial kitchen practices.
R
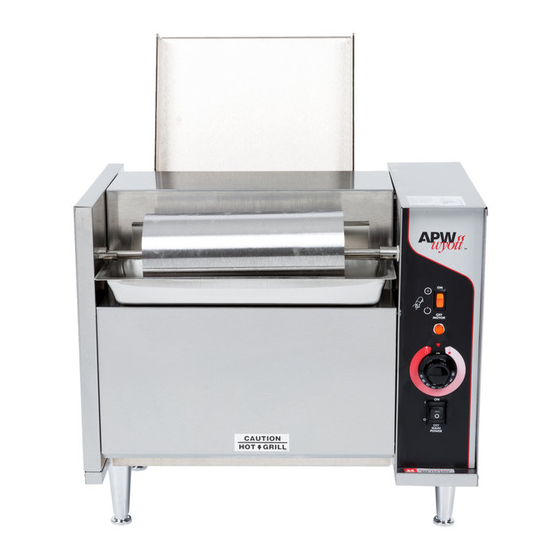
CONTACT BUN TOASTER
INTENDED FOR OTHER
THAN HOUSEHOLD USE
Model:
RETAIN THIS MANUAL FOR FUTURE REFERENCE
24 Hour Service Hotline
M95-2-JIB
(800) 733-2203
1
ANSI/NSF4
APW WYOTT
!
!
Advertisement
Table of Contents

Related Manuals for APW Wyott M95-2-JIB


Summary of Contents for APW Wyott M95-2-JIB
-
Page 1: Operating Instructions
This equipment has been engineered to provide you with year-round dependable service when used according to the instructions in this manual and standard commercial kitchen practices. INTENDED FOR OTHER THAN HOUSEHOLD USE M95-2-JIB Model: (800) 733-2203 24 Hour Service Hotline... - Page 2 Installation and start-up should be performed by a qualified installer who thoroughly read, understands and follows these instruction. If you have questions concerning the installation, operation, maintenance or service of this product, contact APW Wyott Foodservice Equipment Company’s “ Serial Number Technical Service Department”.
-
Page 3: Table Of Contents
SECTION ITEM Safety Precautions Important Safety Instructions General Information Installation Instructions Location Operation Instructions Cleaning Instructions Troubleshooting Wiring Diagram Parts List with Exploded View Warranty Before installing and operating this equipment be sure everyone involved in its operation are fully trained and are aware of all precautions. -
Page 5: General Information
Check the rating label for your model designation and electrical rating. The Rating Label is located on the bottom front of the control panel. Overall dimensions with feeder: Electrical ratings: M952: 208VAC, 2780W, 13.4Amps, 60Hz or 240VAC, 2780W, 11.6Amps, 60Hz Cordset Configuration: 208/250V: NEMA 6-20P Plug, 4 foot, 3 wire grounded cord. -
Page 6: Location
To adjust the conveyor up into the drive gear, turn the conveyor adjustment screw clockwise. Use a 7/16-end wrench to tighten the jam nut. To adjust the conveyor away from the drive gear, turn the conveyor adjustment screw counterclockwise. Use a 7/16-end wrench to tighten the jam nut. Replace top and bottom control panels. -
Page 7: Cleaning Instructions
WARNING: Make sure the toaster is in the off position and has been off at least 15 -30 minutes. attempt this cleaning procedure if the toaster components are too hot to touch. Never spray water on the toaster or controls. Damage to the toaster as well as injury could occur. Severe injury and burns may occur if you do not follow this instruction sheet. -
Page 8: Troubleshooting
Is power switch “ON” and pilot light glowing? Check the rating label. Is the unit connected to the correct power source? If the above checks out, and you still have problems, call an APW Wyott authorized service agent. APW SERVICE HOT LINE: 1-800-733-2203. -
Page 9: Wiring Diagram
PROBLEM Wrong temperature setting Buns will not toast Excessive cupping of bun surface Buns toast unevenly Excessive cupping of bun surface Conveyor pressure too light Buns stick to grill Doughy buns or excessive sugar and moisture, plus grill temperature too high. Build up on Grill Surface No power No power at the wall... -
Page 10: Parts List With Exploded View
10. PARTS LIST w/EXPLODED VIEW 16 32 56 8 9 10 EXPLODED VIEW 15 11 48 42... - Page 11 PARTS LIST...