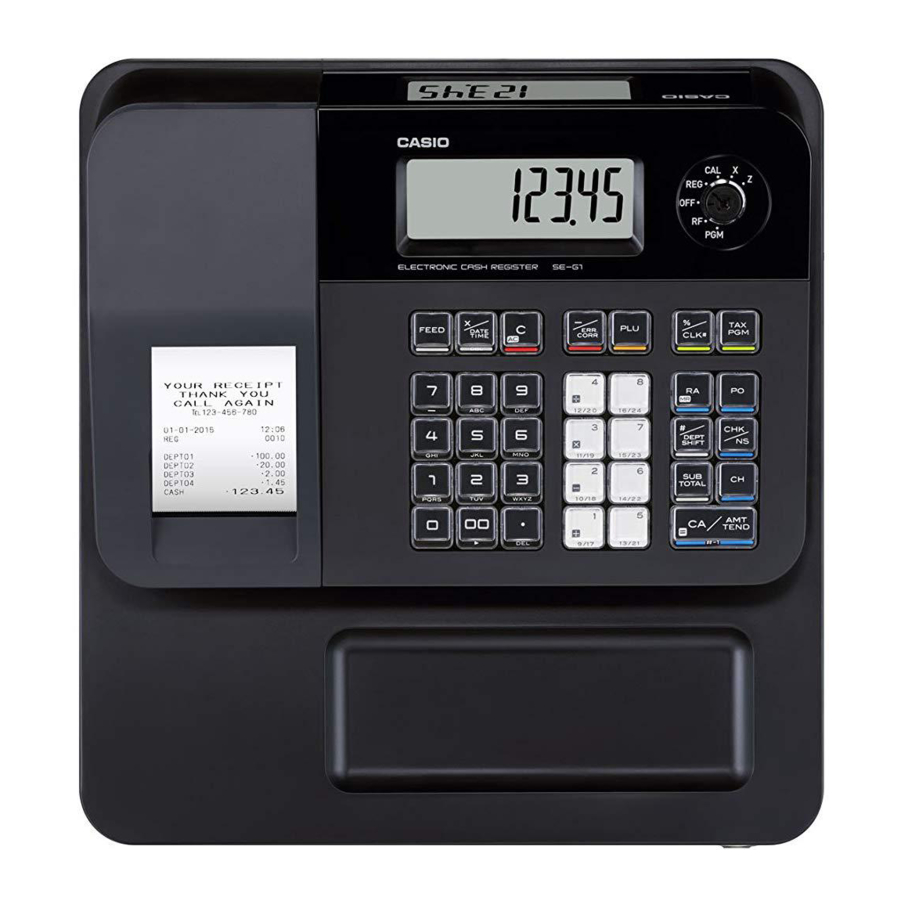
Casio SE-G1 Quick Start Manual
Electronic cash register
Hide thumbs
Also See for SE-G1:
- User manual (76 pages) ,
- Manual (39 pages) ,
- Quick programming manual (2 pages)
Advertisement
Quick Links
Quick Start Guide
Electronic Cash Register SE-G1/PCR-T273/SM-T274/SE-S700
Preparations
Note: Please follow the steps described below.
• Unpack the Cash Register and DO NOT plug
the power cord in until sections 1 and 2 have
been completed.
• To prevent losing all your settings and sales
data, we strongly recommend that you set the
memory protection batteries before you use
the cash register and replace them at least
once a year.
1. To set memory protection
batteries
1.
Remove the printer cover by lifting it up.
2.
Remove the take up reel.
3.
Remove the battery compartment cover and
install two new "AA" type batteries in the battery
compartment.
QSG256STP*E3
4.
Replace the battery compartment cover.
Important
• Be sure that the plus (+) and minus (-)
ends of the batteries are facing in the
directions as indicated on the battery
compartment.
• The Cash Register will show an ʽLʼ in the
left hand corner of the display when the
batteries are running low on power. Install
two new batteries when this occurs.
2. To set a paper roll
This Cash Register is fitted with a Thermal Printer -
only Thermal paper till 58 mm Rolls can be used.
1.
Open the platen arm by lifting it up.
2.
Hold the paper roll so that the end of the paper
comes out from the bottom of the roll and place
it behind the printer.
3.
Place the end of the paper over the printer.
For programming assistance Please visit http://casio4business.com/sa_index.html
4.
Close the platen arm slowly until it locks
securely.
Note: Never touch the printer's thermal head
and the platen. Avoid the thermal paper
from heat, humidity or direct sunlight.
Important
• If the thermal paper roll is not properly
installed, you will not be able to use the
cash register. The E10 error code will be
displayed to indicate that the printer is
not working.
3. To turn the cash register
on
1.
Insert a Mode key that comes with the cash
register in the Mode switch and turn it to OFF
position.
2.
Plug in the power cord into an AC outlet.
For Technical support Please call TOLL FREE 1-800-435-7732
4. To set language, date and
time
1.
As soon as you plug in the power cord, the
printer prints instructions for selecting lan-
guage. If you wish to select English, press
?
keys. For selecting Spanish, press
p
X
keys.
p
2.
The printer then prints the instructions for
setting date and time and the first digit of the
display flashes. Enter the date in order of
month, day, and year. For example, 012114
for January 21, 2014. The display changes for
setting time. Enter the present hour and minute
in 24 -hour system.
Note: At this point the till will automatically turn
off, as the setup procedure has been
completed. Please note that the key is
still in the OFF position.
Important
• Once the time has been entered, the Cash
Register will print a confirmation receipt
showing the date and time at the bottom -
check that this is correct.
5. To set tax rate
1.
Turn the Mode switch to PGM position.
2.
Enter
then press
key for setting the
C
k
register in the program mode.
3.
Enter
then press
to set the
??XB
k
register in the tax program mode.
4.
Referring the tax table on page E-12 of the
User's Manual, enter the tax table number for
Tax table 1 then press
p
key.
For example, to set Alabama 4% state and local
tax, enter ?Z?Zp.
Note: If there is no tax table falling under your
requirement, please see "To set tax
tables and rounding system" on page
E-41 of the User's Manual to set tax
rates manually.
5.
If necessary, repeat the step 4 for Tax table 2.
6.
Press
k
key to complete the settings.
Note: By default, department 02 is pro-
grammed as taxable status 1 and the
rest of departments are set as non-
taxable status.
If you wish to change the taxable
statuses of departments, please see
"To change taxable statuses of depart-
ments" on page E-14 of the User's
Manual.
To set a journal paper
By default, your cash register issues receipts. You
can change it to print journals by changing the
setting.
1.
Turn the Mode switch to PGM position. "P"
appears on the display.
2.
Press
to set the cash register in
Zk
program mode.
3.
Press
to set the register in "Jounal"
?u
mode.
4.
Remove the printer cover by lifting up.
5.
Turn the Mode switch to REG and press
l
key so that the paper is fed about 15 cm.
6.
Remove the left plate of the take up reel and
insert the edge of the paper between the gap of
the shaft.
7.
Turn the reel a few turns so that it holds the
paper securely then replace the left plate.
8.
Place the take up reel behind the printer and
press
key to reduce a slack of the paper.
l
9.
Replace the printer cover.
Note: If you wish to restore the register to
"Receipt" mode, press
in step 3.
Zu
The default setting of your cash register
is to print receipts. If you wish to use it
to print journals, please see the above.
Advertisement

Related Manuals for Casio SE-G1


Summary of Contents for Casio SE-G1
- Page 1 Quick Start Guide For programming assistance Please visit http://casio4business.com/sa_index.html Electronic Cash Register SE-G1/PCR-T273/SM-T274/SE-S700 For Technical support Please call TOLL FREE 1-800-435-7732 Preparations Note: Please follow the steps described below. 4. To set language, date and To set a journal paper •...
-
Page 2: Before Opening Your Store
Getting to know your cash register Daily job flow 1. Mode switch 2. Display 3. Keyboard Before opening your store • Plugged in? • Enough paper roll? *1234%67 • Date and time are correct? (pages E-63 and E-64 of the User’s Manual) •...