KitchenAid KBMS1454S Use And Care Manual
Kitchenaid built-in microwave oven use & care guide
Hide thumbs
Also See for KBMS1454S:
- Dimension manual (1 page) ,
- Installation instructions manual (8 pages)
Table of Contents
Advertisement
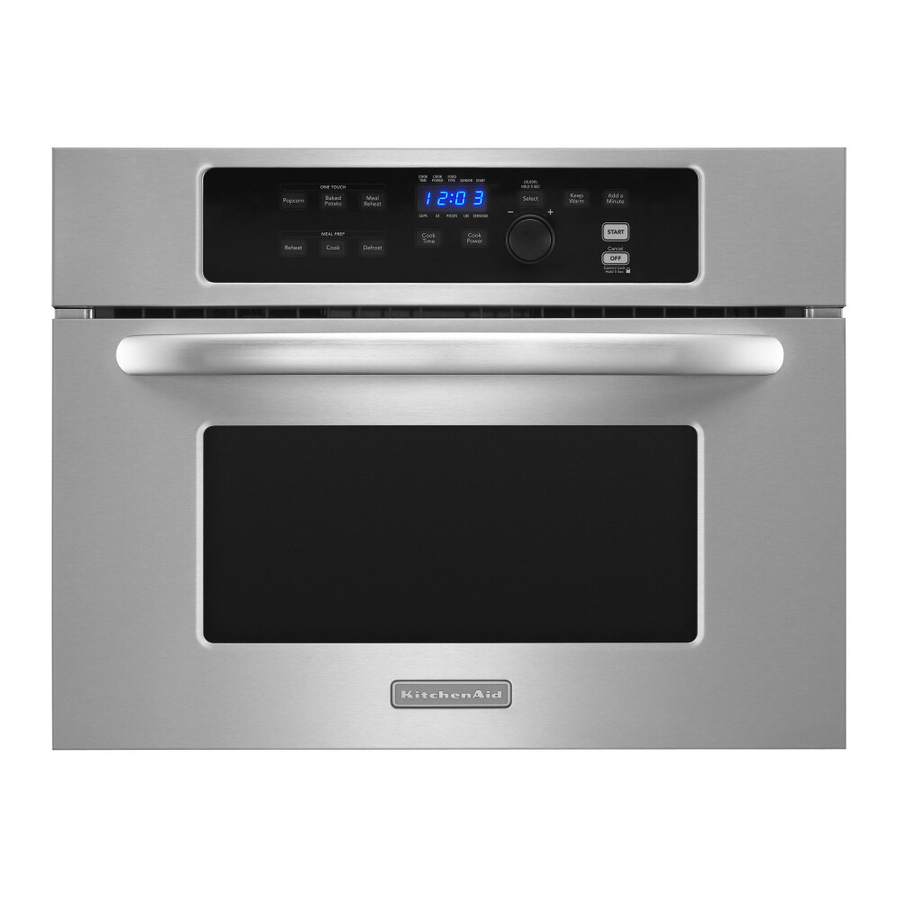
BUILT-IN MICROWAVE OVEN
Use & Care Guide
For questions about features, operation/performance, parts, accessories or service, call: 1-800-422-1230,
or visit our website at... www.kitchenaid.com
Table of Contents............................................................................................................ 2
Model KBMS1454S
W10104180
Advertisement
Table of Contents

Related Manuals for KitchenAid KBMS1454S


Summary of Contents for KitchenAid KBMS1454S
- Page 1 BUILT-IN MICROWAVE OVEN Use & Care Guide For questions about features, operation/performance, parts, accessories or service, call: 1-800-422-1230, or visit our website at... www.kitchenaid.com Table of Contents... 2 Model KBMS1454S W10104180...
-
Page 2: Table Of Contents
TABLE OF CONTENTS BUILT-IN MICROWAVE OVEN SAFETY...3 Electrical Requirements ...4 PARTS AND FEATURES...5 Turntable ...5 MICROWAVE OVEN CONTROL...6 Display...6 Start ...6 Cancel/Off ...6 Add a Minute ...6 Dial...6 Select...6 Clock ...7 Tones...7 Demo Mode...7 Control Lock...7 Cooling Fan ...7 MICROWAVE OVEN USE ...8 Food Characteristics ...8... -
Page 3: Built-In Microwave Oven Safety
– Use extreme care when inserting a spoon or other utensil into the container. Oversized foods or oversized metal utensils should not be inserted in the microwave oven as they may create a fire or risk of electric shock. Do not clean with metal scouring pads. Pieces can burn off the... -
Page 4: Electrical Requirements
Do not store any materials, other than manufacturer’s recommended accessories, in this oven when not in use. Do not store anything directly on top of the microwave oven when the microwave oven is in operation. Do not deep fry in microwave oven. Microwavable utensils are not suitable, and it is difficult to maintain appropriate deep frying temperatures. -
Page 5: Parts And Features
To Install: The support and hub are preassembled and installed in the microwave oven. Place the turntable on the support. Fit the raised, curved lines in the center of the turntable bottom between the three spokes of the hub. The rollers on the support should fit inside the turntable bottom ridge. -
Page 6: Microwave Oven Control
MICROWAVE OVEN CONTROL Display When power is first supplied to the microwave oven, a “:” will blink in the display. Touch CANCEL/OFF to stop the blinking. If the “:” blinks in the display at any other time, a power failure has occurred. -
Page 7: Clock
Demo Mode, “no” and then “HEAt” will appear in the display. To Turn On/Off: The microwave oven must be off. Open the door, then touch and hold COOK for 5 seconds. Three short tones will sound. -
Page 8: Microwave Oven Use
Do not operate microwave oven when it is empty. The turntable must be in place and correct side up when microwave oven is in use. Do not use if turntable is chipped or broken. See “Assistance or Service” section to reorder. -
Page 9: Cookware And Dinnerware
If not used properly, arcing (a blue flash of light) can occur and cause damage to the microwave oven. OK for Use Racks and bakeware supplied with the microwave oven (on some models), aluminum foil for shielding, and approved meat thermometers may be used with the following guidelines: Do not allow aluminum foil or metal to touch the inside cavity walls, ceiling or floor. -
Page 10: Cook Time Set
Cook Time Set Cook time may be set in the following increments, in minutes and seconds: INCREMENT TIME SETTING 0:05 0:05-1:00 0:15 1:15-3:00 0:30 3:30-6:00 1:00 7:00-30:00 5:00 35:00-90:00 To Use: 1. Touch COOK TIME, then turn the dial to desired cook time touch COOK TIME repeatedly to increase cook time. -
Page 11: Meal Prep Reheat
Meal Prep Reheat Times and cooking power have been preset for reheating specific food types. Use the following chart as a guide. FOOD QUANTITY/INSTRUCTIONS Baked Goods 1 1-6 pieces, 2 oz (57 g) each*/ Place on paper towel. Beverage 1 or 2 cups, 8 oz (250 mL) each/ Do not cover. -
Page 12: One Touch Sensor Cooking
Doing so can result in food poisoning or sickness. Hot cooked food can be kept warm in the microwave oven. The Keep Warm function uses 10% cook power. Keep Warm can be used by itself or can be programmed to follow a cooking cycle. -
Page 13: Microwave Oven Care
MICROWAVE OVEN CARE IMPORTANT: Before cleaning, make sure all controls are off and the microwave oven is cool. Always follow label instructions on cleaning products. Soap, water and a soft cloth or sponge are suggested unless otherwise noted. MICROWAVE OVEN CAVITY... -
Page 14: Troubleshooting
Replace turntable support. Replace turntable. Place 1 cup (250 mL) of water on the turntable, then restart the microwave oven. If it still is not working, call for service. See “Assistance or Service” section. Do not operate the microwave oven without turntable and turntable support working properly. -
Page 15: Assistance Or Service
To locate the KitchenAid designated service company in your area, you can also look in your telephone directory Yellow Pages. For further assistance If you need further assistance, you can write to KitchenAid with any questions or concerns at: KitchenAid Brand Home Appliances Customer eXperience Center... -
Page 16: Warranty
If you need service, first see the “Troubleshooting” section of the Use & Care Guide. After checking “Troubleshooting,” additional help can be found by checking the “Assistance or Service” section or by calling KitchenAid. In the U.S.A., call 1-800-422-1230. In Canada, call 1-800-807-6777.