Table of Contents
Advertisement
Quick Links
Advertisement
Table of Contents

Related Manuals for Kenwood LSF-1010


Summary of Contents for Kenwood LSF-1010
- Page 1 LSF-1010 SPEAKER SYSTEM INSTRUCTION MANUAL KENWOOD CORPORATION B61-1040-00...
-
Page 2: Introduction
CIENT MAGNITUDE TO CONSTITUTE A RISK OF ELECTRIC SHOCK TO PERSONS. THE EXCLAMATION POINT WITHIN AN EQUILATERAL TRIANGLE IS INTENDED TO ALERT THE USER TO THE PRESENCE OF IMPOR- TANT OPERATING AND MAINTENANCE (SERVICING) INSTRUCTIONS IN THE LITERATURE ACCOMPANYING THE APPLIANCE. LSF-1010 (EN) -
Page 3: Table Of Contents
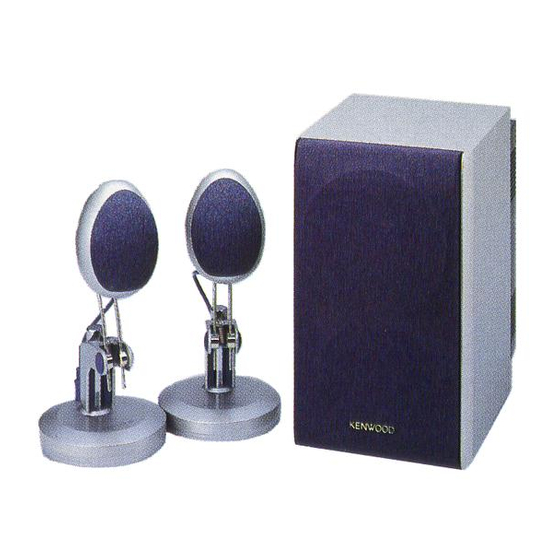
We recommend that you retain the original carton and packing materials for use should you transport or ship the unit in the future. Keep this manual handy for future reference. LSF-1010 System Components ÷ One subwoofer ÷ Two satellite speakers and stands... -
Page 4: Important Safeguards
12. Abnormal odor – If abnormal odor or smoke is detected, immediately turn the power OFF and unplug the appliance from the wall outlet. Contact your dealer or nearest service center. LSF-1010 (EN) - Page 5 Caution : Read this page carefully to ensure safe operation. 20. Safety check – Upon completion of any service or repairs to this appliance, ask the service technician to perform safety checks to determine that the appliance is in proper operating condition. LSF-1010 (EN)
-
Page 6: Location And Orientation
Location and Orientation Satellite Speakers For standard setup, mount each speaker to a stand as described below. For detail, see page 8 “Setting Up the Satellite Speakers” Subwoofer The subwoofer can be positioned either vertically or horizontally. KENWOOD KENWOOD Vertical Orientation... - Page 7 Side panel : 10 cm Subwoofer and Satellite Speaker Magnetic Shielding and TV Color Reception The speakers (subwoofer and satellite speaker) include magnetic shielding and can therefore be installed close to a TV set. If installing close to a TV, however, be sure to follow the procedure below.
-
Page 8: Setting Up The Satellite Speakers
Be sure that the screw head makes contact with metal only, not with plastic insulation. 1. Attach the speaker to the arm. Use the speaker screw and washer removed from the satellite speaker to make the attachment. Satellite speaker Washer Screw... - Page 9 Plug the cord into the jack. Setting Up the Satellite Speakers You can adjust the position of the speaker by changing the height and angle of the arm as desired. See “Adjusting the Satellite Speaker Position” on page 16. Move arm up or down to desired position.
-
Page 10: Making Connections
2. If your amp or receiver does not include a SUBWOOFER PRE-OUT jack: In this case, you can connect to the speaker output terminals on your amp or receiver. For instructions, see page 12, "Connecting to Amp's Speaker Output Terminals."... - Page 11 Pin-plug audio cable (included) SPEAKERS SUPER WOOFER PRE OUT Speaker cord (included) · ª Included speaker cord Satellite speaker (left) Making Connections LSF-1010 (EN) CAUTION Do not plug in the power cord until you have finished mak- ing all connections. Subwoofer White stripe...
- Page 12 Be sure that your amplifier or receiver is able to work with 6-ohm speakers. If your amplifier or receiver has two sets of speaker output terminals, you can connect the front speakers directly to the second set of terminals (rather than connecting Note Note them to the TO SPEAKER terminals on the subwoofer).
- Page 13 • If you wish to connect the subwoofer to the PRE-OUT jacks on a standalone preamplifier, the preamp unit must include a second set of terminals for connection to speaker amps, and must be capable of simultaneous output to both the PRE-OUT jacks and the speaker-amp jacks.
-
Page 14: Components And Their Functions
• If the bass volume at the room location at NOR. REV. which you normally listen seems unnatu- Normal Reverse rally low, possibly as a result of the room acoustics or the positioning of the subwoofer. LSF-1010 (EN) -
Page 15: Important Operating Notes
Satellite Speakers 1. The satellite speakers have a nominal impedance of 6 ohms. To ensure safe and efficient speaker operation, be sure that your amplifier or receiver is able to work with 6-ohm speakers. 2. The speaker system’s power capacity is indicated in the specifications. Do not operate speakers at power levels above this limit. -
Page 16: Adjusting The Satellite Speaker Position
3. Replace the screw caps. You may now want to readjust the angle of the speaker on the arm. You can do this by loosening the screw holding the speaker to the arm, repositioning the screw, and then retightening it. See “Adjusting the Speaker Angle,” on page 8. - Page 17 2 Replace the screw caps. 3 Reconnect the speaker cord to the jack. You may now want to readjust the angle of the speaker on the arm. You can do this by loosening the screw holding the speaker to the arm, repositioning the screw, and then retightening it.
-
Page 18: Other Ways To Set Up The Satellite Speakers
Wall Mount Clip-On Mount You may now want to readjust the angle of the speaker on the arm. You can do this by loosening the screw holding the speaker to the arm, repositioning the screw, and then retightening it. See “Adjusting the Speaker Angle, ” on page 8. -
Page 19: Wall Mount
Be sure to follow the procedure given here when carrying out installation. Kenwood can assume no liability for injury or damage that may occur if a speaker setup falls from the wall as a result of incorrect installation or insuffi- cient support strength. - Page 20 • Fit the clip securely onto the pole in the 5. Attach and fasten the arm. You may now want to readjust the angle of the speaker on the arm. You can do this by loosening the screw holding the speaker to the arm, repositioning the screw, and then retightening it.
- Page 21 Clip-on Mount Use the following procedure to clip the speaker onto an object other than the base. You can clip to either a cylindrical fixture (such as a thin pipe) or a flat-edge fixture (such as the edge of a bookshelf).
- Page 22 2 Place the screw caps back over the arm screws. You may now want to readjust the angle of the speaker on the arm. You can do this by loosening the screw holding the speaker to the arm, repositioning the screw, and then retightening it.
-
Page 23: Maintenance
Maintenance Cleaning You can clean the panel for subwoofer and satellite speaker and casing by wip- ing with a soft cloth. Never clean with alcohol, benzene, paint thinner, or other such solvents, as these may cause discoloration. Contact Restorers Never use contact restoring agents to restore electrical connections, as these may cause the subwoofer to fail. -
Page 24: Troubleshooting
* Reconnect so that L, R, (+), and (–) connections are correct. (Refer to "Making Connections.") * Change the setting of the PHASE switch. * Raise the PRE-OUT level at the amp or receiver. * Move the subwoofer from the AM receiver. LSF-1010 (EN) Correction See page... -
Page 25: Specifications
*1: Dimensions may vary depending on the setting up of the satel- lite speakers. *2: Stand included. 1.KENWOOD follows a policy of continuous advancements in development. For this reason specifications may be changed without notice. Notes Notes 2.Sufficient performance may not be possible at very low temperatures (0°C or less). - Page 26 For your records Record the serial number, found on the back of the subwoofer, in the spaces designated on the warranty card, and in the space provided at right. Refer to the model and serial numbers whenever you call upon your dealer for information or service on this product.