JVC KD-G333 Instructions Manual
Cd receiver
Hide thumbs
Also See for KD-G333:
- Instructions manual (56 pages) ,
- Installation & connection manual (4 pages) ,
- Instructions manual (57 pages)
Table of Contents
Advertisement
CD RECEIVER
RÉCEPTEUR CD
KD-G333/KD-G332/KD-G331
For canceling the display demonstration, see page 5.
Pour annuler la démonstration des affichages, référez-vous à la page 5.
For installation and connections, refer to the separate manual.
Pour l'installation et les raccordements, se référer au manuel séparé.
INSTRUCTIONS
MANUEL D'INSTRUCTIONS
GET0406-003A
[EX/EU]
Advertisement
Table of Contents

Related Manuals for JVC KD-G333


Summary of Contents for JVC KD-G333
- Page 1 CD RECEIVER RÉCEPTEUR CD KD-G333/KD-G332/KD-G331 For canceling the display demonstration, see page 5. Pour annuler la démonstration des affichages, référez-vous à la page 5. For installation and connections, refer to the separate manual. Pour l’installation et les raccordements, se référer au manuel séparé.
- Page 2 Thank you for purchasing a JVC product. Please read all instructions carefully before operation, to ensure your complete understanding and to obtain the best possible performance from the unit. IMPORTANT FOR LASER PRODUCTS 1. CLASS 1 LASER PRODUCT 2. CAUTION: Do not open the top cover. There are no user serviceable parts inside the unit; leave all servicing to qualified service personnel.
-
Page 3: Table Of Contents
If you press M MODE, the unit goes into functions ¢ mode, then the number buttons and Control panel — .. 4 KD-G333/KD-G332/KD-G331 buttons work as different function buttons. Getting started ........ 5 Ex.: When number button 2 works as Basic operations ........... 5 MO (monaural) button. -
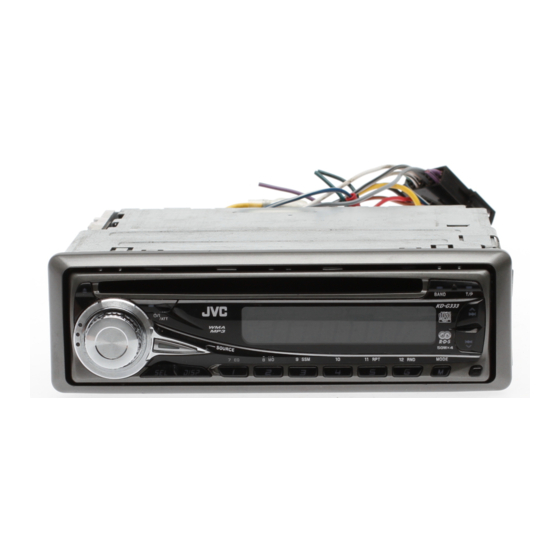
Page 4: Control Panel
Control panel — KD-G333/KD-G332/KD-G331 Parts identification Display window (eject) button (control panel release) button Loading slot Disc information indicators— (standby/on/attenuator) button TAG (Tag information), (track/file), (folder) SOURCE button DISC indicator Display window Playback mode / item indicators—RND (random), BAND button... -
Page 5: Getting Started
Getting started Basic settings • See also “General settings — PSM” on pages 12 and Basic operations Turn on the power. Ÿ * You cannot select “DISC” as the playback source if there is no disc in the unit. 1 Canceling the display demonstrations For FM/AM tuner Select “DEMO,”... -
Page 6: Radio Operations
To restore the stereo effect, repeat the same Radio operations procedure. “MONO OFF” appears and the MO indicator goes off. Storing stations in memory Ÿ You can preset six stations for each band. Lights up when receiving an FM stereo FM station automatic presetting —... -
Page 7: Fm Rds Operations
Searching for your favorite FM RDS programme You can tune in to a station broadcasting your favorite Preset number flashes for a while. programme by searching for a PTY code. • To store your favorite programme types, see the following. Listening to a preset station The last selected PTY code appears. -
Page 8: Using The Standby Receptions
PTY Standby Reception Select the preset number (1 – 6) you want to store into. PTY Standby Reception allows the unit to switch temporarily to your favorite PTY programme from any source other than AM. To activate and select your favorite PTY code for PTY Standby Reception, see page 13. -
Page 9: Disc Operations
Ÿ Automatic station selection— Programme Search Usually when you press the number buttons, the preset station is tuned in. If the signals from the FM RDS preset station are not All tracks will be played repeatedly until you sufficient for good reception, this unit, using the AF change the source or eject the disc. -
Page 10: Prohibiting Disc Ejection
: Elapsed playing time with the current To select a particular track in a track number folder (for MP3 or WMA disc): : Clock with the current track number : Corresponding indicator lights up on the display Prohibiting disc ejection If the current disc is an audio CD, “NO NAME”... -
Page 11: Sound Adjustments
Sound adjustments Adjusting the sound You can adjust the sound characteristics to your You can select a preset sound mode suitable to the preference. music genre (C-EQ: custom equalizer). Preset values LOUD (bass) (treble) (loudness) Indication, [Range] Indication (For) BAS* (bass), [–06 to +06] USER Adjust the bass. -
Page 12: General Settings - Psm
General settings — PSM You can change PSM (Preferred Setting Mode) items Adjust the PSM item selected. listed in the table that follows. Repeat steps to adjust other PSM Select a PSM item. items if necessary. Finish the procedure. Indications Item Selectable settings, [reference page] : Initial) - Page 13 Indications Item Selectable settings, [reference page] : Initial) PTY-STBY * OFF, PTY codes Activates PTY Standby Reception with one of the PTY codes, [9]. PTY standby TA VOL * VOL 00 – VOL [Initial: VOL 15] 30 or 50 * Traffic announcement volume P-SEARCH *...
-
Page 14: Maintenance
To keep discs clean Maintenance A dirty disc may not play correctly. If a disc does become dirty, wipe it with How to clean the connectors a soft cloth in a straight line from center Frequent detachment will deteriorate the connectors. to edge. -
Page 15: More About This Unit
• If you want to know more about RDS, visit More about this unit <http://www.rds.org.uk>. Basic operations Disc operations Turning on the power Caution for DualDisc playback • By pressing SOURCE on the unit, you can also turn on • The Non-DVD side of a “DualDisc” does not comply the power. - Page 16 • CD-RWs may require a longer readout time since the • This unit can play back files recorded in VBR (variable reflectance of CD-RWs is lower than that of regular bit rate). CDs. Files recorded in VBR have a discrepancy in elapsed •...
-
Page 17: Troubleshooting
Troubleshooting What appears to be trouble is not always serious. Check the following points before calling a service center. Symptoms Remedies/Causes • Sound cannot be heard from the speakers. • Adjust the volume to the optimum level. • Check the cords and connections. •... - Page 18 Symptoms Remedies/Causes • Disc cannot be played back. • Use a disc with MP3/WMA tracks recorded in the format compliant with ISO 9660 Level 1, Level 2, Romeo, or Joliet. • Add the extension code <.mp3> or <.wma> to the file names.
-
Page 19: Specifications
Specifications AUDIO AMPLIFIER SECTION CD PLAYER SECTION Maximum Power Output: Type: Compact disc player Front/Rear: 50 W per channel Signal Detection Non-contact optical pickup System: (semiconductor laser) Continuous Power Output (RMS): Number of Channels: 2 channels (stereo) Front/Rear: 19 W per channel into 4 Ω, 40 Hz to 20 000 Hz at no more Frequency Response: 5 Hz to 20 000 Hz than 0.8% total harmonic... - Page 20 électromagnétique et à la sécurité électrique. European representative of Victor Company of Japan, Limited Représentant européen de la société Victor Company of Japan, Limited: JVC Technology Centre Europe GmbH JVC Technology Centre Europe GmbH Postfach 10 05 52 Postfach 10 05 52...
- Page 21 • Assurez-vous de raccorder de nouveau la mise à la masse de cet appareil au châssis de la voiture après l’installation. Notes: • Replace the fuse with one of the specified rating. If the fuse blows frequently, consult your JVC IN-CAR Remarques: ENTERTAINMENT dealer.
-
Page 22: Removing The Unit
The following illustration shows a typical installation. If you have any questions or require information regarding installation kits, consult your JVC IN-CAR ENTERTAINMENT dealer or a company supplying d’information sur des kits d’installation, consulter votre revendeur d’autoradios JVC ou une compagnie kits. -
Page 23: Electrical Connections
ENGLISH FRANÇAIS ELECTRICAL CONNECTIONS RACCORDEMENTS ELECTRIQUES If your car is equipped with the ISO For some VW/Audi or Opel (Vauxhall) automobile / Pour certaine voiture VW/Audi ou Opel connector / Si votre voiture est équippée (Vauxhall) d’un connecteur ISO You may need to modify the wiring of the supplied power cord as illustrated. •... - Page 24 Si votre voiture est munie d’une télécommande de volant, vous pouvez commander cet autoradio en controller. To do it, a JVC’s OE remote adapter (not supplied) which matches with your car is required. utilisant la télécommande. Pour le faire, un adaptateur pour télécommande au volant JVC (non fourni) Consult your JVC IN-CAR ENTERTAINMENT dealer for details.