Table of Contents
Advertisement
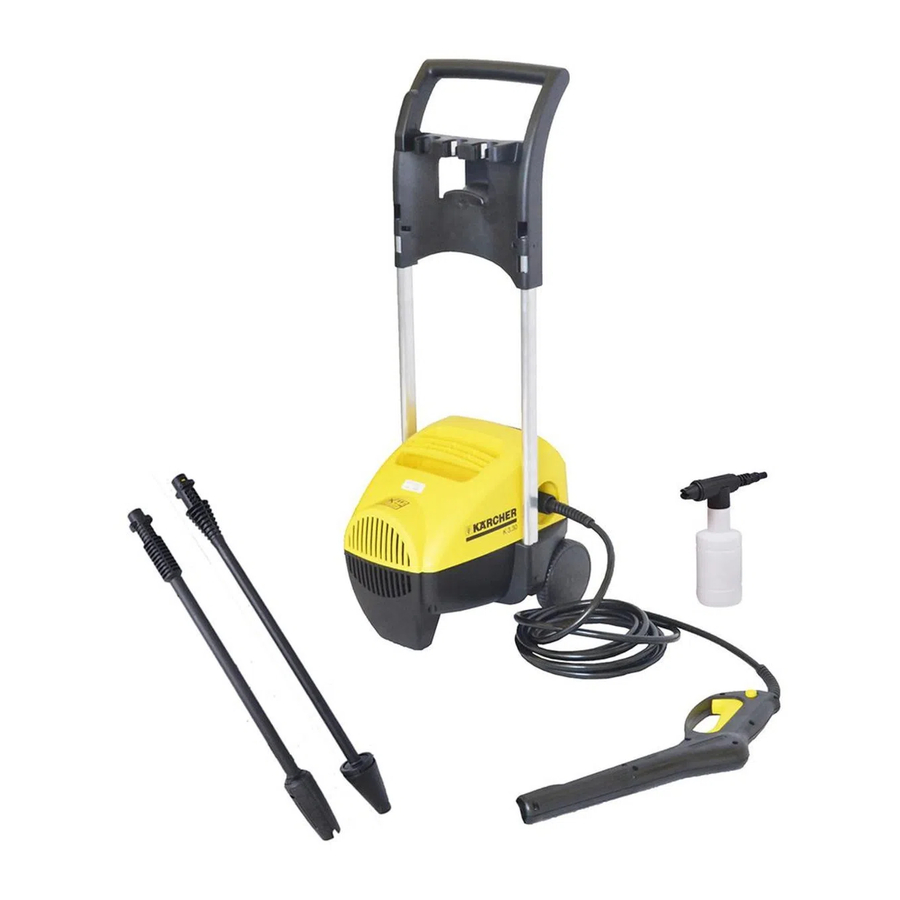
Model K 330 M
High Pressure Washer Operator Manual
Overview . . . . . . . . . . . . . . . . . . . . . . . . . . . . . . . . . .1
Precautions . . . . . . . . . . . . . . . . . . . . . . . . . . . . . . .1-3
Assembly Instructions . . . . . . . . . . . . . . . . . . . . . . . . .3
Operating Instructions . . . . . . . . . . . . . . . . . . . . . . . . .4
Using the Accessories . . . . . . . . . . . . . . . . . . . . . . . .5
Working with Detergents . . . . . . . . . . . . . . . . . . . . . . .6
Shut Down and Clean-Up . . . . . . . . . . . . . . . . . . . . . .7
Taking a Break . . . . . . . . . . . . . . . . . . . . . . . . . . . . . .7
Winterizing and Long-Term Storage . . . . . . . . . . . . . .7
Cleaning Tips . . . . . . . . . . . . . . . . . . . . . . . . . . . . .8-9
Optional Cleaning Accessories . . . . . . . . . . . . . . . . . .9
Troubleshooting . . . . . . . . . . . . . . . . . . . . . . . . . .10-11
Specifications
Operating pressure
Water volume
Voltage
Amp draw
1300 PSI
1.7 GPM
120 V
14 AMPS
Part No. 1.994-916.0
Advertisement
Table of Contents
Troubleshooting

Related Manuals for Kärcher K 330 M


Summary of Contents for Kärcher K 330 M
-
Page 1: Table Of Contents
Model K 330 M High Pressure Washer Operator Manual Overview ........1 Precautions . -
Page 2: Overview
Never operate while standing in water. Never touch plug with wet hands. Never let electrical connections rest in water. Never operate pressure washer without the water turned on Never use hot water... -
Page 3: Precautions
To comply with the National Electrical Code (NFPA70) and to provide additional protection from the risk of electrocution, this high pressure washer should only be connected to a receptacle that is protect- ed by a ground fault circuit interrupter (GFCI). For best results, unit should be plugged into an unshared outlet. -
Page 4: Precautions
– continued • The water supply temperature must not exceed 104°F/40°C. • Never use the pressure washer to draw in water contaminated with solvents, e.g. paint thinners, gasoline, oil, etc. • Always prevent debris from being drawn into the unit by using a clean water source. -
Page 5: Operating Instructions
OPERATING INSTRUCTIONS Step 1 Connect the high pressure hose to the unit’s high pressure outlet. Step 3 Connect garden hose to unit’s water inlet using the quick connect adapter. Step 5 Plug the power cord into the power outlet. Trigger the gun to eliminate trapped air, wait for a steady flow of water to emerge from the spray nozzle. -
Page 6: Using The Accessories
USING THE ACCESSORIES Vario spray wand The Vario spray wand allows you to adjust the cleaning pressure. To clean at maximum pressure, the Vario wand must be positioned to the high pressure setting (+). To apply detergent, the wand must be positioned to the low pressure setting (-). Rotating spray wand This wand features a 0º... -
Page 7: Working With Detergents
(-) by turning the wand collar. The wand must be set in the low pressure (-) position to apply detergents. Step 2 Fill a container with Karcher detergent. Place the filter end of detergent suction tube into the container. Step 3 Turn on the pressure washer. -
Page 8: Shut Down And Clean-Up
SHUTTING DOWN & CLEAN-UP Step 1 Remove de- tergent suction tube from container and insert into 1 gallon of fresh water. Siphon water at low pressure for one minute. Step 5 Disconnect the garden hose from the water inlet on the unit. TAKING A BREAK... -
Page 9: Cleaning Tips
(for best results, limit your work area to sections of approximately 6 feet and always apply detergent from bottom to top). Allow Karcher House Wash to remain on surface 1-3 minutes. Do not allow detergent to dry on surface, if surface appears to be drying, simply wet down surface with fresh water. -
Page 10: Optional Cleaning Accessories
Karcher Rotating Nozzle Spray Wand. Caution: Do not use rotating nozzle spray wand on cloth, plastic or other sensitive surfaces as it may cause damage. -
Page 11: Troubleshooting
TROUBLESHOOTING Disconnect the machine from the power source before making any repair. Symptom Cause Motor will not start On/Off switch is in the “OFF” (O) position. Power cord is not plugged in. Extension cord is too long. Extension cord is not proper gauge. -
Page 12: Troubleshooting
Check that all fittings are tight. Call service center. Call service center. If you encounter any additional difficulties not listed, please call our service center for help. Karcher Customer Support USA 1-800-537-4129...