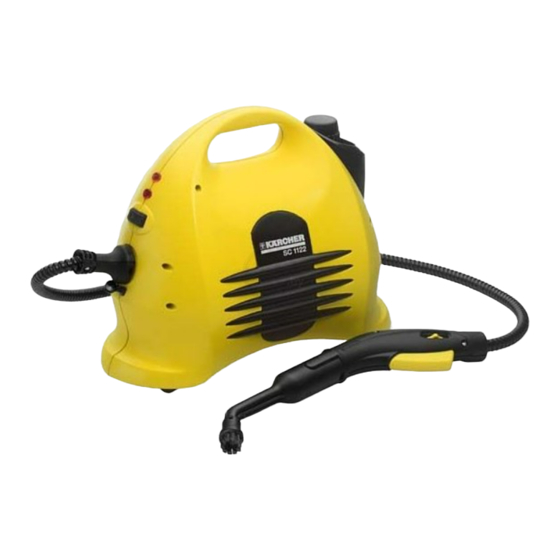
Summary of Contents for Kärcher SC 1122
-
Page 1: Operating Instructions
SC 1122 Operating Instructions Before first use of the unit read these operating instructions and act in accordance with them. 59631850 11/09... -
Page 3: Table Of Contents
Contents Description of the Appliance ... 3 Safety instructions... 4 Preparing the Appliance... 5 Quick Reference ... 6 Operation ... 7 How to Use the Accessories ... 9 Maintenance and care ... 11 Troubleshooting ... 12 Helpline ... 13 Technical specifications ... 13 Spare parts ... -
Page 4: Safety Instructions
Safety instructions Danger The appliance may not be used in areas where a risk of explosion is present. If the appliance is used in hazardous ar- eas the corresponding safety provisions must be observed. Never use the appliance in pools con- taining water. -
Page 5: Preparing The Appliance
Please arrange for the proper recycling of old appliances. Please dispose your old appliances using appropriate collec- tion systems. Notes about the ingredients (REACH) You will find current information about the ingredients at: http://www.karcher.de/de/unternehmen/ umweltschutz/REACH.htm English 5... -
Page 6: Quick Reference
1 Fill the steam cleaner with 1.2 liters of water. 2 Screw in safety cap. 3 Insert the steam plug into the appliance connector. 6 English Quick Reference 4 Plug in the main plug. Turn on the appliance. The orange indicator light comes on. 5 Wait until the orange indicator light goes out. -
Page 7: Operation
Operation Attaching the Accessories Tightly insert the steam plug (C6) into the appliance connector (A1). The plug must click into place audibly. Connect the required accessories to the steam gun (C1). Insert the open end of the accessory on the steam gun and push onto the steam gun until the un- locking button (C2) of the steam gun locks into place. -
Page 8: Turning On/Off Appliance
Turning on the Appliance Place the unit securely on a firm sur- face. Note: Do not carry the unit while clean- ing. CAUTION Do not turn the appliance on without water in the boiler. Otherwise, the appliance may overheat (see troubleshooting). Insert the mains plug into a socket. -
Page 9: How To Use The Accessories
How to Use the Accessories Important application instructions Cleaning of Textiles Before you use the steam cleaner for the cleaning of textiles, you should always test the resistance of the fabrics against steam by means of cleaning a hidden spot. Apply steam to the hidden spot, and then let it dry. - Page 10 Manual nozzle (E1) Pull the terry cloth cover (E2) over the man- ual nozzle. Application: – small, washable surfaces, such as kitchen surfaces made of plastic, tiled walls – Shower cabins, mirror – Furniture fabrics – Vehicle interior, windshields – Bath-tubs Squeegee (F1) Application: –...
-
Page 11: Maintenance And Care
Special accessories Set of micro-fibre dusters "Bath“ (order no. 2.863-171) - 2 soft bath towels made of plush velours. - 1 Abrasive cover for hand nozzle. - 1 polishing cloth for mirror and bathroom fittings Set of micro-fibre dusters "Kitchen“ (order no. -
Page 12: Troubleshooting
Pour the descaling solution into the boil- er and allow it to react for approximately 8 hours. WARNING Do not screw the steam boiler cap on the appliance during the descaling. Do not use the steam cleaner as long as there is des- caling agent in the boiler. -
Page 13: Helpline
Kärcher House Beaumont Road Banbury Oxon, OX16 1TB or E-mail us: info@karcher.co.uk Warranty The warranty terms published by the rele- vant sales company are applicable in each country. We will repair potential failures of your appliance within the warranty period... - Page 14 Notes 14 English...
-
Page 15: Spare Parts
Spare parts English 15...


