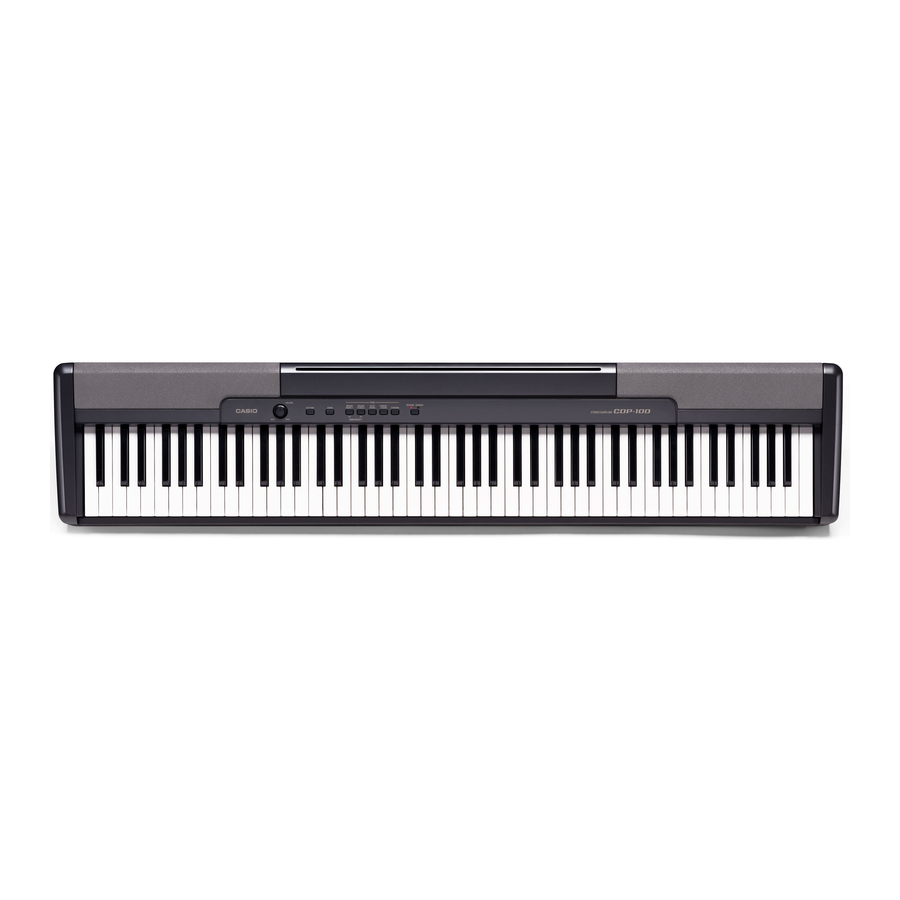
Casio CDP-100 Service Manual
Cdp-100
Hide thumbs
Also See for CDP-100:
- Product catalog (2 pages) ,
- Product catalog (16 pages) ,
- User manual (16 pages)
Advertisement
Advertisement
Table of Contents

Related Manuals for Casio CDP-100


Summary of Contents for Casio CDP-100
- Page 1 CDP-100 AUG. 2005 CDP-100 ELECTRONIC KEYBOARD INDEX...
-
Page 2: Table Of Contents
CONTENTS Specifications ---------------------------------------------------------------------------------------------- 1 Block Diagram --------------------------------------------------------------------------------------------- 2 Circuit Description --------------------------------------------------------------------------------------- 3 Printed Circuit Board ------------------------------------------------------------------------------------ 4 Disassembly ------------------------------------------------------------------------------------------------ 7 Diagnostic Program ------------------------------------------------------------------------------------ 11 Exploded View ------------------------------------------------------------------------------------------- 13 Parts List --------------------------------------------------------------------------------------------------- 14 Schematic Diagrams ----------------------------------------------------------------------------------- 17... -
Page 3: Specifications
SPECIFICATIONS GENERAL Keyboard: 88 piano keys (with touch response) Polyphony: 32 notes, maximum Tones: 5; with layer Digital Effects: Reverb (4 types), Chorus (4 types) Built-in Tunes: Pedal: Damper Other Functions: • Touch: 3 types, off • Transpose: 1 octave (F# to C to F) •... -
Page 4: Block Diagram
BLOCK DIAGRAM Speakers JACK PCB (M403-JKA1) JACK PCB (M403-JKB1) Phones/Output AC ADAPTOR DC 12V DAMPER MIDI Q206 D206 Power Amplifier IC201 Power Supply Circuit LA4636 Q202 ~ Q205, D203, D204, D205, D208, D209 Main Volume Q201, D202 SUB PCB Filter (M403-PSA2) (5V) (5V) -
Page 5: Circuit Description
CIRCUIT DESCRIPTION KEY MATRIX A0#1 C1#1 D1#1 A0#2 C1#2 D1#2 F1#1 G1#1 A1#1 F1#2 G1#2 A1#2 C2#1 D2#1 F2#1 G2#1 C2#2 D2#2 F2#2 G2#2 A2#1 C3#1 D3#1 A2#2 C3#2 D3#2 F3#1 G3#1 A3#1 F3#2 G3#2 A3#2 C4#1 D4#1 F4#1 G4#1 C4#2 D4#2 F4#2... -
Page 6: Printed Circuit Board
PRINTED CIRCUIT BOARDS MAIN PCB M403-MDA1 Top View Bottom View — 4 —... - Page 7 SUB PCB M403-PSA1 Top View SUB PCB M403-PSA2 CONSOLE PCB M403-CNA1 Top View Top View — 5 —...
- Page 8 JACK PCB M403-JKA1 Top View JACK PCB M403-JKB1 Top View KEYBOARD PCB MCPZ-KYA1 Top View KEYBOARD PCB MCPZ-KYB2 Top View — 6 —...
-
Page 9: Disassembly
DISASSEMBLY 1. Remove 25 screws on the bottom. 2. Remove the lower panel and then 10 screws. 3. Position the main unit, so the main unit faces upward. 4. Remove 2 screws on the right side and 2 screws on the left side of the unit, and then remove side covers on both sides. - Page 10 Removing the speaker 7. Remove 2 connectors. CN206 CN207 8. Remove 7 screws then the speaker cover. * Take the same procedure for the speaker on the right side. 9. Remove 4 screws then the speaker. * Take the same procedure for the speaker on the right side. Removing the PCBs (M403-MDA1, M403-PSA1, M403-PSA2, and M403-CNA1).
- Page 11 Removing the side case, the PCB (M403-JKA1) and the power switch. 14. Remove the side case on the right. 15. Remove the side case on the left. 16. Remove 4 screws. 17. Remove 4 connectors and then the PCB (M403-JKA1). 18.
- Page 12 Removing the key board. 19. Remove the keys from the hammers. 20. Remove the rubber keys. * One of the keys has the different length from others. Be careful while reassembling. 21. Remove the keys. 22. Remove 9 screws then the PCB (MCPZ-KYA1). 23.
-
Page 13: Diagnostic Program
DIAGNOSTIC PROGRAM Initial Setup 1. Connect an AC adaptor. 2. Connect a Damper pedal. 3. "Main" volume: MAX. NOTE: If there is no pedal or MIDI cable, pedal or MIDI check can be skipped. How to start diagnostic program 1. Press the “POWER” button while pressing the “REVERB/CHORUS KEY” buttons. 2. - Page 14 4. Headphone check 1 Press “FUNCTION” button. *The confirmation chord of C4, E4 and G4 sounds. 2 Connect the headphone. * “CHORUS” LED lights. 3 Remove the headphone. * “CHORUS” LED is unlit. 4 Connect the tuning meter to the Headphone jack. * “CHORUS”...
-
Page 15: Exploded View
EXPLODED VIEW 11 14 — 13 —... -
Page 16: Parts List
PARTS LIST CDP-100 Notes: This parts list does not include the cosmetic parts, which parts are marked with item No. "R-X" in the exploded view. Contact our spare parts department if you need these parts for refurbish. 1. Prices and specifications are subject to change without prior notice. - Page 17 P a r t s P r i c e I t e m Parts name Specification Q T Y Remarks c o d e Code Main PCB 10208255 PCB ASSY/MAIN TK-RJM506084*001 D1,2,3 23901820 DIODE 1SS355TE-17 10159723 IC RN5VD28AA-TR-FA 10197802 IC TC74VHCT08AFT(EL.K 10195928 IC UPD63200GS-E1-A...
- Page 18 P a r t s P r i c e I t e m Parts name Specification Q T Y Remarks c o d e Code 10208286 HAMMER ASSY/B3 TK-RJM506041*001 10208290 HAMMER ASSY/B4 TK-RJM506042*001 10208263 CASE ASSY/MIDDLE TK-RJM506053*003 10208262 KEY ASSY TK-RJM506029*003 D801-854,855-922, 10079928 DIODE...
-
Page 19: Schematic Diagrams
SCHEMATIC DIAGRAMS MAIN PCB M403-MDA1 NOTE: The portions marked as "UNUSED" are not used on this model. — 17 —... - Page 20 SUB PCBs M403-PSA1/PSA2 NOTE: The portions marked as "UNUSED" are not used on this model. — 18 —...
- Page 21 JACK PCB M403-JKA1 NOTE: The portions marked as "UNUSED" are not used on this model. — 19 —...
- Page 22 JACK PCB M403-JKB1 CONSOLE PCB M403-CNA1 NOTE: The portions marked as "UNUSED" are not used on this model. — 20 —...
- Page 23 CASIO COMPUTER CO.,LTD. Overseas Service Division 6-2, Hon-machi 1-Chome Shibuya-ku, Tokyo 151-8543, Japan...