
Related Manuals for JVC 1SM321404


Summary of Contents for JVC 1SM321404
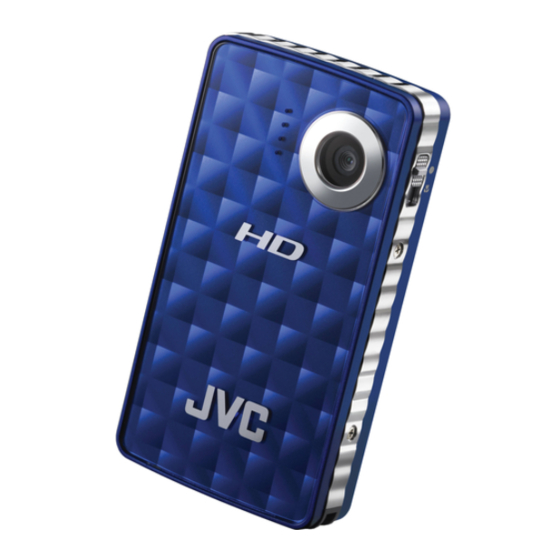
- Page 1 HD MEMORY CAMERA GC-FM1 Basic User Guide For more details on the operations, refer to the “Detailed User Guide” in the internal memory. (p. 4) ENGLISH ESPAÑOL FRANÇAIS PORTUGUÊS 中文 1SM321404...
-
Page 2: Safety Precautions
Damage from being dropped • Water or an object enters inside If a malfunction occurs, stop using the camcorder immediately and contact www.jvc.com or by phone at 1-800-252-5722 If this symbol is shown, it is only valid in the European Union. -
Page 3: Fcc Warning
(For owners in the U.S.A.) Changes or modifi cations not approved by JVC could void the user’ s authority to operate the equipment. This equipment has been tested and found to comply with the limits for a Class B digital device, pursuant to Part 15 of the FCC Rules. - Page 4 Accessories • USB Cable (WUU102SCP001) • AV Cable (WPU122SCP001) • Hand Strap • Application software The supplied software is pre- installed in the camcorder. Refer to the “Detailed User Guide” on the right column for installing software. Viewing the “Detailed Preparation: •...
- Page 5 User Guide” in the internal memory For Windows user The “FMCAM_FRM” window appears. Select [MediaBrowser LE Install and User Guide]. Select [Detailed User Guide]. Click a language. For Mac user Double-click [FMCAM_FRM] on the desktop. Double-click [FM1_guide]. Double-click [FM1_start.pdf ]. Click a language.
-
Page 6: Names Of Components
Names of Components Focus Switching Lever Normal Recording [M] Macro Recording [ ] Power Button [<] Power Lamp Select Button [ Recording/Playback Delete Button [ Hand Strap Attachment Area ¡ ¢ Zoom Buttons Volume Buttons £ ¤ Recording Start/Stop Button Buttons Shutter Button Set Button... -
Page 7: Inserting An Sd Card
Microphone AV Connector HDMI Connector USB Connector Speaker Tripod Mounting Socket To conserve power, the camcorder turns off automatically if there is no operation for 3 minutes. Inserting an SD Card Lens Operations are confi rmed on the following SDHC cards (class 4 or higher) with capacity 4 GB to 32 GB. - Page 8 Charging Charge the battery connecting to PC with the USB cable. Press the < button to turn off the camcorder. The power lamp goes out. Connect the camcorder to a computer. turns on: Charging Charge lamp goes out: Charging finished Charging time approx.
-
Page 9: Setting Date And Time
Setting Date and Time Preparation: Turn on the power and select the recording mode. While pressing the press the button. Select [Time setup], and then press the set button. Set the date and time by selecting items with ¡ ¢ and setting values with After completing the setting, press the set button. -
Page 10: Video Recording & Playback
Video Recording/Playback Preparation: Press the button to select Video Recording Press the set button to start recording. Press it again to stop the recording. Video Playback Press the button to select the playback mode. ¡ ¢ £ Press the Press the set button to start playback. Press it again to stop the playback. - Page 11 Still Image Recording/Playback Preparation: Press the button to select Still Image Recording Press the set button to take a still image. Still Image Playback Press the button to select the playback mode. ¡ ¢ Press the Press the set button. To delete a video or still Image While a video or still image is selected, playing back or displayed, press the button.
-
Page 12: Viewing Files On Tv
Viewing Files on TV Connect the camcorder to a TV. Select the external input mode on the TV. Play back the video or still image. (p. 10, 11) To TV AV Connector NOTE • Also refer to instruction manual of the Saving Files on a Computer Preparation: •...