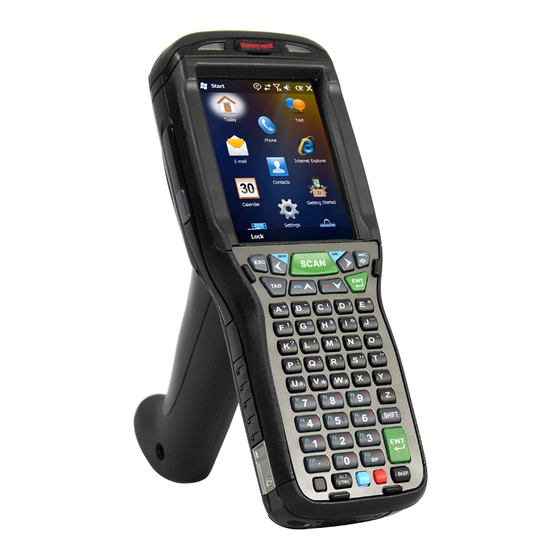
Honeywell Dolphin 99EX Quick Start Manual
With windows embedded handheld 6.5
Hide thumbs
Also See for Dolphin 99EX:
- User manual (193 pages) ,
- Quick start manual (29 pages) ,
- User manual (186 pages)
Table of Contents
Advertisement
Quick Links
Advertisement
Table of Contents

Related Manuals for Honeywell Dolphin 99EX


Summary of Contents for Honeywell Dolphin 99EX
- Page 1 ™ Dolphin 99EX ® with Windows Embedded Handheld 6.5 Quick Start Guide...
- Page 2 Honeywell to determine whether any such changes have been made. The information in this publication does not represent a commitment on the part of HII.
-
Page 3: Front Panel
Out of the Box Verify that the carton contains the following items: • Dolphin 99EX mobile computer (the terminal) • Main battery pack (i.e., standard 3.7V Li-poly or extended 3.7V Li-ion) • Quick Start Guide Note: If you ordered accessories for your terminals, verify that they are also included with the order. -
Page 4: Back Panel
Back Panel Battery Door Release Battery Door Hand Strap Hand Strap Hook IRDA Port Stylus Left Button Slot Image/Scan Engine Window Rear Speaker Color Camera Flashlight/ Camera Flash Note: Your Dolphin model may differ from the model illustrated above; however, the features noted are standard for all 99EX models. -
Page 5: Available Keyboards
Available Keyboards 34-Key Alpha/Numeric Keyboard SEND SCAN ☼ A B C D E F G H I J K L 34-Key Numeric (Calculator) Keyboard PQRS T U V WXYZ SEND SCAN ☼ BKSP — A B C D E F ALPHA CTRL G H I... - Page 6 43-Key Alpha/Numeric Keyboard SEND SCAN ☼ 55-Key Full Alpha/ Numeric Keyboard BKSP SCAN ☼ CTRL BKSP & — ‘ CTRL...
-
Page 7: Install The Main Battery Pack
6. Connect the terminal to one of the 99EX series charging peripherals to charge the main battery pack. We recommend use of Honeywell Li-poly or Li-ion battery packs. Use of any non-Honeywell battery may result in damage not covered by the warranty. -
Page 8: Removing The Main Battery Pack
Battery Error Notification If your terminal displays the following indicators, replace the battery with a Honeywell Li-poly or Li-ion battery pack. • appears in the Title bar at the top of the touch panel display. -
Page 9: Suspend Mode
You can program this time on the Advance tab of the Power System Setting. For additional information, refer to the Dolphin 99EX User’s Guide located on the Web at www.honeywellaidc.com. To put the terminal into Suspend Mode manually, press the Power key and the screen goes blank. - Page 10 Well battery pack is 4 hours for the standard 3.7V battery or 6 hours for the extended battery. Honeywell recommends charging the Dolphin terminal for at least 24 hours prior to initial use to ensure the internal backup battery is fully charged.
-
Page 11: Led Indicators
Charge the auxiliary battery in a cooler environment or replace the battery with a new Honeywell Li-ion or Li-poly battery. Serial Port Communication Serial data is being sent from the host device to the base. -
Page 12: Charging/Communication Cables
Charging/Communication Cables Plug Adapter Dolphin 99EX Host Device Connector Power Cable COMM Cable RS232 Connector RS232, DEX A/V Connector... - Page 13 Power Cable LED Indicators There are two light emitting diodes (LEDs) located to the left and right of the Honeywell logo above the LCD display. The General Notification LED (right) flashes and illuminates during resets, scanning/imaging and taking a picture. This LED can be programmed by various software applications.
-
Page 14: Battery Status Indicator
The battery has a medium charge. The battery has a low charge. The battery has a very low charge. Charge the battery. A battery error has occurred. Replace the main battery pack with a new Honeywell Li-poly or Li-ion battery pack. -
Page 15: Communication
For additional information on ActiveSync or Windows Mobile Device Center visit www.microsoft.com. We recommend use of Honeywell peripherals, power cables, and power adapters. Use of any non-Honeywell peripherals, cables, or power adapters may cause damage not covered by the warranty. -
Page 16: Installing A Memory Card
Installing a Memory Card 1. Press the Power key to put Step 5 the terminal in Suspend Mode. 2. Release the hand strap hook near the speaker on the back panel of the terminal. 3. Remove the battery door. Step 6 4. -
Page 17: Installing A Sim Card
10. Close and lock the access door. Step 10 11. Close the protective door over the memory socket. Insert and tighten the T6 torque screw to secure the door closed. 12. Install the battery and the battery door. Reattach the hand strap to the terminal. - Page 18 7. Unlock the access door to the socket by sliding the door toward the IrDA port side of the Step 7 terminal. Note: Do not insert sharp objects into the SIM door slot. Inserting sharp objects may damage sensitive electronic components.
-
Page 19: Using The Scan Image Engine
Using the Scan Image Engine 1. Tap > Demos > Scan Demo 2. Point the Dolphin’s terminal at the bar code. 3. Project the aiming beam or pattern by pressing and holding the SCAN key or one of the terminal’s SCAN side buttons. -
Page 20: Aiming Options
Aiming Options 5603 Red High-Vis Aiming Pattern 5600 Green Aiming Beam Linear Bar Code 2D Matrix Symbol... -
Page 21: Using The Color Camera
Using the Color Camera 1. Tap > Demos > Camera Demo 2. Adjust the camera settings using the menu at the top of the display screen. 3. Point the terminal's camera Camera Camera lens at the object you want Lens Flash to capture. -
Page 22: Soft Reset (Warm Boot)
2. The decode and scan LEDs light for approximately 3 seconds. 3. The terminal re-initializes. Factory Reset Contact a Honeywell technical support representative for information on how to perform a factory reset. For contact information, see Technical Assistance on page... -
Page 23: Technical Assistance
Technical Assistance Contact information for technical support, product service, and repair can be found at www.honeywellaidc.com. User Documentation Refer to www.honeywellaidc.com for detailed user documentation or for localized versions of this Quick Start. Limited Warranty Refer to www.honeywellaidc.com/warranty_information for your product’s warranty information. Patents For patent information, please refer to www.honeywellaidc.com/patents. - Page 24 Honeywell Scanning & Mobility 9680 Old Bailes Road Fort Mill, SC 29707 www.honeywellaidc.com 99EX-QS Rev B 3/11...