Advertisement
Advertisement
Table of Contents

Related Manuals for Electrolux central vacuum systems


Summary of Contents for Electrolux central vacuum systems
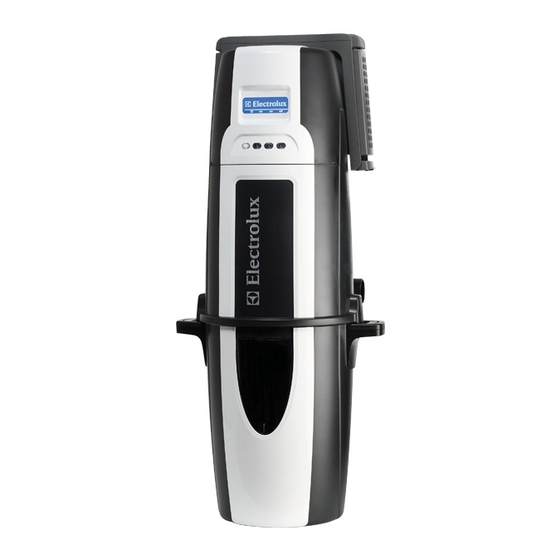
- Page 1 Installation manual...
-
Page 2: Table Of Contents
Contents Central Vacuum System Installation Location of the Power Unit ......3 Tubing System Design ........3 Location of Wall Inlet Valves......3 Typical Installation Examples ......3 Installation of Wall Inlets ........4 Tubing System Installation ......7 VacPan Installation ........8 Exhaust Blow-Out .........9... -
Page 3: Location Of The Power Unit
Location of Wall Inlet Valves Read these instructions carefully. Installation of the central vacuum Wall inlet valves can be placed in the wall or in the floor. Place the inlets system is easy and can be performed with regular hand tools. The preferably so that you can reach every corner of the room with a vacuum system can be installed both in new and existing buildings. -
Page 4: Installation Of Wall Inlets
Installation of the Wall Inlet Valves For the installation, you will usually need the following parts: min. 2 3/4” (65 mm) mounting bracket inlet valve Mounting bracket 90° elbow Inlet valve Wall Installation of the Inlet Valve choose the best angle A typical wall inlet valve installation is shown in the figure on the right. - Page 5 Thread the low voltage cable through the slot in the mounting bracket low voltage cable 90° elbow Inlet Hole Make a hole in the board material for the inlet valve as shown in the figure. The size of the rectangular opening should be 2 3/8” x 4 3/4” (60mm x 110mm).
- Page 6 Installation in a Closet Wall Floor Installation of the Inlet Valve This is usually the only possible installation method in existing houses. Choose a location and make a 2 1/8” x 2 3/4” (55mm x 70mm) opening for the inlet valve.
-
Page 7: Tubing System Installation
Tubing System Installation Begin the main tube installation with the farthest inlet valve and place the tubes temporarily at first. Do not glue the joints yet until you have made sure that the tubing routing is correct. The glue will dry quickly; therefore, the joints have to be fitted right after applying the glue. -
Page 8: Vacpan Installation
Notes! Minimize Condensation If the tubing installation is carried out in winter, a large amount of condensation may be generated. To reduce the amount of condensation, close all pipe holes and inlet open- ings using duct tape during installation. Before starting to use the central vacuum system for the first time, let the system vacuum and circulate fresh air for a few minutes, and make sure that there is no water in the dust container. -
Page 9: Exhaust Blow-Out
Exhaust Blow-Out Because the exhaust tube must be as short as possible, it is recommended to place the power unit as close to an outside wall as possible. Shown below are examples indicating how to install the exhaust tube. -
Page 10: Electrical Connection
Electrical Connection- Low-Voltage Cable To power on the central vacuum system, a 24V low-voltage cable is routed to each inlet valve. Parallel connection is made according to the figure below. low voltage cable inlet vavles conneted inlet valve1... - Page 11 How did you know? That’s exactly what I wanted!” That’s the kind of feeling that we at Electrolux seek to evoke in everyone who chooses or uses one of our products. We devote time, knowledge, and a great deal of thought to anticipating and creating the kind of appliances that our customers really need and want.