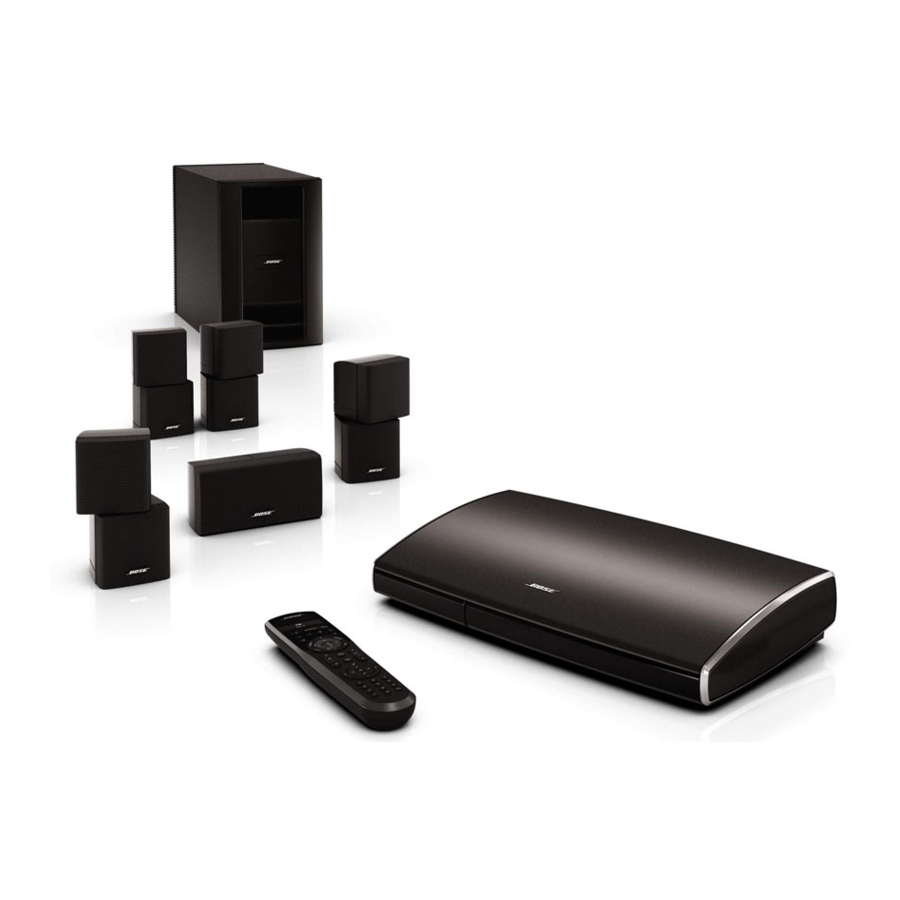
Bose LIFESTYLE V35 Setup Manual
Home entertainment systems
Hide thumbs
Also See for LIFESTYLE V35:
- Setup manual (63 pages) ,
- Guía del usuario (32 pages) ,
- Manual (32 pages)

Related Manuals for Bose LIFESTYLE V35


Summary of Contents for Bose LIFESTYLE V35
- Page 1 ® V35/V25 H IFESTYLE NTERTAINMENT YSTEMS ® T20/T10 H IFESTYLE NTERTAINMENT YSTEMS 2011 Bose Corporation, The Mountain, Framingham, MA 01701-9168 USA AM350577 Rev 00 Setup Guide |...
- Page 2 It must not be co-located or be operating in conjunction with any other antennas or transmitters. This product conforms to all EU Directive requirements as applicable by law. The complete Declaration of Conformity can be found at www.Bose.com/compliance. 2 – English...
- Page 3 Be sure to save all of the packing materials. These provide the safest means for any necessary shipping or transporting. If any part appears damaged, do not attempt to use it. Notify Bose or your authorized Bose dealer immediately. For Bose contact information, refer to the address sheet included in Kit 4.
-
Page 4: Control Console Kit
YSTEM ETUP Control console kit What you need for the following steps: From Kit 1 Power supply Audio input HDMI™ cable cable Control console From the power cord kit Power cord 1. Place the control console on a flat, stable surface near your Note: Until your system is completely installed, it may be helpful to keep the... - Page 5 YSTEM ETUP 2. Plug one end of the HDMI™ cable into an HDMI INPUT connector on your TV. If an HDMI cable is already connected to an HDMI input on your TV, you can use this one. Just disconnect the other end. 3.
- Page 6 YSTEM ETUP Audio OUT 4. Plug one end of the audio input cable into the connector on the control console. • Make sure the flat surface with the arrow on the plug faces up. • Leave the other end of the cable on the floor. You will be asked to connect it while setting up the next kit.
- Page 7 YSTEM ETUP ® Acoustimass module kit What you need for the following steps: From the From Kit 2 power cord kit Power cord Acoustimass module 1. Place the Acoustimass module on the floor at the same end of the room as the TV.
- Page 8 YSTEM ETUP ® CAUTION: DO NOT stand the Acoustimass module on its front or back end. 3. Plug the free end of the audio input cable into the Media Center connector on the Acoustimass module. Make sure the flat surface with the arrow faces the front of the module. Media Center 4.
-
Page 9: Speaker Kit
YSTEM ETUP Speaker kit What you need for the following steps: From Kit 3: System speakers (one set of the three types shown) ® Virtually Invisible ® ® Direct/Reflecting Jewel Cube single cube cube speaker speakers speakers arrays (5) Left or right, front or rear, and center (1) Center front (1) Center front... - Page 10 Note: You can place system speakers on wall brackets or floor stands. To purchase these accessories, contact your local Bose dealer or visit www.Bose.com. 1. Place the center front speaker on a stable and level surface directly above or below the center of your TV screen as in the following example.
- Page 11 YSTEM ETUP 3. Place the rear speakers toward the back of the room behind the Left rear viewers at ear height (when (LR) seated) or higher, if possible. Right rear • Make sure the 50 ft (15.2 m) (RR) rear speaker cables will reach from the speakers to the ®...
- Page 12 YSTEM ETUP 6. Locate the speaker position markings on the free ends of the speaker cables. Speaker position marking (L, C, R, LR, or RR) 7. Using the speaker position markings, run each cable out to its respective speaker as in the following setup example of a room.
- Page 13 YSTEM ETUP 8. Connect the speaker cable to the type of speaker you have. Jewel Cube ® speakers: Direct/Reflecting ® and Virtually Invisible ® single cube speakers: Insert the plug into the speaker connector. Press the button and insert the wires. Connect the red-collared wire to the red connector.
-
Page 14: Interactive Kit
YSTEM ETUP Interactive kit What you need for the following steps: From Kit 4 Remote control ® ADAPTiQ audio calibration headset with batteries ® Congratulations! At this point you have set up the control console, the Acoustimass module, and the speakers. You are now ready to turn on your system and enter the ®... - Page 15 • Connect audio/video devices to the control console. ® • Configure your Bose remote to control your connected devices. Other Kit 4 items The remaining items in Kit 4 may or may not be required to set up your LIFESTYLE ®...
-
Page 16: Applying Rubber Feet
For help in trying to resolve any problems, see the troubleshooting table in your system operating guide. Contacting customer service ® For additional help in solving problems, contact Bose Customer Service. See the address sheet included in Kit 4. 16 – English... - Page 17 Apple, Inc., registered in the U.S. and other countries. All other marks are registered trademarks and trademarks of Bose Corporation. HDMI and the HDMI Logo are trademarks or registered trademarks of HDMI Licensing LLC in the United States and other countries.
- Page 18 It must not be co-located or be operating in conjunction with any other antennas or transmitters. This product conforms to all EU Directive requirements as applicable by law. The complete Declaration of Conformity can be found at www.Bose.com/compliance. 2 –...
- Page 19 ® ® Bose LIFESTYLE system : UNIFY • • • • • HDMI – 3...
- Page 20 HDMI™ 4 –...
- Page 21 2. HDMI™ HDMI HDMI HDMI 3. HDMI [HDMI OUT Video to TV] HDMI OUT Video to TV – 5...
- Page 22 Audio OUT • • Audio OUT [Power] Power 6 –...
- Page 23 – 7...
- Page 24 [Media Center] Media Center [AC Power] AC Power 8 –...
- Page 25 Virtually Invisible ® Direct/Reflecting ® Jewel Cube ® (LR) (RR) – 9...
- Page 26 • • • Jewel Cube ® Direct/Reflecting ® 10 –...
- Page 27 (LR) • (RR) 15 m) • ® ® • Jewel Cube Direct/Reflecting – 11...
- Page 28 (L C R LR RR) 12 –...
- Page 29 ® ® ® Jewel Cube Direct/Reflecting Virtually Invisible • • • 45 cm – 13...
- Page 30 ® ADAPTiQ ® UNIFY • • 14 –...
- Page 31 LIFESTYLE ® system HDMI UNIFY ® • ® • ADAPTiQ • ® • Bose ® LIFESTYLE system iPod/iPhone * LIFESTYLE ® V35/V25 – 15...
- Page 32 • • 16 –...
- Page 33 LIFESTYLE ® Made for iPod Made for iPhone iPod iPhone iPod iPhone iPod iPhone Apple, Inc. Bose Corporation HDMI HDMI HDMI Licensing, LLC – 17...