Hotpoint EG 900 X S Operating Instructions Manual
Dual fuel cooker
Hide thumbs
Also See for EG 900 X S:
- Instructions for installation and use manual (20 pages) ,
- Operating instructions manual (16 pages) ,
- Operating instructions manual (16 pages)

Related Manuals for Hotpoint EG 900 X S


Summary of Contents for Hotpoint EG 900 X S
-
Page 1: Table Of Contents
EG 900 X S English Operating Instructions DUAL FUEL COOKER Contents Operating Instructions,1 Warnings,2 Description of the appliance,3 Installation,4 Start-up and use,8 The Cooking Modes:,8 Timer (Electric oven),9 Troubleshooting,10 Precautions and tips,13 Maintenance and care,13 After Sales Service,15 Guarantee,16... -
Page 2: Warnings
Warnings WARNING: Ensure that the appliance is switched off before replacing the lamp to WARNING: The appliance and its avoid the possibility of electric shock. accessible parts become hot during use. Care should be taken to avoid touching CAUTION: the use of inappropriate hob heating elements. -
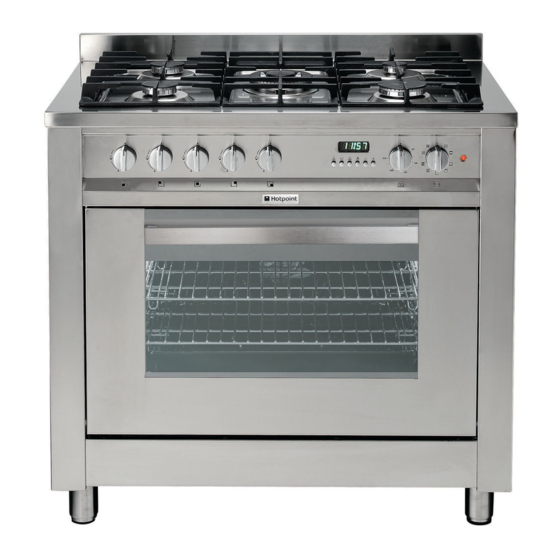
Page 3: Description Of The Appliance
Description of the appliance Overall view 1 AUXLIARY gas burner 2 SEMI-RAPID gas burner 3 RAPID gas burner 4 TRIPLE RING gas burner 5 PAN SUPPORT FOR COOKWARE 6 SAFETY DEVICE - Activates if the flame accidentally goes out (spills, drafts, etc.), interrupting the supply of gas to the burner. -
Page 4: Installation
Installation ! Before placing your new appliance into operation please read these operating instructions carefully. It contains important information concerning the safe installation and operation of the appliance. In a chimney stack or branched flue. Directly to (exclusively for cooking appliances) the Outside ! Please keep these operating instructions for future reference. -
Page 5: Gas Connection
Gas connection Adapting to different types of gas Connection to the gas network or to the gas cylinder It is possible to adapt the appliance to a type of gas other may be carried out using a flexible rubber or steel hose, than the default type (this is indicated on the rating label in accordance with current national legislation and after on the cover). -
Page 6: Electrical Connection
Safety Chain Connecting the supply cable to the mains Install a standardised plug corresponding to the load indicated ! In order to prevent the appliance from overturning on the data plate. When connecting the cable directly to the accidentally, for example in case of a child climbing mains, install an omnipolar circuit-breaker with a minimum onto the oven door, the safety chains MUST be installed! contact opening of 3 mm between the appliance and the mains. - Page 7 TABLE OF CHARACTERISTICS Oven dimensions 32,9 x 59,5 x 39,4 cm HxLxP Volume lt. 78 Voltage and 230V-240V~ 50Hz (see data plate) Power supply Max 2850-3100 W frequency Directive 2002/40/EC on the label of electric ovens. Standard EN 50304-60350 ENERGY Energy consumption for Natural LABEL convection –...
-
Page 8: Start-Up And Use
Start-up and use For the best performance of your burners, keep the following in mind: All types of pans can be used on the burners. The important thing is that the bottom should be completely even. Using the hob Lighting the burners For each BURNER knob there is a complete ring showing the strength of the flame for the relevant burner. -
Page 9: Timer (Electric Oven),9
MINIGRILL HEATING ELEMENT FAST DEFROSTING This function uses no heating elements, just the fan. Important: do not set the temperature selector ‘ ’ over 200°C. By turning the function selector to this position, the upper Oven light heating element comes on. This is recommended for finishing off the cooking of food (in baking trays) which is By turning the function selector to the interior light is... -
Page 10: Troubleshooting
The time can also be changed in the following two ways: Cancelling a Preset Cooking Time 1. Repeat all of the foregoing steps. Press the button, and use the button to set the time to: 2. Press the button, and then use the buttons to reset the time. - Page 11 • You press the knob all the way in; If, despite all of these checks, the cooker does not • You keep the knob pressed in long enough to activate function properly and problem persists, call Hotpoint the safety device. “After Sales Service” (see back page).
- Page 12 FAN ASSISTED cooking Guide rail no. Quantity Temperature Time Type of dish from bottom °C (minutes) Cakes * With beaten mix, in mould * With beaten mix, without mould 1-3-4 Short pastry, flan base 1-3-4 Short pastry with wet filling Short pastry with dry filling 1-3-4 * With natural leavened mix...
-
Page 13: Precautions And Tips
Precautions and tips • The appliance should not be operated by people (including children) with reduced physical, sensory or mental capacities, by inexperienced individuals or by anyone ! This appliance has been designed and manufactured who is not familiar with the product. These individuals in compliance with international safety standards. -
Page 14: Replacing The Oven Light Bulb
• After cooking where liquid has overflowed or when the dirt Disassembling/assembling the oven door has not been eliminated completely (for example when To make it easier to clean the inside of your oven, the oven grilling food, and the temperatures reached are not high door can be removed, by proceeding as follows: enough for the full self-cleaning action of the enamel to •... -
Page 15: After Sales Service
After Sales Service No one is better placed to care for your Hotpoint appliance during the course of its working life than us – the manufacturer. Essential Contact Information Hotpoint Service We are the largest service team in the country offering you access to 400 skilled telephone advisors and 1000 fully qualified engineers on call to ensure you receive fast, reliable, local service. -
Page 16: Guarantee
5 Year Parts Guarantee Hotpoint also offers you a free 5 year parts guarantee. This additional guarantee is conditional on you registering your appliance with us and the parts being fitted by one of our authorised engineers. There will be a charge for our engineer’s time.