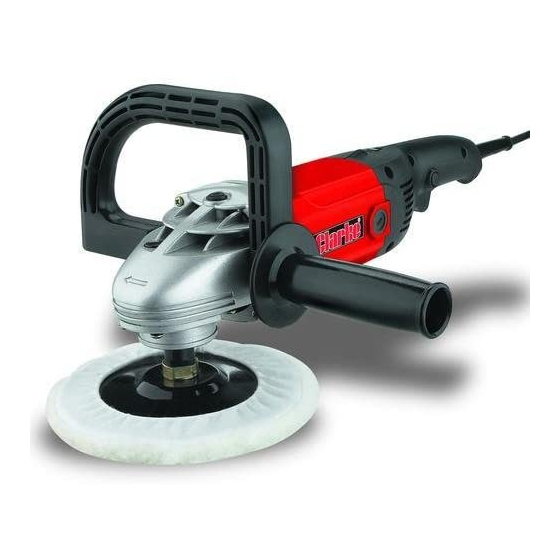
Summary of Contents for Clarke CP180
- Page 1 SANDER/POLISHER SANDER/POLISHER MODEL NO: CP180 PART No: 6462105 OPERATION & MAINTENANCE INSTRUCTIONS gc0811...
-
Page 2: Specifications
Thank you for purchasing this CLARKE Sander/Polisher, which is designed for DIY use. Before attempting to use the machine, please read this manual thoroughly and follow the instructions carefully. In doing so you will ensure the safety of yourself and that of others around you, and you can look forward to the product giving you long and satisfactory service. -
Page 3: Safety Precautions
Safety Precautions WARNING: As with all machinery, there are certain hazards involved with their operation and use. Exercising respect and caution will considerably lessen the risk of personal injury. However, if normal safety precautions are overlooked or ignored, personal injury to the operator or damage to property, may result. 1. -
Page 4: Electrical Connections
Electrical Connections Connect the mains lead to a standard 230V (50Hz) electrical supply through an approved 13 Amp BS1363 plug or a suitably fused isolator switch. WARNING: This appliance is DOUBLE INSULATED IMPORTANT: The wires in the mains lead are coloured in accordance with the following code: Blue Neutral... - Page 5 Before assembling the sander/polisher, check for missing parts and or damage caused in transit. Any defects must be reported to the Clarke dealer where the tool was originally purchased as soon as possible. IMPORTANT: Before carrying out any adjustments or...
- Page 6 When the handle is in place, secure it in position with two allen screws and tighten the screws using an 8mm Allen key. DO NOT overtighten. Side Handle Only To use the side handle only, screw into the D shaped boss on either side of the body, depending whether the tool is to be used left or right handed.
-
Page 7: Operation
Operation When using this tool, always hold it firmly with both hands. Before switching the tool on, always check for damage/missing parts etc. Any defects must be rectified before continuing. Whether polishing or sanding, always ensure the workpiece is securely fixed, i.e. clamped to workbench or secured in a vice. - Page 8 HAND-ARM VIBRATION Employers are advised to refer to the HSE publication “Guide for Employers”. All hand held power tools vibrate to some extent, and this vibration is transmitted to the operator via the handle, or hand used to steady the tool. Vibration from about 2 to 1500 Herz is potentially damaging and is most hazardous in the range from about 5 to 20 Herz.
-
Page 9: Parts List
Parts List Item Part No Description HT18001 Spindle HT18002 Key 4 x 5 x 13 HT18003 Screw M5 x 16 HT18004 Spring Washer Ø5 HT18005 Gear Housing Cover HT18006 Bearing 6002.RS HT18007 Bearing Cover HT18008 Spring Washer Ø4 HT18009 Screw M4 x 10 HT18010 Large Gear HT18011... -
Page 10: Parts Diagram
Parts Diagram IMPORTANT: The use of parts other than CLARKE replacement parts may result in safety hazards, decreased tool performance and may invalidate your warranty. -10-...


