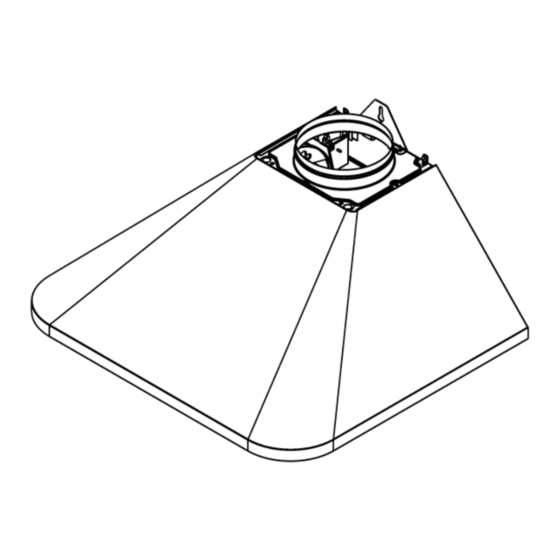
IKEA Hood Installation And Use Manual
Hood whirlpool
Hide thumbs
Also See for Hood:
- Installation and user manual (48 pages) ,
- User and maintenance handbook (5 pages) ,
- User manual (8 pages)
Advertisement
61833050a.fm Page 1 Tuesday, February 21, 2006 7:53 PM
INSTALLATION AND USE
GB
For installation: The hood must be installed at least 50 cm from electric cookers and 65 cm from gas, gas oil or coal
cookers. If the installation instructions for a gas cooker specify a greater distance, then this distance must be observed.
For installation and use: Before installing or using the hood, read this manual carefully. The drawings are at the
front of the manual. The Manufacturer declines all liabillity for any faults, damage or fires caused by the appliance
as a result of failure to observe the instructions and recommendations given in this manual.
Contact a qualified technician for installation.
5019 618 33050/A
Advertisement
Table of Contents

Summary of Contents for IKEA Hood
- Page 1 INSTALLATION AND USE For installation: The hood must be installed at least 50 cm from electric cookers and 65 cm from gas, gas oil or coal cookers. If the installation instructions for a gas cooker specify a greater distance, then this distance must be observed.
- Page 2 61833050a.fm Page 2 Tuesday, February 21, 2006 7:53 PM 5019 618 33050/A...
- Page 3 61833050a.fm Page 3 Tuesday, February 21, 2006 7:53 PM 5019 618 33050/A...
- Page 4 61833050a.fm Page 4 Tuesday, February 21, 2006 7:53 PM ____________________________________________________________________________ ____________________________________________________________________________ ____________________________________________________________________________ ____________________________________________________________________________ ____________________________________________________________________________ ____________________________________________________________________________ ____________________________________________________________________________ ____________________________________________________________________________ ____________________________________________________________________________ ____________________________________________________________________________ ____________________________________________________________________________ ____________________________________________________________________________ ____________________________________________________________________________ ____________________________________________________________________________ ____________________________________________________________________________ ____________________________________________________________________________ ____________________________________________________________________________ ____________________________________________________________________________ ____________________________________________________________________________ ____________________________________________________________________________ ____________________________________________________________________________ ____________________________________________________________________________ ____________________________________________________________________________ ____________________________________________________________________________ 5019 618 33050/A...
- Page 5 2 at the bottom: remove the grease filters (Fig. 3.4), 2 at the top on the sides of the bracket. Remove the hood, drill the holes, insert the plugs into the holes (Fig. 3.5), refit the hood, insert and tighten all the screws (Fig.3.6 - Fig.
-
Page 6: Cleaning The Hood
(plastic bags, polystyrene, etc.) well out Bulb/s: of their reach. Detach the lighting unit and remove Make sure the hood has not been damaged during transport. the burnt-out bulb. Installation and electrical connections must be carried out by Refit the filters. -
Page 7: Protecting The Environment
(see "Trouble-shooting guide"”). • Make sure that children do not play with the 2. Switch the hood off for a few minutes then switch it back appliance. on and see if the problem has gone. 1. Do not connect the appliance to the mains electricity 3. - Page 8 61833050a.fm Page 8 Tuesday, February 21, 2006 7:53 PM ____________________________________________________________________________ ____________________________________________________________________________ ____________________________________________________________________________ ____________________________________________________________________________ ____________________________________________________________________________ ____________________________________________________________________________ ____________________________________________________________________________ ____________________________________________________________________________ ____________________________________________________________________________ ____________________________________________________________________________ ____________________________________________________________________________ ____________________________________________________________________________ ____________________________________________________________________________ ____________________________________________________________________________ ____________________________________________________________________________ ____________________________________________________________________________ ____________________________________________________________________________ ____________________________________________________________________________ ____________________________________________________________________________ ____________________________________________________________________________ ____________________________________________________________________________ ____________________________________________________________________________ ____________________________________________________________________________ ____________________________________________________________________________ 5019 618 33050/A...


