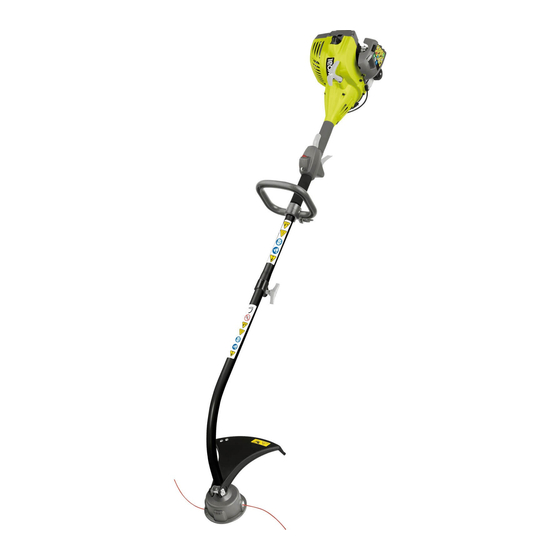
Ryobi RLT26CDS User Manual
String trimmer
Hide thumbs
Also See for RLT26CDS:
- User manual (225 pages) ,
- Operator's manual (340 pages) ,
- Original instructions manual (17 pages)
Table of Contents
Advertisement
RLT26CDS
FR
COUPE-BORDURES
EN
STRING TRIMMER
DE
KANTENSCHNEIDER
ES
RECORTADORA DE HILO
IT
TAGLIABORDI
PT
APARADOR DE RELVA
NL
GRASTRIMMER
SV
TRIMMER
DA
TRÅDTRIMMER
NO
TRÅDTRIMMER
FI
SIIMALEIKKURI
HU
SZEGÉLYVÁGÓ
CS
STRUNOVÁ SEKAČKA
ÅÖçáéäéëÄ
RU
RO
TRIMMER
PL
PODKASZARKA DO OBRZEŻY
SL
KOSILNICA Z NITKO
HR
©I©A»
ET
TRIMMER
LT
ŽOLIAPJOVĖ
LV
ROKAS PĻAUJMAŠĪNA
SK
STRUNOVÁ KOSAČKA - VYŽÍNAČ
íêàåÖê
BG
Important!
It is essential that you read the instructions in this manual before mounting and operating
this machine.
MANUEL D'UTILISATION
USER'S MANUAL
BEDIENUNGSANLEITUNG
MANUAL DE UTILIZACIÓN
MANUALE D'USO
MANUAL DE UTILIZAÇÃO
GEBRUIKERSHANDLEIDING
INSTRUKTIONSBOK
BRUGERVEJLEDNING
BRUKSANVISNING
KÄYTTÄJÄN KÄSIKIRJA
HASZNÁLATI ÚTMUTATÓ
NÁVOD K OBSLUZE
êìäéÇéÑëíÇé èé ùäëèãìÄíÄñàà
MANUAL DE UTILIZARE
INSTRUKCJA OBSŁUGI
UPORABNIŠKI PRIROČNIK
KORISNI»KI PRIRU»NIK
KASUTAJAJUHEND
NAUDOJIMO VADOVAS
LIETOTĀJA ROKASGRĀMATA
NÁVOD NA POUŽITIE
êöäéÇéÑëíÇé áÄ ìèéíêÖÅÄ
1
10
18
27
36
45
54
63
71
79
87
95
104
112
121
130
139
148
157
166
175
184
193
Advertisement
Table of Contents

Summary of Contents for Ryobi RLT26CDS
- Page 1 RLT26CDS COUPE-BORDURES MANUEL D’UTILISATION STRING TRIMMER USER’S MANUAL KANTENSCHNEIDER BEDIENUNGSANLEITUNG RECORTADORA DE HILO MANUAL DE UTILIZACIÓN TAGLIABORDI MANUALE D’USO APARADOR DE RELVA MANUAL DE UTILIZAÇÃO GRASTRIMMER GEBRUIKERSHANDLEIDING TRIMMER INSTRUKTIONSBOK TRÅDTRIMMER BRUGERVEJLEDNING TRÅDTRIMMER BRUKSANVISNING SIIMALEIKKURI KÄYTTÄJÄN KÄSIKIRJA SZEGÉLYVÁGÓ HASZNÁLATI ÚTMUTATÓ STRUNOVÁ SEKAČKA NÁVOD K OBSLUZE...
- Page 2 Attention ! Il est indispensable que vous lisiez les instructions contenues dans ce manuel avant le montage et la mise en service de l’appareil. Important! It is essential that you read the instructions in this manual before mounting and operating this machine.
- Page 3 HU CS RU RO PL HR ET SK BG English(Original instructions) SYMBOLS Important: Some of the following symbols may be used on your tool. Please study them and learn their meaning. Proper interpretation of these symbols will allow you to operate the tool better and safer. NAME EXPLANATION Safety Alert Symbol...
- Page 4 Your new trimmer has been engineered and manu- Wear heavy long pants, boots, and gloves. Do not factured to Ryobi’s high standard for dependability, ease wear loose fitting clothing, short pants, jewellery of of operation, and operator safety. Properly cared for, it will any kind, or use with bare feet.
- Page 5 76 cm or more above the secure the unit from moving before transporting in a ground. vehicle. SPECIFICATION RLT26CDS Weight (kg) - Without fuel, without string head, without guard 3.98 - Without fuel with string head 4.35...
- Page 6 HU CS RU RO PL HR ET SK BG English(Original instructions) DESCRIPTION Wear eye protection and ear protection. Please refer to Fig.1 Primer Bulb Keep all bystanders, especially children and Choke Lever pets, at least 15 m from the operating area. Fuel Cap Starter Grip FUEL AND REFUELING...
- Page 7 HU CS RU RO PL HR ET SK BG English(Original instructions) OPERATING THE TRIMMER (Fig. 5) Prior to replacing the fuel cap, clean and inspect the gasket. Hold the trimmer with the right hand on the rear handle Immediately replace fuel cap and hand tighten. and the left hand on the front handle.
- Page 8 HU CS RU RO PL HR ET SK BG English(Original instructions) SPOOL REPLACEMENT (Fig. 11) FUEL CAP LINE REPLACEMENT (Fig. 11) WARNING A leaking fuel cap is a fire hazard and must be Ensure the unit is in the off position „...
-
Page 9: Troubleshooting
HU CS RU RO PL HR ET SK BG English(Original instructions) TROUBLESHOOTING IF THESE SOLUTIONS DO NOT SOLVE THE PROBLEM, CONTACT YOUR AUTHORISED SERVICE DEALER. PROBLEM POSSIBLE CAUSE SOLUTION Engine will not start. 1. Power switch is off. 1. Make sure Switch is in the ON or "I" position 2. - Page 10 HU CS RU RO PL HR ET SK BG English(Original instructions) Line will not advance. 1. Line welded to itself. 1. Lubricate with silicone spray. 2. Not enough line on spool. 2. Install more line. Refer to “Line Replacement” earlier in this manual.


