Table of Contents
Advertisement
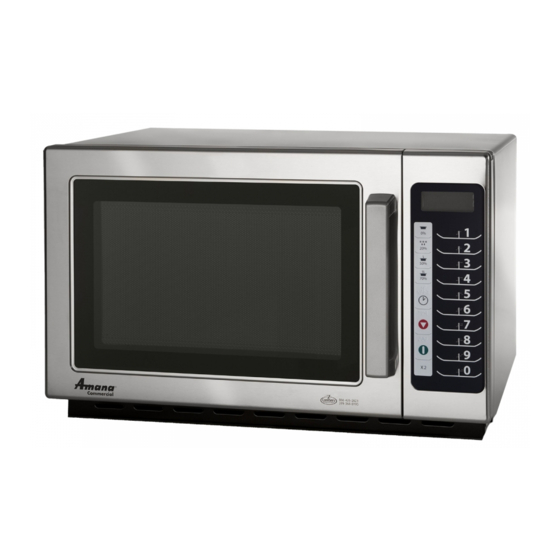
Owner's Manual
C
M
ommercial
Keep these instructions for future reference.
If the oven changes ownership, this manual
must accompany oven.
O
icrowave
ven
Contents
Model Identification ........................... 2
i
Grounding Instructions ...................... 5
Installation ......................................... 6
Display and Features ........................ 7
(Electronic Models) ........................ 9
(Electronic Models) ...................... 10
(Electronic Models) .......................11
Digital Dial Operation Style 1 .......... 12
Digital Dial Operation Style 2 .......... 13
Dial Operation Style 3 ..................... 14
Care and Cleaning .......................... 15
Before Calling for Service ............... 16
...................
3
... 3
Advertisement
Table of Contents

Related Manuals for Amana RCS10TS


Summary of Contents for Amana RCS10TS
-
Page 1: Table Of Contents
Owner’s Manual Contents Model Identification ......2 recautions to avoid Possible exPosure to excessive ....microwave energy ... 3 mPortant safety instructions Grounding Instructions ...... 5 Installation ......... 6 Display and Features ......7 Using the Oven Control ommercial icrowave (Electronic Models) ...... -
Page 2: Model Identification
Model Identification When contacting ACP, provide product information. Product information is located on oven serial plate which is located on the back side of the oven. Record the following information: Warranty service must be performed by an authorized ACP servicer. ACP also recommends contacting an Model Number: _____________________________ authorized ACP servicer if service is required after Manufacturing Number: _______________________... -
Page 3: Precautions To Avoid Possible
IMPORTANT SAFETY INSTRUCTIONS This is the safety alert symbol. It is used to alert you to potential personal injury hazards. Obey all safety messages that follow this symbol to avoid possible injury or death. WARNING When using electrical equipment, basic safety precautions should be followed to reduce the risk of burns, electrical shock, fire, or injury to persons. - Page 4 IMPORTANT SAFETY INSTRUCTIONS WARNING WARNING Liquids such as water, coffee, or tea are able to To avoid risk of fire in the oven cavity: be overheated beyond the boiling point without appearing to be boiling due to surface tension of the a.
-
Page 5: Grounding Instructions
Grounding Instructions Earthing Instructions WARNING Oven MUST be earthed. Earthing reduces risk of electric shock by providing an escape wire for the To avoid risk of electrical shock or death, this oven electric current, if an electrical short occurs. This oven is must be grounded. -
Page 6: Installation
Installation Unpacking Oven WARNING • Inspect oven for damage such as dents in door or inside oven cavity. Excessive Weight Hazard • Report any dents or breakage to source of purchase Use two or more people to move and install oven. immediately. -
Page 7: Display And Features
Display and Features (some models) Single Key Programming (example of key 1 shown) This feature enables each numbered key to be programmed for a specific START Key cooking procedure/use. To use this feature, simply program the key to the The START key is used to desired length of time and power level. -
Page 8: Cooking Displays
Display and Features (some models) Cooking Display DISPLAYS DESCRIPTION READY displays when oven control will accept READY entries. 00:00 Displays cooking time. If stage cooking is programmed, total cooking time is displayed. Display HOLD These settings display the current power level used DEFR Some items in the display can be seen for the microwave. -
Page 9: Manual Time Entry
Using the Oven Control (Electronic Control) Manual Time Entry To cook food using a specific entered time and power level. Interrupting Open oven door and place food in oven. Close door. Operation • READY displays. Fan and light will turn on. Open oven door or press STOP/ Press TIME ENTRY key. -
Page 10: Programming The Oven Control (Electronic Models)
Programming the Oven Control (Electronic Control) The display shows Programming Keys PROGRAM Oven is shipped from the factory for single key programming. To change the oven default to allow double key programming, see User Option When set to single key or section. -
Page 11: User Options
User Options (Electronic Control) Changing user options Didn’t like an option? Options such as single or double key programming, beep volume, and maximum cooking time can be changed to suit individual preferences. Factory settings are marked in bold. To change options: To change the oven back to the factory setting, simply select the 1. -
Page 12: Digital Dial Operation Style 1
Digital Dial Operation STYLE 1 Digital Dial option is available on some models only. The switching operation of this Oven Wall Clearances microwave oven can cause voltage A—For North American (UL/CSA) models, fluctuations on the supply line. allow at least 2” (5.1 cm) of clearance The operation of this oven under around top of oven. -
Page 13: Digital Dial Operation Style 2
Digital Dial Operation STYLE 2 Digital Dial option is available on some models only. Oven Wall Clearances A—For North American (UL/CSA) models, allow at least 2” (5.1 cm) of clearance around top Menu Guide of oven. For International (50 Hz) models, allow at least 12”... -
Page 14: Dial Operation Style 3
Dial Operation STYLE 3 Dial option is available on some 50 Hz models only. The switching operation of this Oven Wall Clearances microwave oven can cause voltage A—For North American (UL/CSA) models, allow fluctuations on the supply line. at least 2” (5.1 cm) of clearance around top The operation of this oven under of oven. -
Page 15: Care And Cleaning
Care and Cleaning PART CARE AND CLEANING RECOMMENDATION Clean microwave oven with mild detergent in warm water using soft sponge or cloth. Wring sponge or cloth to remove excess water before wiping equipment. If desired, boil a cup of water in microwave oven to loosen soil before cleaning. Important: Interior, Exterior, and Door •... -
Page 16: Before Calling For Service
Before Calling for Service C on rm oven is p lug ged into dedic ated circu it. C on rm oven is o n g round ed a nd p olarized c ircuit. O ven does not opera te. (C ontact e lectric ian to con rm ) C hec k fuse or circuit break er.