Xerox WorkCentre 5735 Getting Started Manual
All in one printer
Hide thumbs
Also See for WorkCentre 5735:
- System administrator manual (362 pages) ,
- Information manual (50 pages) ,
- Datasheet (18 pages)

Related Manuals for Xerox WorkCentre 5735


Summary of Contents for Xerox WorkCentre 5735
-
Page 1: Xerox Workcentre
Version 2.0 December 2010 ® Xerox WorkCentre™ 5735/5740/5745/5755/5765/5775/ 5790 Getting Started... - Page 2 ©2011 Xerox Corporation. All Rights Reserved. Unpublished rights reserved under the copyright laws of the United States. Contents of this publication may not be reproduced in any form without permission of Xerox Corporation. XEROX® and XEROX and Design® are trademarks of Xerox Corporation in the United States and/or other countries.
-
Page 3: Table Of Contents
Table of Contents Introduction ................10 Support . -
Page 4: Introduction
If you need assistance during or after product installation, please visit the Xerox website for online solutions and support. If you require further assistance, call our experts at the Xerox Support Center, or contact your local representative. When telephoning please quote the machine serial number. Use the space below to... -
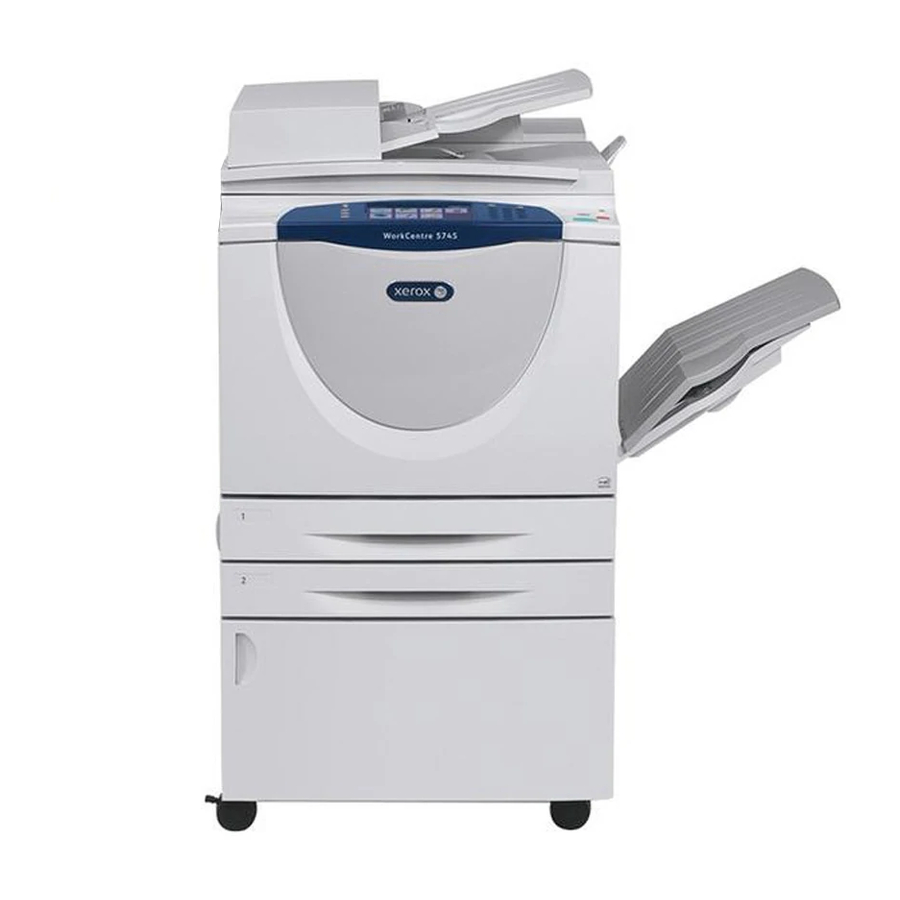
Page 5: Device Overview
Device Overview Device Overview Control Panel: Touch Screen and Numeric High Volume Finisher: This optional finisher Keypad. collates, offsets, stacks and staples your output. Booklet Maker, Tri-fold and Hole Punch kits can be installed with this finisher. Document Feeder and Document Glass: Used Booklet Maker and Trifolder: These are optional for scanning single or multiple documents. -
Page 6: Services And Options
Services and Options Services and Options There are a number of services and options available for use with your device. Many services are provided as standard and simply require enabling or configuring with additional third party hardware. Optional functions and kits are also available and can be purchased and installed. The options available are dependent on your WorkCentre model. - Page 7 The mono-scanner is provided as standard. Security kit provides additional security features, such as image overwrite options. Xerox Secure Access provides a card reading device to restrict access to the device. Color Scanner used to scan in color (factory fit).
-
Page 8: Workcentre Copier/Printer/Scanner Models
Services and Options WorkCentre Copier/Printer/Scanner Models Key: Standard Optional Not Available WorkCentre Description Document Feeder feeds 75 (35 model only) or 100 single or double sided documents. Documents from A5 to A3 (5.5"x8.5" to 11"x17") can be fed. Fitted instead of the document glass cover. Paper Trays 3 and 4 high capacity paper trays. - Page 9 The mono-scanner is provided as standard. Security kit provides additional security features, such as image overwrite options. Xerox Secure Access provides a card reading device to restrict access to the device. Color Scanner used to scan in color (factory fit).
-
Page 10: Control Panel Overview
Control Panel Overview Control Panel Overview Services Home: Provides access to the services Interrupt Printing: Use to pause the job which is available on the device. currently printing, to run a more urgent copy job. Services: Returns the display to the previous Start: Use to start a job. -
Page 11: Power On And Off
Power On and Off Power On and Off Power On Ensure that your device is connected to a suitable power supply and that the power cord is fully plugged in to the electrical outlet of the device. Press the Power switch. The entire powering on process (to power on all installed options) takes less than 3 minutes. -
Page 12: Energy Saver
Power On and Off Energy Saver The device is designed to be energy efficient and automatically reduces its power consumption after periods of inactivity. The System Administrator can set up Energy Saver options. The Energy Saver button on the control panel causes the Power Down options to be displayed. To activate Energy Saver mode use the instructions below: Press the Energy Saver button on the control panel. -
Page 13: Loading Paper
Paper Settings screen is not displayed. For information about loading special media, refer to Media Types on page 233 of Paper and Media. Specification information for the WorkCentre™ 5735/5740/5745/5755/5765/5775/5790 is provided at www.xerox.com. WorkCentre™ 5735/5740/5745/5755/5765/5775/5790 Getting Started... -
Page 14: Loading Documents
Close the document feeder. Note: Original documents are only scanned once even when several copies are selected. Specification information for the WorkCentre™ 5735/5740/5745/5755/5765/5775/5790 is provided at www.xerox.com. WorkCentre™ 5735/5740/5745/5755/5765/5775/5790 Getting Started... -
Page 15: Making Copies
Making Copies Making Copies Load your documents face up in the document feeder input tray. Adjust the guide to just touch the documents. Or... Lift up the document feeder. Place the document face down onto the document glass and register it to the arrow at the top right rear corner. -
Page 16: Printing A Document
Printing a Document Printing a Document Ensure that the correct Xerox print driver has been installed on your PC. To install the print drivers refer to the System Administrator Guide. Open the document to be printed. From your application, select File > Print and select the Xerox device from the list of printers displayed. -
Page 17: Sending A Fax
Sending a Fax Sending a Fax Load your documents face up in the document feeder input tray. Adjust the guide to touch the documents. Or... Lift up the document feeder. Place the document face down onto the document glass and register it to the arrow at the top right rear corner. -
Page 18: Server Fax
Server Fax Server Fax Load your documents face up in the document feeder input tray. Adjust the guide to touch the documents. Or... Lift up the document feeder. Place the document face down onto the document glass and register it to the arrow at the top right rear corner. Close the document feeder. Press the Clear All (AC) button once to cancel any previous screen programing selections. -
Page 19: Internet Fax
Internet Fax Internet Fax Load your documents face up in the document feeder input tray. Adjust the guide to touch the documents. Or... Lift up the document feeder. Place the document face down onto the document glass and register it to the arrow at the top right rear corner. Close the document feeder. Press the Clear All (AC) button once to cancel any previous screen programing selections. -
Page 20: Sending A Fax From The Pc
Sending a Fax from the PC Sending a Fax from the PC Ensure that the correct Xerox print driver has been installed on your PC and the Fax from PC option is available. To install the print drivers refer to the System Administrator Guide. -
Page 21: Workflow Scanning
Workflow Scanning Workflow Scanning Workflow Scanning allows the user to scan a hard copy original and convert it into an electronic file. The file is placed into a specified filing location on a networked server, workstation or the device hard drive. -
Page 22: Sending An E-Mail
Sending an E-mail Sending an E-mail Load your documents face up in the document feeder input tray. Adjust the guide to touch the documents. Or... Lift up the document feeder. Place the document face down onto the document glass and register it to the arrow at the top right rear corner. - Page 23 Sending an E-mail Select the required features for your E-mail using the touch screen: Output Color is used to replicate the original colors or to change the output to black and white, grayscale or color. Note: This feature may not be available on your device. 2-Sided Scanning is used to select whether your originals are 1-sided or 2-sided.
-
Page 24: Saving Jobs For Reprinting
Saving Jobs for Reprinting Saving Jobs for Reprinting Load your documents face up in the document feeder input tray. Adjust the guide to just touch the documents. Or... Lift up the document feeder. Place the document face down onto the document glass and register it to the arrow at the top right rear corner. -
Page 25: Reprinting Saved Jobs
Reprinting Saved Jobs Reprinting Saved Jobs Press the Services Home button. Select the Reprint Saved Jobs option. Folders containing the saved jobs are displayed. Select the folder required. If necessary, use the scroll bar to access all the folders. A list of the jobs in the folder is displayed. Select the job and select the print or save option required: •... -
Page 26: Log In / Out
Log In / Out Log In / Out If Authentication or Accounting has been enabled on the device, you may need to log in before using some or all of the services. A picture of a lock on a button indicates that you must log in to use that service. -
Page 27: Enhance Productivity
Enhance Productivity Enhance Productivity Your device is a powerful multi-functional device with many digital functions integrated into one sleek system. It is designed to support large workgroups in different office environments. You can do more with less and streamline your workflow with these productivity enhancing features, for example: •... -
Page 28: Maintenance And Consumables
Xerox Cleaning Fluid or Anti-Static Cleaner can be used to clean the document glass, but must be applied using a cloth and not poured directly on the document glass. Remove any residue with a clean cloth or paper towel. -
Page 29: Troubleshooting
Troubleshooting Troubleshooting A variety of situations can affect the quality of your output. The animations and fault messages on the device help you to locate and resolve a problem easily. Some problems can be resolved by restarting your device. If after rebooting your device the problem has not been resolved, have a look at some of the areas below to identify solutions. -
Page 30: Jam Clearance
Troubleshooting Jam Clearance Paper and media jams happen for a variety of reasons. When a jam occurs, the device presents instructions on the screen explaining how to remove the jam. Paper Jams Any printed sheets removed will automatically reprint once the paper jam is cleared. The fault screen will indicate the location of the jam. -
Page 31: Help
The user documentation can be accessed and printed at the device, as described above. Other documents are either provided on disc or can be downloaded from the Xerox website. Faults Faults on the device can be accessed at the device. The screen displays fault listings, and the device error logs. -
Page 32: On The Print Driver
IP Address of the device and press Enter to view the Home page. Click Index to view the contents of the Internet Services site. Click Help to take you to the Xerox online support web site. Note: To find out the IP Address of your device, print a configuration report.