Table of Contents
Advertisement
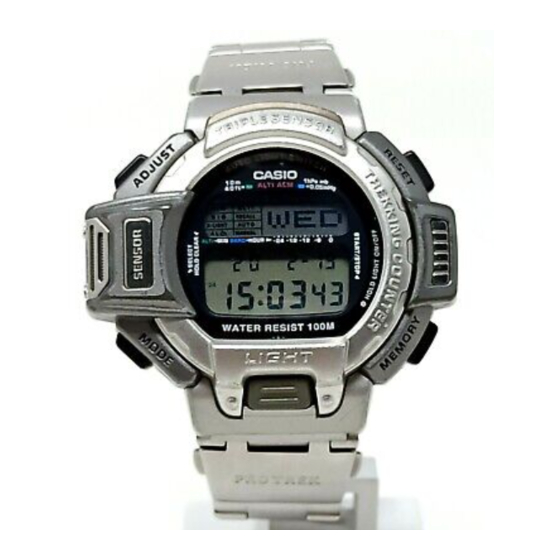
Module No. 1570
GENERAL GUIDE
• Press C to change from mode to mode.
• Hold down C for one or two seconds in any mode to switch back to the
Timekeeping Mode.
(Timekeeping)
A
Sensor
A L M
A LT I
S I G
RECALL
A-LIGHT
AUTO
A L
MANUAL
P
C
L
Auto light switch on indicator
A
A
B
A L M
A LT I
RECALL
S I G
A-LIGHT
A-LIGHT
AUTO
A L
MANUAL
P
C
C
D
D
L
L
• The illumination provided by the backlight may be hard to see when viewed
under direct sunlight.
• The watch will emit an audible sound whenever the display is illuminated.
This is caused by a transformer that vibrates when the EL panel lights up. It
does not indicate malfunction of the watch.
• The backlight automatically turns off whenever an alarm sounds.
To manually turn on the backlight
In any mode, press L to illuminate the display for about two seconds.
• The above operation turns on the backlight regardless of the current auto
light switch setting.
About the Auto Light Switch
Turning on the auto light switch causes the backlight to turn on whenever you
position your wrist as described below.
• Avoid wearing the watch on the inside of your wrist. Doing so causes the
auto light switch to operate when it is not needed, which shortens battery
life.
Timekeeping Mode
(Barometric Pressure/
Temperature)
B
A L M
A LT I
Press D.
S I G
RECALL
A-LIGHT
AUTO
A L
MANUAL
˚C
P
D
(Light)
Alarm Mode
A L M
A LT I
S I G
RECALL
A-LIGHT
AUTO
A L
MANUAL
A
BACKLIGHT
The backlight uses an EL (electro-luminescent)
panel that causes the entire display to glow for
easy reading in the dark. The watch's auto light
switch automatically turns on the backlight
when you angle the watch towards your face.
• The auto light switch must be turned on
(indicated by the auto light switch on
indicator) for it to operate.
Note
• The electro-luminescent panel loses
illuminating power after very long use.
hPa
mb
Moving the watch to a position that is parallel to the ground and then tilting
it towards you more than 40 degrees causes the backlight to light.
• The backlight turns off in about two seconds, even if you keep the watch
pointed towards your face.
• The backlight may not light if the face of the watch is more than 15 degrees
off the parallel as shown below. Make sure that the back of your hand is
parallel to the ground.
Parallel to ground
• Static electricity or magnetic force can interfere with proper operation of the
auto light switch. If the backlight does not light, try moving the watch back to
the starting position (parallel with the ground) and then tilt it back toward
you again. If this does not work, drop your arm all the way down so it hangs
at your side, and then bring it back up again.
• Under certain conditions the backlight may not light until about one second
or less after turn the face of the watch towards you. This does not
necessarily indicate malfunction of the backlight.
Trekking Counter Mode
A L M
A LT I
RECALL
S I G
A-LIGHT
AUTO
A L
MANUAL
km
STEP
Altimeter Mode
A L M
A LT I
S I G
RECALL
A-LIGHT
AUTO
A L
MANUAL
Recall Mode
A L M
A LT I
RECALL
S I G
A-LIGHT
AUTO
A L
MANUAL
m
˚C
A
World Time Mode
A L M
A LT I
S I G
RECALL
A-LIGHT
AUTO
A L
MANUAL
P
Parallel to
ground
More than 15 degrees
More than 15 degrees
too high
too low
1570-1
More
than
40°
Advertisement
Table of Contents

Related Manuals for Casio 1570


Summary of Contents for Casio 1570
-
Page 1: General Guide
Module No. 1570 1570-1 Trekking Counter Mode GENERAL GUIDE • Press C to change from mode to mode. A L M A LT I RECALL S I G • Hold down C for one or two seconds in any mode to switch back to the... - Page 2 1570-2 To turn the auto light switch on and off TIMEKEEPING FUNCTION In the Timekeeping Mode, hold down D for one second to turn the auto light switch on (A-LIGHT ) and off (A-LIGHT). In addition to time and date settings, the •...
- Page 3 1570-3 Adjusting the display contrast Note that if there are sudden changes in weather or tem- 1. In the Timekeeping Mode, press D until Graphic area perature, the graph line of past the Timekeeping screen appears. measurements may run off the top 2.
- Page 4 1570-4 Understanding the temperature display Changing the trekking counter measurement units 1. Use C to enter the Timekeeping Mode. 1. Use C to enter the Trekking Counter 2. Press D to display the Barometric Pressure/Temperature screen. Mode. • If you do not press any button for 10 or 11 hours, the watch automatically 2.
- Page 5 1570-5 1 The mark next to ALTI flashes while a measurement is being taken ALTIMETER FUNCTIONS every five seconds. It does not flash during the measurements taken every two minutes. A built-in altimeter uses a pressure sensor to detect the current air pressure,...
- Page 6 1570-6 3. Press C to select the altitude alarm setting Using Auto Memory Measurement Altitude alarm on indicator display (indicated by the indicator). 1. Confirm that the auto memory measurement Auto memory measurement 4. Press D to increase the altitude alarm indicator is shown on the display.
- Page 7 1570-7 To delete auto memory data About memory data The following procedure deletes an entire set (from start measurement to end Use the following procedures to recall measurement data stored in memory. measurement) of auto memory data. To scroll through data items...
-
Page 8: Battery Replacement
1570-8 ALARM FUNCTIONS Whenever there is a sensor malfunction, be sure to take the watch to an authorized CASIO distributor or Service Center as soon as possible. If the B A T appearance of the message is caused by extremely low... - Page 9 1570-9 Barometer BAND CLIP Barometric pressure indicates changes in the atmosphere, and by monitoring One-Piece Cloth Band and Two-Piece Cloth Band these changes you can predict the weather with reasonable accuracy. Rising barometric pressure indicates good weather, while falling pressure indicates To fasten the two-piece band on your wrist deteriorating weather conditions.
- Page 10 1570-10 Leather Band Metal Band To fasten the band on your wrist To fasten the band on your wrist 1. Pass the end of the band through the opening in 1. Fold the buckle over the two metal Belt loop Metal pieces the lock cover and then through the belt loop.