Advertisement
Quick Links
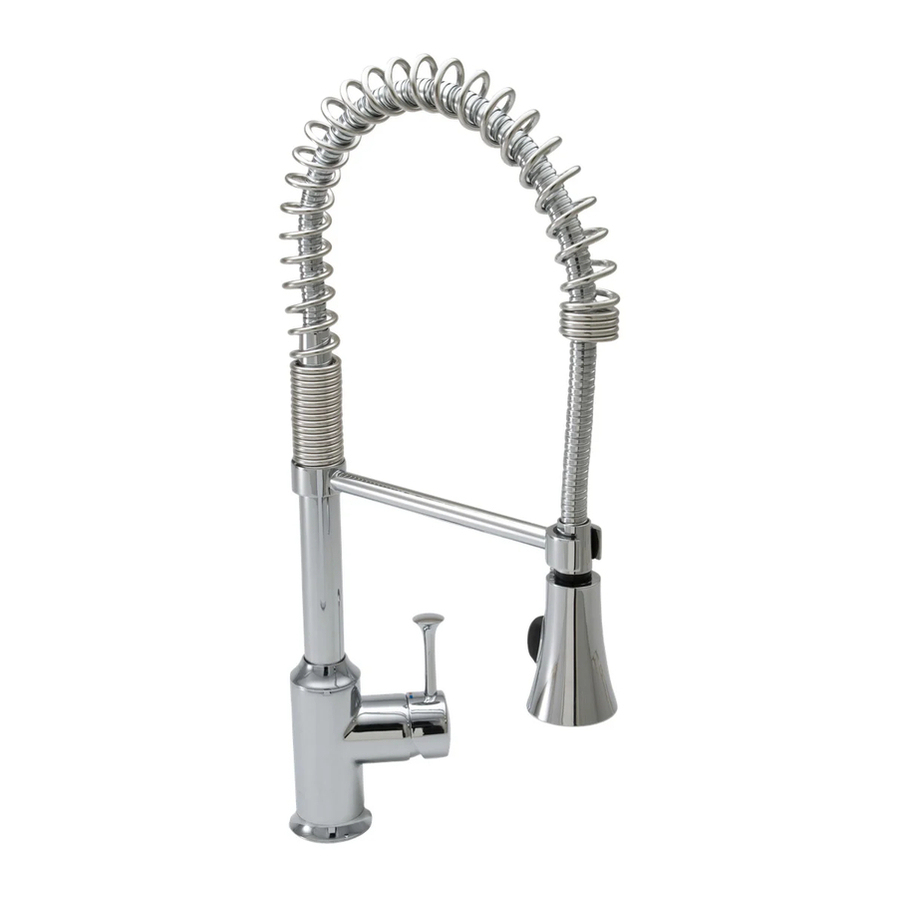
PEKOE
Single Lever Semi-Professional
Kitchen Faucet
Thank you for selecting American-Standard...the benchmark
of fine quality for over 100 years.
To ensure that your installation proceeds smoothly--please
read these instructions carefully before you begin.
Recommended Tools
Phillips Screwdriver
1
INSTALL FITTING
Turn off hot and cold water
CAUTION
supplies before beginning.
Make certain the SEAL (1) is properly seated in recess
of faucet body.
Insert supply HOSES (2) and SHANK (3) through center
hole of sink or mounting surface.
Assemble RUBBER WASHER (4), PLASTIC WASHER (5),
METAL WASHER (6) and threaded LOCKNUT (7) onto
SHANK (3) from underside of sink or mounting surface.
Hand tighten LOCKNUT (7) and check that faucet is centered.
Use a screwdriver to tighten SCREWS (8) on LOCKNUT (7).
Work your way around LOCKNUT (7), tightening the screws
slightly each time until all are snug to ensure even pressure.
Channel Locks
Installation
Instructions
4332.350.XXX
Adjustable Wrench
Certified to comply with ANSI A112.18.1M
Plumbers' Putty or Caulking
RECESS
3
4
5
6
7
8
M 9 6 8 5 7 7 R e v . 1 . 1
Tubing Cutter
1
2
Advertisement

Related Manuals for American Standard Pekoe Lever Semi-Professional Kitchen Faucet 4332.350.XXX


Summary of Contents for American Standard Pekoe Lever Semi-Professional Kitchen Faucet 4332.350.XXX
- Page 1 PEKOE Single Lever Semi-Professional Kitchen Faucet Thank you for selecting American-Standard...the benchmark of fine quality for over 100 years. To ensure that your installation proceeds smoothly--please read these instructions carefully before you begin. Recommended Tools Phillips Screwdriver Channel Locks INSTALL FITTING Turn off hot and cold water CAUTION supplies before beginning.
- Page 2 MAKE WATER SUPPLY CONNECTIONS Turn off hot and cold water supplies before beginning. Connect FLEXIBLE SUPPLIES (1, 2) directly to wall supplies. Connection on fitting supplies are 3/8" compression. Connect left supply (Marked with a Red Stripe) to Hot and right supply (Marked with Blue Stripe) to Cold wall supply.
- Page 3 SERVICE Clogged CARTRIDGE outlets or inlets may cause reduced flow. To clean, first turn off water supply then: Loosen and remove LEVER HANDLE (1). Loosen HANDLE SCREW (2) with 2.5mm Hex Wrench and then pull HANDLE BASE (3) off. Unscrew ESCUTCHEON CAP (4). Unscrew the CARTRIDGE NUT (5).
- Page 4 M962695-YYY0A SPRAY HOSE AND SEALS M962683-YYY0A PULL-DOWN SPRAY WITH CHECK VALVE M962684-YYY0A AERATOR SET M962696-0070A CHECK VALVE M962697-YYY0A SPRAY HOSE ADAPTER M962698-0070A SEAL M962699-YYY0A SPRAY ARM M962704-YYY0A PEDESTAL M962700-0070A M962686-0070A SPRAY ARM BUSHING M962672-0070A MOUNTING KIT M906667-0070A FIXATION RING Single Lever Semi-Professional M962694-YYY0A SPOUT SPRING M962701-0070A...