Epson PLQ-20 Setup Manual
24-pin dot matrix printers
Hide thumbs
Also See for PLQ-20:
- Reference manual (176 pages) ,
- Specifications (2 pages) ,
- User manual (114 pages)
Table of Contents
Advertisement
®
24-pin Dot Matrix Printer
All rights reserved. No part of this publication may be reproduced, stored in a retrieval
system, or transmitted in any form or by any means, electronic, mechanical, photocopying,
recording, or otherwise, without the prior written permission of Seiko Epson Corporation.
The information contained herein is designed only for use with this Epson printer. Epson is
not responsible for any use of this information as applied to other printers.
Neither Seiko Epson Corporation nor its affiliates shall be liable to the purchaser of this
product or third parties for damages, losses, costs, or expenses incurred by the purchaser or
third parties as a result of: accident, misuse, or abuse of this product or unauthorized
modifications, repairs, or alterations to this product, or (excluding the U.S.) failure to strictly
comply with Seiko Epson Corporation's operating and maintenance instructions.
Seiko Epson Corporation shall not be liable for any damages or problems arising from the
use of any options or any consumable products other than those designated as Original Epson
Products or Epson Approved Products by Seiko Epson Corporation.
EPSON and EPSON ESC/P are registered trademarks of Seiko Epson Corporation.
Microsoft, Windows, and Windows NT are registered trademarks of Microsoft Corporation.
IBM is a registered trademark of International Business Machines Corporation.
General Notice: Other product names used herein are for identification purposes only and may be
trademarks of their respective owners. Epson disclaims any and all rights in those marks.
Copyright © 2004 by Seiko Epson Corporation, Nagano, Japan.
Setup Guide
1
Advertisement
Table of Contents

Related Manuals for Epson PLQ-20


Summary of Contents for Epson PLQ-20
-
Page 1: Setup Guide
Seiko Epson Corporation. The information contained herein is designed only for use with this Epson printer. Epson is not responsible for any use of this information as applied to other printers. -
Page 2: Table Of Contents
Contents Introduction Where to Find More Information......3 FCC Compliance Statement for United States Users ... . 3 WARNING . -
Page 3: Where To Find More Information
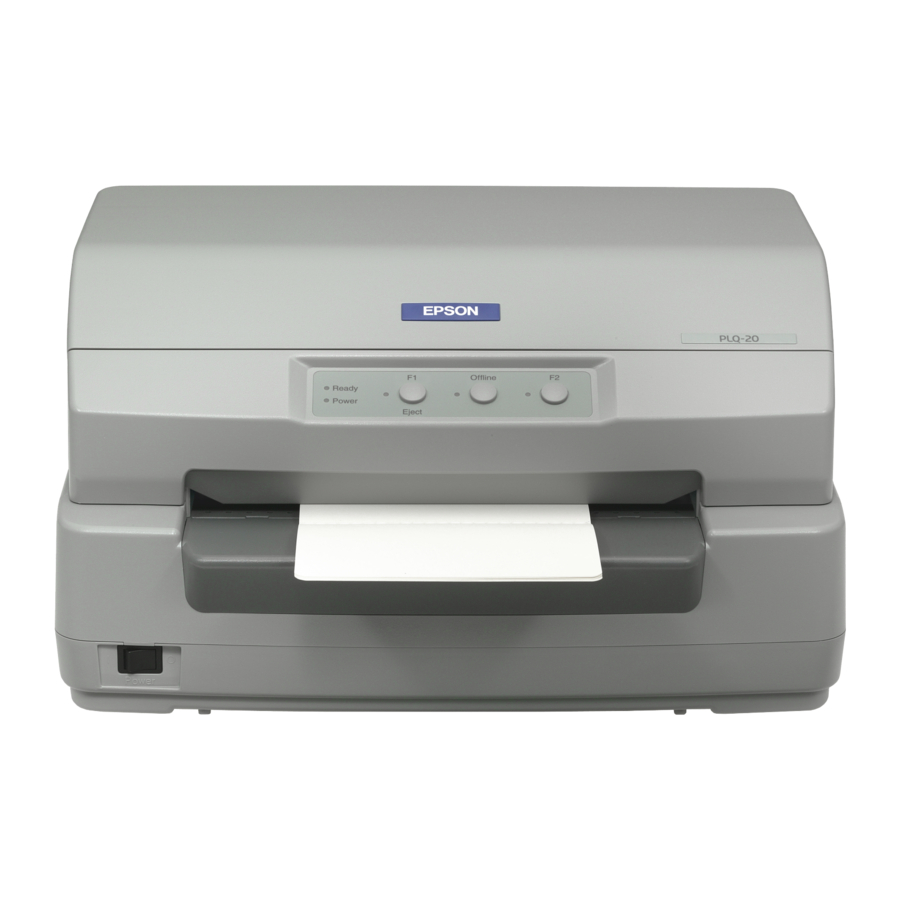
Where to Find More Information This Setup Guide provides you with instructions on operating the impact dot matrix printer PLQ-20/PLQ-20M. You can find information on the basic operation in this guide. But if you wish for more information, refer to the Reference Guide, Paper Specification, and Programming Guide. -
Page 4: Warning
DECLARATION of CONFORMITY According to 47CFR, Part 2 and 15 for Class B Personal Computers and Peripherals; and/or CPU Boards and Power Supplies used with Class B Personal Computers: EPSON AMERICA, INC. Located at: MS 3-13 3840 Kilroy Airport Way... - Page 5 47CFR §2.909 Operation is subject to the following two conditions: (1) this device may not cause harmful interference, and (2) this device must accept any interference received, including interference that may cause undesired operation. Trade Name: EPSON Type of Product: Dot Impact Printer Model: P381A Introduction...
-
Page 6: Chapter 1 Setting Up The Printer
Chapter 1 Setting up the Printer Unpacking the Printer These items are included in the box with your printer. power code printer ribbon cartridge Setup Guide Remove the protective materials Follow the directions written on the cardboard box to remove the protective materials. -
Page 7: Assembling The Printer
Assembling the Printer 1. Make sure the printer is turned off and unplugged. 2. Hold both sides of the printer cover and move it upward to open it. 3. Push the release lever to move the upper mechanism forward. Make sure that you push the lever until it clicks. Setting up the Printer... - Page 8 4. Slide the print head to the middle of the printer by hand. 5. Remove the ribbon cartridge from the package. 6. Place the plastic hooks on the ribbon cartridge into the slots of the printer. Then press both sides of the cartridge until it clicks into place.
- Page 9 7. Hold both sides of the ribbon guide and pull it down until it is out of the cartridge. 8. Put the ribbon guide at the bottom of the print head and push it up until it clicks into place. Setting up the Printer...
- Page 10 9. Turn the ribbon-tightening knob to help feed the ribbon into place. Caution: The ribbon should not be twisted or creased. 10. Pull the release lever back to move the upper mechanism to its original position. Make sure that you pull the lever until it clicks.
-
Page 11: Connecting The Printer To Your Computer
Caution: Make sure that you move the upper mechanism by pulling the release lever. Do not pull the mechanism by hand. It may damage the printer. 11. Close the printer cover. Connecting the Printer to Your Computer Connecting the printer Make sure both the printer and computer are turned off, then connect the interface into the printer and computer. -
Page 12: Plugging In The Printer
Plugging in the Printer Make sure the printer is turned off, then plug the power cord into the printer’s AC inlet and a properly grounded electrical outlet. Setting up the Printer... -
Page 13: Chapter 2 Safety Instructions
Chapter 2 Safety Instructions Warnings, Cautions, and Notes Warnings must be followed carefully to avoid bodily injury. Cautions must be observed to avoid damage to your equipment. Notes contain important information and useful tips on the operation of your printer. Hot Parts Caution Symbol This symbol is placed on the print head and other parts to indicate that they may be hot. - Page 14 When setting up the printer Caution: Be sure the AC power cord meets the relevant local safety standards. Do not place the printer on an unstable surface or near a radiator or heat source. Place the printer on a flat surface. The printer will not operate properly if it is tilted or placed at an angle.
- Page 15 Use a grounded power outlet; do not use an adapter plug. If you plan to use a printer stand, follow these guidelines: Use a stand that can support at least 15 kg (33.1 lb) for PLQ-20 or 17 kg (37.5 lb) for PLQ-20M.
- Page 16 Never use a stand that tilts the printer. The printer should always be kept level. Position your printer’s power cord and interface cable so they do not interfere with paper feeding. If possible, secure the cables to a leg of the printer stand. When maintaining the printer Unplug the printer before cleaning it, and always clean it with a piece of damp cloth only.
- Page 17 When loading paper Use passbooks and paper that have more than 60% reflectance. When you use a passbook, set Passbook mode to On and set Binding mode to the method for the passbook’s binding in the default settings mode. Do not load passbooks that are creased or have ripped seam. Do not use a passbook that has any metallic parts such as staplers or metal clips.
- Page 18 Adjust only those controls that are covered in the user documentation. Improper adjustment of other controls may result in damage requiring extensive repair by a qualified technician. Whenever you turn off the printer, wait at least five seconds before turning it back on; otherwise, you may damage the printer.
- Page 19 ® NERGY Compliance ® As an NERGY Partner, Epson has determined that this product meets ® NERGY guidelines for energy efficiency. ® The International NERGY Office Equipment Program is an international program that promotes energy saving through the penetration of energy efficient computers and other office equipment.
- Page 20 Safety Instructions...