
Related Manuals for Dimplex HTC621W


Summary of Contents for Dimplex HTC621W
-
Page 1: Owners Manual
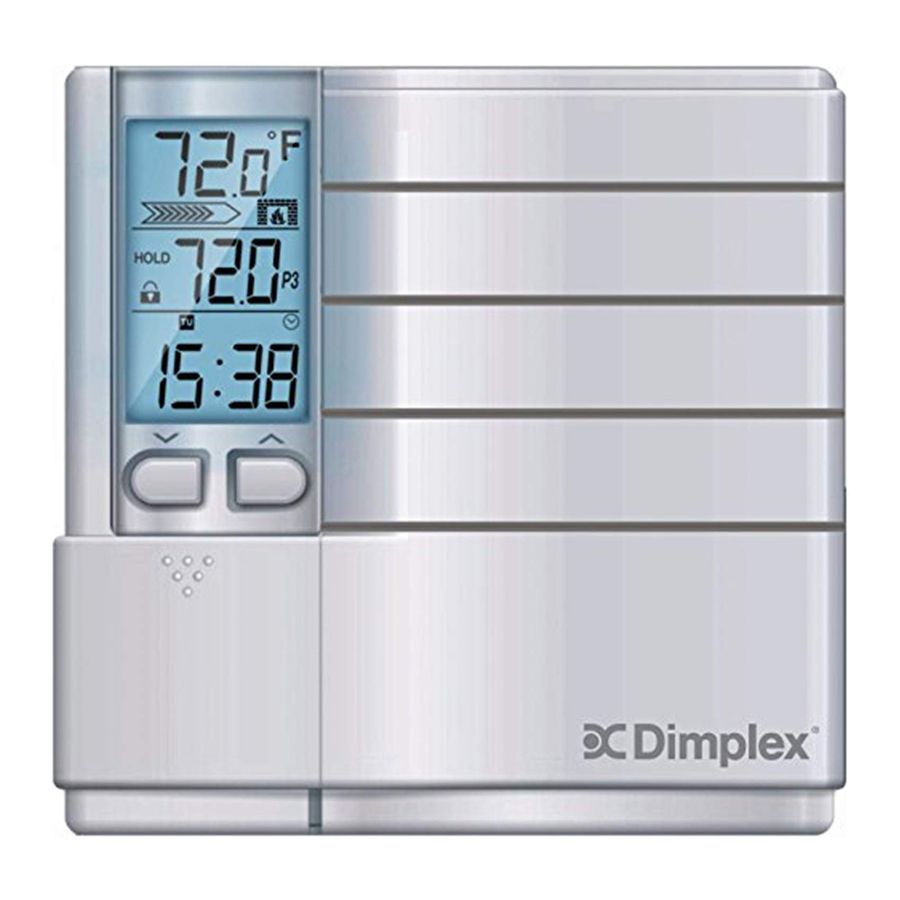
Owners Manual HTC621W 7-Day Programmable Thermostat 3600W HTC625W 7-Day Programmable Thermostat 4000W 7213110100R02... - Page 2 Congratulations on your purchase of this Dimplex line-voltage thermostat. Your new ther- mostat is preprogrammed by the installer and ready to use. Please take the time to read and understand this manual so you can begin to enjoy the convenience this product offers.
- Page 3 Keep this manual in a safe place for future reference. Contact us at: www.dimplex.com/customer_support For Troubleshooting and Technical Support Toll-Free 1-888-DIMPLEX (1-888-346-7539) Monday to Friday 8:00 a.m. to 4:30 p.m. EST Please have your model number and product serial number ready.
-
Page 4: Table Of Contents
Table of Contents Step-by-step Installation ......... . 5 LCD Display. -
Page 5: Step-By-Step Installation
Installation Step-by-step Installation Remove the old thermostat carefully and identify the two wires from the wall box. Gently remove the faceplate from the right side of the new thermostat. Note: Do not remove the screws from the back of the unit as these screws hold the ther- mostat together. - Page 6 Installation Step-by-step Installation . . . continued *120V ~ 240V AC Lines Mount the new thermostat onto the wall box using the two screws provided through the mounting holes, and then replace the faceplate. (Place 2 screws in either the 2 right holes or the 2 left holes).
-
Page 7: Lcd Display
LCD Display... -
Page 8: Location Of Buttons
Location of Buttons... -
Page 9: Option Settings
Option Settings This thermostat has 5 OPTION settings that you can change. The OPTION data will appear on the lower pane of the screen. Option 1: Choosing 12- or 24-hour Format • Press and hold SET for 3 seconds to enter the Option Setting mode. will flash on screen. (Note: The 12-hour format is the default setting.) •... - Page 10 Operation Option 2: Selecting the Heat Cycle Rate . . . continued Cr 0 is a fixed span (no cycling), with a variance of +/- 0.3°C (+/- 0.6°F). The heating unit will operate at full power and the power bar will appear full. This function is for users who do not want their electric heating devices turning on and off frequently. This is the recom- mended setting for fan-assisted electric heating devices.
-
Page 11: Option 3: Enabling The Pre-Comfort Recovery Feature
Operation Option 3: Enabling the Pre-Comfort Recovery Feature This thermostat is equipped with a Pre-comfort Recovery feature which activates the heat- ing system in advance of the actual set program time so that the room will be at the desired temperature at the start of the program time. -
Page 12: Option 4: Selecting The Temperature Unit (°C Or °F)
Operation Option 4: Selecting the Temperature Unit (°C or °F) Celsius (°C) is the default temperature unit; no action is required if this is the desired tem- perature display. 1. Press SET again to advance to the final option. The current temperature will ap- pear on screen. 2. Press to toggle between the °C or °F IMPORTANT: If you wish to use Fahrenheit (°F), it is important to choose this temperature unit before you begin programming the thermostat. -
Page 13: Program Periods
Operation Program Periods For maximum energy savings, this thermostat is equipped with 7-day programming – you can program 4 settings per day for each day of the week. This thermostat is prepro- grammed for your convenience, or you can set your own programs as desired. The pro- gram periods (P1, P2, P3 and P4) allow you to set the temperature settings and start times throughout the day. -
Page 14: Samples Of Temperature Settings
Operation Samples of Temperature Settings Default Setting The factory default setting will activate automatically; convenient for people who are away from home during the day and who wish to maximize energy savings. Period Time Heat Set Point Morning 6:00 AM 69.0°F (20.5°C) 8:00 AM 63.5°F (17.5°C) -
Page 15: Setting Program Schedules
Operation Setting Program Schedules First, select the day you wish to program; then select the start times and temperature set- tings for all four programs periods. Scroll through the daily Program Periods in this order: P1, P2, P3, P4. You may select any weekday to begin. Program Periods Temperature Se ng Clock Symbol... -
Page 16: Copy Program Function
Operation Copy Program Function Using this thermostat’s COPY function is an easy and convenient way to copy the program- ming for all four period settings (P1, P2, P3 and P4) from one day to another instead of programming each day individually. PROG Press to enter Program Se ng Mode... -
Page 17: Restoring Default Programs And Options
Operation Restoring Default Programs and Options If you have difficulty programming your thermostat, you may wish to restore the factory default settings and begin again. Press and hold SET for 3 seconds to enter the option setting mode. Press and hold PROG for 3 seconds to restore all programs to factory defaults. Note: This will restore the default programs and option settings but will not affect the clock. To reset the clock, press RESET (The RESET button must be pressed gently by using a small blunt object). -
Page 18: Hold Function
Operation Hold Function This function allows you to permanently adjust the temperature setting for all time periods. It maintains a constant temperature and disables all programmed settings. Press HOLD to enter the hold mode; the HOLD symbol appears. Press to manually adjust to the desired temperature setting To cancel the HOLD function at anytime, press HOLD again. -
Page 19: Usage Monitor
Operation Usage Monitor The thermostat tracks the total run time, i.e. the total time the heating equipment is running. Press USAGE once to view USAGE TODAY (starts at midnight). Press USAGE again to view USAGE THIS WEEK (total time from Monday to current day;... -
Page 20: High Limit Function
Operation High Limit Function The High Limit Function is a security feature which allows the user to select the maximum temperature limit. If this feature is activated, the user cannot set the temperature to go over this limit. The High Limit setting cannot be bypassed by programs, temporary overrides or the Hold function. -
Page 21: Troubleshooting
Troubleshooting Problem Solution The LCD screen is blank or • Make sure the thermostat is fully installed. abnormal • Check that the power supply has been reconnected at the circuit breaker or fuse. • If the heater or heating appliance has a power switch of its own, check to see that it is in the ON position. - Page 22 Troubleshooting . . . continued Problem Solution Heating is not activated at • Review the programming guide to ensure the pro- the programmed time grams have been entered correctly. • Check that the clock has been set to the correct time (e.g.
-
Page 23: Limited 2-Year Warranty
This product, excluding battery, comes with a two-year (2) warranty against manufac- turer's defects in workmanship and material. The warranty allows for repair or replacement product at Dimplex’s discretion. Dimplex accepts no liability for labour related costs. (Note: Shipping and handling charges are not included under this warranty).