Table of Contents
Advertisement
Quick Links
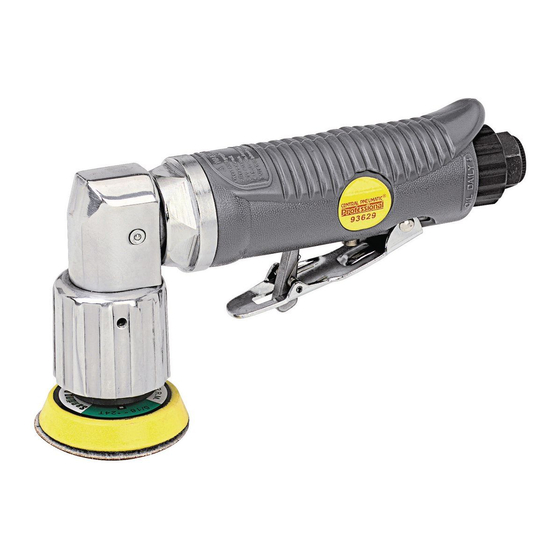
mini orbital sander
assembly and operating instructions
Visit our website at: http://www.harborfreight.com
read this material before using this product.
Failure to do so can result in serious injury.
saVe this manual.
Copyright
2006 by Harbor Freight Tools
©
contained herein may be reproduced in any shape or form without the express written consent of Harbor
Freight Tools. Diagrams within this manual may not be drawn proportionally. Due to continuing improve-
ments, actual product may differ slightly from the product described herein. Tools required for assembly
and service may not be included.
For technical questions or replacement parts, please call 1-800-444-3353.
model
93629
. All rights reserved. No portion of this manual or any artwork
®
Advertisement
Table of Contents

Summary of Contents for Central Pneumatic 93629
- Page 1 Failure to do so can result in serious injury. saVe this manual. Copyright 2006 by Harbor Freight Tools © contained herein may be reproduced in any shape or form without the express written consent of Harbor Freight Tools. Diagrams within this manual may not be drawn proportionally. Due to continuing improve- ments, actual product may differ slightly from the product described herein.
-
Page 2: Product Specifications
When unpacking, check to make sure that all the parts and accessories listed on page 8 are included, and the product is intact and undamaged. If any parts are missing or broken, please call Harbor Freight Tools at the number shown on the cover of this manual as soon as possible. - Page 3 Never service the Air Sander or disassemble with the air hose attached. Always release any built-up air even after disconnecting hose. Disconnect the Air Sander when not in use.
- Page 4 If an accident happens, an assistant can bring help. 21. For best service, you should incorporate an oiler, regulator, and in-line filter, as shown in the diagram below. Hoses, couplers, oilers, regulators, and filters are all available at Harbor Freight Tools. note: If an automatic oiler is not used, put 3-5 drops of pneumatic Tool Oil (not included) in the tool’s quick connector before each use. (see Figure a.) Figure a...
-
Page 5: Assembly Instructions
Air Sander. (see Figure c, next page.) note: do not use grinding wheels on this tool. Make sure the Throttle (2) of the Air Sander is in its oFF (open) position. Then, connect an air hose (not included) to the previously installed Quick Connector of the tool. - Page 6 Squeeze the Throttle again to release any compressed air in the Air Sander. Disconnect the air hose from the tool. Then, store the Air Sander in a clean, dry, safe location out of reach of children. (see Figure c.)
-
Page 7: Please Read The Following Carefully
Throttle (2) again to release any compressed air in the Air Sander. to clean the exterior of the air sander, wipe with a clean, damp cloth using a mild detergent or mild solvent. Do not immerse the tool in liquids. - Page 8 SKU 93629 For technical questions, please call 1-800-444-3353 PAGE 8...
- Page 9 90 day Warranty Harbor Freight Tools Co. makes every effort to assure that its products meet high quality and durability standards, and warrants to the original purchaser that this product is free from defects in materials and workmanship for the period of 90 days from the date of purchase.


