
Related Manuals for JVC KD-R626


Summary of Contents for JVC KD-R626
- Page 1 ENGLISH KD-R626 CD RECEIVER / For canceling the display demonstration, see page 4. / For installation and connections, refer to the separate manual. INSTRUCTIONS GET0707-001A [U/UH]...
- Page 2 Thank you for purchasing a JVC product. Please read all instructions carefully before operation, to ensure your complete understanding and to obtain the best possible performance from the unit. IMPORTANT FOR LASER PRODUCTS 1. CLASS 1 LASER PRODUCT 2. CAUTION: Do not open the top cover. There are no user serviceable parts inside the unit; leave all servicing to qualified service personnel.
-
Page 3: Table Of Contents
Wipe off dirt on the connector of the unit and panel. Use a cotton swab or cloth. JVC bears no responsibility for any loss of data in an iPod/iPhone and/or USB mass storage Condensation : When the car is air- class device while using this System. -
Page 4: Canceling The Display Demonstration
Canceling the display demonstration Display demonstration will be activated automatically if no operation is done for about 20 seconds. Turn on the power. Select <DEMO OFF>. [Hold] [Hold] (Initial setting) Finish the procedure. (Initial setting) Setting the clock Turn on the power. [Hold] [Hold] (Initial setting) -
Page 5: Preparing The Remote Controller
Preparing the remote controller Caution: When you use the remote controller for the first time, pull out the insulation sheet. • Danger of explosion if battery is incorrectly replaced. Replace only with the same or equivalent type. • Battery shall not be exposed to excessive heat Insulation sheet such as sunshine, fire, or the like. -
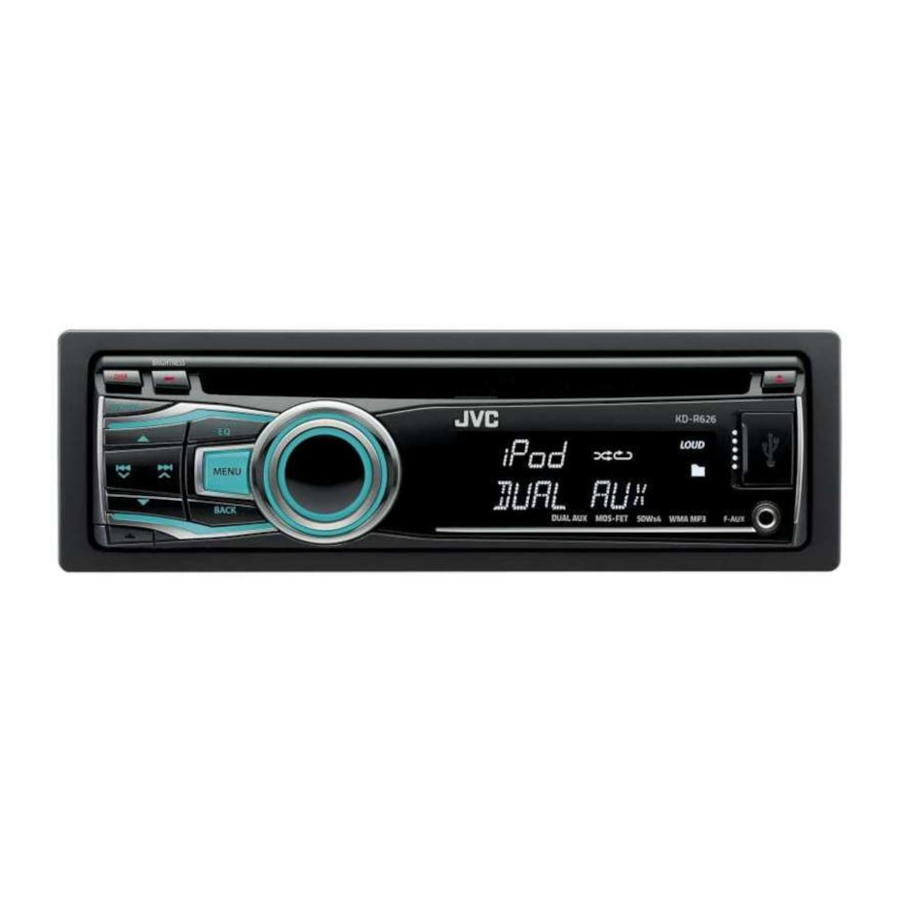
Page 6: Basic Operations
Basic operations Loading slot Control dial Display window Ejects the disc Remote sensor Front auxiliary input jack • DO NOT expose to bright sunlight. Detaches the panel USB (Universal Serial Bus) input terminal When you press or hold the following button(s)... Remote Main unit General operation... -
Page 7: Improving Fm Reception
Listening to the radio • [Press] Searches for stations automatically. Ÿ • [Hold] Searches for stations manually. “M” flashes, then press the button ] “FM” or “AM” repeatedly. “ST” lights up when receiving an FM stereo broadcast with sufficient signal strength. Improving the FM reception Manual presetting (FM/AM) You can preset up to 18 stations for FM and... -
Page 8: Listening To A Disc
Listening to a disc Playback starts automatically. All tracks will be played repeatedly until you change the source or eject the disc. Stopping playback and ejecting Selecting a track/folder from the the disc list If the ejected disc is not removed within 15 seconds, it will automatically reload into the loading slot. -
Page 9: Connecting The Other External Components
Connecting the other external components You can connect an external component to the auxiliary input jack on the control panel (F-AUX) and/or on the rear side of the unit (R-AUX). Summary of using the external components through the auxiliary input jacks: Preparation Connecting cable/ Auxiliary... -
Page 10: Listening To A Usb Device
Listening to a USB device You can operate the USB device in the same way you operate the files on a disc. (page 8) • This unit can play MP3/WMA files stored in a USB mass storage class device (such as a USB memory, Digital Audio Player, etc.). -
Page 11: Listening To An Ipod/Iphone
Listening to an iPod/iPhone Ÿ [Hold] USB input terminal ] Turn on the power. USB 2.0 cable (accessory of the iPod/iPhone) Apple iPod/iPhone All tracks will be played repeatedly until you change the source or disconnect the iPod/iPhone. Cautions: • Avoid using the iPod/iPhone if it might hinder your safety driving. •... -
Page 12: Selecting A Preset Sound Mode
• When operating an iPod/iPhone, some operations may not be performed correctly or as intended. In this RANDOM case, visit the following JVC web site: <http://www. ALBUM RND : Functions the same as jvc.co.jp/english/car/> (English website only). “Shuffle Albums” of the iPod SONG RND : Functions the same as “Shuffle Songs”... -
Page 13: Menu Operations
Storing your own sound mode You can store your own adjustments in memory. Adjust the sound elements (see table below) of the selected tone. [Hold] Repeat steps 2 and 3 to adjust other tones. The adjustments made is automatically stored and changed to “USER.” ] <PRO EQ>... - Page 14 Menu item Selectable setting, [Initial: Underlined] DAY COLOR BUTTON ZONE You can create your own day and night colors for <BUTTON ZONE> and <DISP ZONE> separately. DISP ZONE Perform step 2 to select a primary color (RED / GREEN / BLUE), then adjust the level [00 —...
- Page 15 Menu item Selectable setting, [Initial: Underlined] SUB.W LPF LOW 55Hz / LOW 85Hz / LOW 120Hz : Frequencies lower than 55 Hz/85 Hz/120 Hz are sent to the subwoofer. SUB.W LEVEL 00 — 08 [ 04 ] : Adjusts the subwoofer output level. ON : Activates the High Pass Filter.
-
Page 16: Troubleshooting
UNIT” / “WARNING CHK WIRING THEN insulating tape properly, then reset the unit. (page 3) RESET UNIT” appears on the display and If the message does not disappear, consult your JVC car audio dealer no operations can be done. or a company supplying kits. -
Page 17: Additional Information
Symptom Remedy/Cause “NO FILE” appears on the display. Check whether the device contains playable files. Noise is generated. Skip to another file. “NOT SUPPORT” appears and track skips. Check whether the track is a playable file format. Tracks/folders are not played back in the The playback order is determined by the file name. -
Page 18: Using Bluetooth ® Devices
Using Bluetooth ® devices For Bluetooth operations, it is required to connect the Bluetooth adapter, KS-BTA100 (not supplied) to the auxiliary input jack (R-AUX/BT ADAPTER) on the rear of the unit. (page 9) • For details, refer also to the instructions supplied with the Bluetooth adapter and the Bluetooth device. -
Page 19: Specifications
Specifications AUDIO AMPLIFIER SECTION USB SECTION Maximum Power Output : 50 W per channel USB Standard : USB 1.1, USB 2.0 Continuous Power Output (RMS) : 20 W per Data Transfer Rate (Full Speed) : Max. 12 Mbps channel into 4 Ω, 40 Hz to 20 000 Hz at no Compatible Device : Mass Storage Class more than 1% total harmonic distortion. - Page 20 Having TROUBLE with operation? Please reset your unit Refer to page of How to reset your unit EN, TH © 2010 Victor Company of Japan, Limited 1110DTSMDTJEIN...
-
Page 21: Removing The Unit
หากท่ า นมี ค ำถามหรื อ ต้ อ งการข้ อ มู ล เกี ่ ย วกั บ ชุ ด ติ ด ตั ้ ง โปรดปรึ ก ษาตั ว แทนจำหน่ า ยเครื ่ อ งเสี ย งติ ด รถยนต์ • If you have any questions or require information regarding installation kits, consult your JVC car audio •... -
Page 22: Electrical Connections
การเชื ่ อ มต่ อ ไฟฟ้ า ELECTRICAL CONNECTIONS / ไปยั ง ซั บ วู ฟ เฟอร์ SW : To subwoofer / JVC Amplifier / ไปยั ง ลำโพงหน้ า FRONT : To front speakers / แอมพลิ ฟ ลายเออร์ ข อง...