
Related Manuals for Haier Twin-tub Washing


Summary of Contents for Haier Twin-tub Washing
- Page 1 Twin-tub Washing Machine User's manual Twin-tub Washing Machine User's manual This manual is for Please read this manual carefully before using. Retain it for future reference.
- Page 2 Contents Names of the parts Safety precautions Installation and adjustment Preparation before washing The musts in washing Usage of the detergent Washing sequence Disposal after washing Trouble-Shooting *Answers to question Packing list *Specification...
-
Page 3: Names Of The Parts
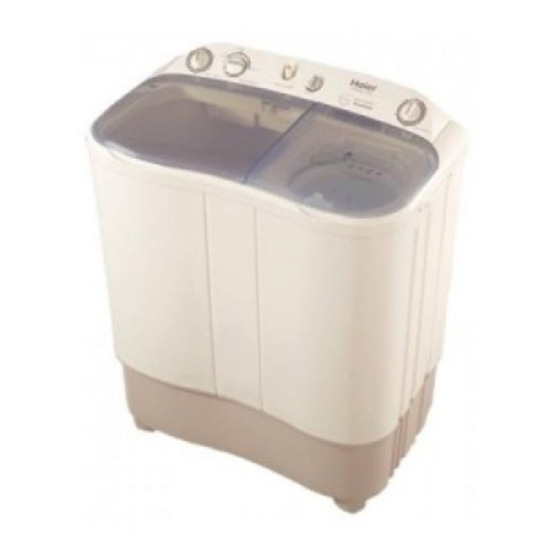
Names of the parts Buzzer Water-filling entrance Water inlet selector handle Wash selector Wash timer Control panel Overflow filter Quick water-filling entrance Drain hose hook Water level adjusting lever Lint filter(Installed by user) Pulsator Wash tub Drain hose Wash tub cover Base frame Meaning and description of the symbols Warning sign... -
Page 4: Safety Precautions
Safety precautions Please insert the power cord into special receptacle with rated vol- tage.Be sure to use single-phase three pins receptacle.The earthing terminal of the receptacle must be earthed reliably.If possible,please adopt electric leakage protector. If the supply cord is damaged,it must be replaced by the manufacturer or its service agent or a similarly qualified person in order to avoid a hazard. - Page 5 Safety precautions Do not stretch hands into the working machine. It is dangerous even if the rotation is slow. Take special care of the children. Do not put any hot or heavy items ( such as the kettle with hot water ) on the washing machine.
-
Page 6: Installation And Adjustment
Installation and adjustment Please install and adjust the machine according to the requirement of the manual. It is very important to your security and correct operating the machine. Install the lint filter After opening the package,please take out the lint filter from the document bag,install it to the overflow filter of the wash tub.See to the figure. -
Page 7: How To Change The Direction Of The Drain Hoses
How to change the direction of the drain hoses Figure 1 indicates the ex factory installation position of the drain hose. Extend the drain hose from the side of spin tub. Take off the drain hose from the hanging hole of the cabinet. -
Page 8: Install The Water Inlet Hose; Select The Water Level
Install the water inlet hose; Select the water level Insert the water inlet hose into the water-filling entrance on the control panel directly.(pull it out to dismantle it) Select water level according to the quantity of the laundries. Set the water level adjusting lever to needed line. -
Page 9: Preparation Before Washing
Preparation before washing Pay attention to followings before washing the laundries Check if Clear the the laundries pocket. Take has special out the coins, requirement sand, hairpins on washing etc. a. Check if the laundries are applicable for washing with machine. b. -
Page 10: The Musts In Washing
The musts in washing Usage of the detergent How to use the whitener Fill water to decided level. Dilute the whitener with container. Pour it slowly into the washing tub. Avoid using whitener on laun- dries with color or pattern as they are prone to lose color. -
Page 11: Washing Sequence
Washing sequence Wash timer Wash selector (To set to below 2 minute, (Strong current, standard current) first set to 5 minute then turn it back. it can increase the service life of the timer). STRONG STANDARD WASH SELECTOR WASH TIMER Wash 1.Water-filling selector (1) Set the water-filling selector at the "WASH"... -
Page 12: Midway Spinning
Midway spinning 1.Put the laundries into the spin tub evenly and smoothly. 2.Spin (1) Put the gland in properly. Proper (2) Close the inner and outer cover of the spin tub. (3) Spin for 1-2 minutes. 3.Run the foam-removing spinning. (1) Open the outer cover of the spin tub. -
Page 13: Rinse With Water-Filling
Rinsing Rinse with water-filling 1.Put the laundries into the wash tub. Select suitable current according to the laundries. 2.Adjust the water level Set the water level with water level adjusting lever according to the laundries quantity. Then fill suitable water continuously. 3.Rinse Adjust the wash timer to 5-7 minutes to do rinsing. - Page 14 Spinning 1. Put the laundries into the spin tub evenly and smoothly. 2. Press the gland in the tub properly. Close the inner and outer cover of the spin tub. 3. Spin Select suitable spin time according to the laundries, and do spinning. During spinning, if there's abnormal sound, it is generally owing to slanting placement of the laundries.
-
Page 15: Disposal After Washing
Disposal after washing After using, please clean the lint and eyewinker of the lint filter and overflow filter in time. Otherwise it may influence your using the machine. Please first pull off the power plug from the receptacle before cleaning. Cleaning the lint filter The lint filter must be used during washing. -
Page 16: Cleaning The Overflow Filter
Cleaning the overflow filter 2. Take off the corrugation pipe. Dismantle the upper part of the corrugation pipe overflow filter ( as indicated in Figure 1). 3. Cleaning the overflow filter Clean the lint around the filter and flush with tap water. 4. -
Page 17: Trouble-Shooting Answers To Question
Trouble-shooting Answers to question If the laundries fall to the outer side of the spin tub If the laundries fall to the outer side of the spin tub, please take them out immediately. 1.Dismantle As indicated in the figure, push the point marked with "... - Page 18 Trouble-shooting Answers to question (If there's breakdown, please pull off the power plug before checking) The following phenomena are not breakdowns sometimes. Please confirm again before sending it to repair. If there are real breakdowns, please come to the special maintenance department or after-sale service department of our company.
-
Page 19: Packing List
Packing list Name User's manual Warranty card Water inlet hose Lint filter Water-filling jointer Gland Twin-tub washing machine Specification Water level Water quantity about (L) Standard rated washing capacity(kg) Largest rated washing capacity(kg) Standard rated spinning capacity(kg) Injection pressure(MPa) Quantity...