Table of Contents
Advertisement
Advertisement
Table of Contents

Related Manuals for Oster OM1101N0E


Summary of Contents for Oster OM1101N0E
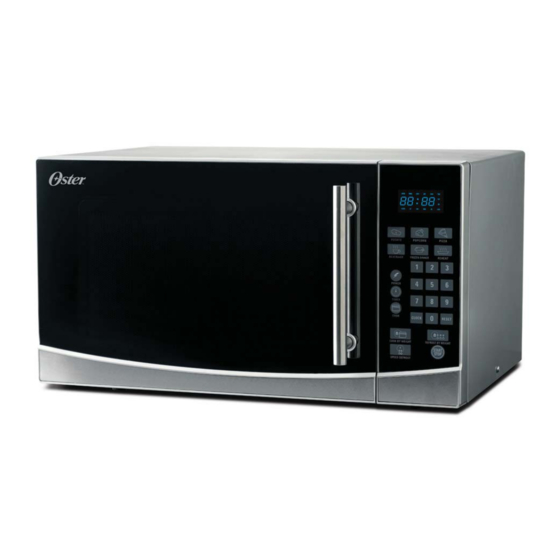
- Page 1 User’s Manual 1.1 Cu. Ft. Countertop Microwave Model: OM1101N0E MLO040908...
-
Page 2: Table Of Contents
TABLE OF CONTENTS IMPORTANT SAFETY INSTRUCTIONS INSTALLATION GUIDE GROUNDING INSTRUCTIONS PRODUCT DIAGRAM CONTROL PANEL OPERATION INSTRUCTIONS COOKING UTENSILS GUIDE COOKING TECHNIQUES CLEANING AND CARE BEFORE CALLING FOR SERVICE SPECIFICATIONS... -
Page 3: Important Safety Instructions
IMPORTANT SAFETY INSTRUCTIONS READ ALL SAFETY INSTRUCTIONS BEFORE USING THIS MICROWAVE WARNING - to reduce the risk of burns, electric shock, fi re, injury to persons, or exposure to excessive microwave energy, basic safety precautions should be followed, including the following: Read all instructions before using the microwave. -
Page 4: Installation Guide
IMPORTANT SAFETY INSTRUCTIONS (continued) When cleaning microwave surface and door, use only mild, nonabrasive soaps or detergents applied with a sponge or soft cloth. This microwave should be serviced only by qualifi ed service personnel. For service and repair, please contact our Customer Support Center at 866-866-6283. -
Page 5: Grounding Instructions
GROUNDING INSTRUCTIONS This microwave must be grounded. In the event of an electrical short circuit, grounding reduces risk of electric shock by providing an escape wire for the electric current. Consult a qualified electrician or serviceman if the grounding instructions are not completely understood, or if doubt exists as to whether the appliance is properly grounded. -
Page 6: Control Panel
CONTROL PANEL MENU ACTION SCREEN: Cooking time, power, indicators, and present time are displayed. QUICK COOK BUTTONS: Instant settings to cook particular foods. POWER: Used to set power levels to cook foods properly. TIMER: Timer functions independently, even while a cooking program is in progress. -
Page 7: Operation Instructions
OPERATION INSTRUCTIONS SETTING THE CLOCK Press the CLOCK button. Use the number pads to enter in the correct time. Press the CLOCK button again to confi rm. MICROWAVE COOKING Using the number pads, enter the desired cook time. Press the START/STOP button to start. The power level defaults to 100%. -
Page 8: Auto Defrost
OPERATION INSTRUCTIONS (continued) FAST START Press the START/STOP button to cook one minute. Each time you press this button, the cook time will increase by one minute. AUTO DEFROST Press the AUTO DEFROST button. Using the number pads, enter in the weight (ounces) of the item you want to defrost. Note the minimum number you can enter is 4 (oz). - Page 9 OPERATION INSTRUCTIONS (continued) BEVERAGE Press the BEVERAGE button to set the weight as to the chart below. Press START/STOP to start PRESS BEVERAGE BUTTON WEIGHT 1 time 1 mug 2 times 2 mugs 3 times 3 mugs REHEAT Press the REHEAT button to set the weight as to the chart below. Press START/STOP to start PRESS REHEAT BUTTON WEIGHT...
-
Page 10: Frozen Entree
OPERATION INSTRUCTIONS (continued) FROZEN ENTREE Press the FROZEN ENTREE button to set the weight as to the chart below. Press START/STOP to start PRESS FROZEN ENTREE BUTTON WEIGHT 1 time 9.0 oz 2 times 12.0 oz 3 times 18.0 oz POTATO Press the POTATO button to set the weight as to the chart below. -
Page 11: Cooking Utensils Guide
COOKING UTENSILS GUIDE This section lists which utensils can be used in this microwave, which have limited use for short periods, and which should not be used in this microwave. RECOMMENDED Microwave browning dish -- Use to brown the exterior of small items such as steaks, chops, or pancakes. -
Page 12: Cooking Techniques
COOKING UTENSILS GUIDE (continued) NOT RECOMMENDED Glass jars and bottles -- Regular glass is too thin to be used in a microwave. It can shatter and cause damage and injury. Paper bags -- These are a fi re hazard, except for popcorn bags that are designed for microwave use. Styrofoam plates and cups -- These can melt and leave unhealthy residue on food. - Page 13 COOKING TECHNIQUES (continued) SHIELDING • Shield food with narrow strips of aluminum foil to prevent overcooking. • Areas that need shielding include poultry wing tips, the ends of poultry legs, and corners of square baking dishes. • Use only small amounts of aluminum foil, as larger amounts may damage your microwave. TURNING •...
-
Page 14: Cleaning And Care
CLEANING AND CARE Turn off the microwave and unplug the power cord from the wall when cleaning. Keep the inside of the microwave clean. When food splatters or spilled liquids adhere to microwave walls, wipe with a damp cloth. Mild detergents may be used if the microwave gets very dirty. Avoid using spray or other harsh cleaners may stain, streak, or dull the door surface. -
Page 15: Before Calling For Service
BEFORE CALLING FOR SERVICE Before asking for service, please check each item below: Check to ensure the microwave is plugged in securely. If not, remove the plug from the outlet, wait • 10 seconds, and plug it in again securely. Check for a blown circuit fuse or a tripped main circuit breaker. - Page 16 © 2008 Sunbeam Products, Inc. doing business as Jarden Consumer Solutions. All rights reserved. Oster is a registered trademark of Sunbeam Products, Inc. used under license. ® Distributed by MLO Appliance Company, LLC. 4400 Baker Road, Minnetonka, MN 55343. For service, support and warranty information, visit www.osterliving.com or call 1-866-866-6283.