Advertisement
Advertisement

Summary of Contents for Alto OEX-400
- Page 1 User's Manual OEX-400 www.altoproaudio.com Version 1.1 July 2006 English...
- Page 2 SAFETY RELATED SYMBOLS Fuse To prevent fire and damage to the product, use only the recommended fuse type as indicated in this CAUTION manual. Do not short-circuit the fuse holder. Before RISK OF ELECTRIC SHOCK DO NOT OPEN replacing the fuse, make sure that the product is OFF and disconnected from the AC outlet.
-
Page 3: Table Of Contents
TABLE OF CONTENTS 1. INTRODUCTION ...........................3 2. FEATURES ............................3 3. CONTROL ELEMENTS ........................5 4. AUDIO CONNECTIONS........................11 5. PRESET LIST............................12 6. TECHNICAL SPECIFICATIONS ......................13 7. BLOCK DIAGRAM..........................15 8. WARRANTY ............................16... -
Page 4: Introduction
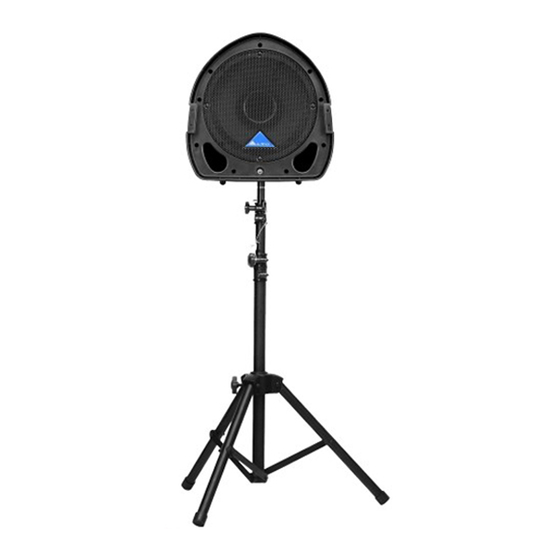
The L&R speaker cabinets are tightly hooked on the trolley. When you operate the OEX-400, first of all take care of the setting of the L&R cabinets . It is the development of ALTO's experience and knowledge in speakers field, in order to faithfully reproduce sound for each kind of applications. - Page 5 In following picture you see OEX-400 main components: High quality full range speaker cabinets Versatile multi-channel mixer...
-
Page 6: Control Elements
3. CONTROL ELEMENTS... - Page 7 SEND socket, the AUX1 signal can be sent to an external effect device. 3.5 EQUALIZER Your OEX-400 features a 2-band equalizer allowing you to adjust the high and low frequencies separately on each mono channel. Both bands provide up to +15dB of boost or cut. HIGH This is the treble control.
- Page 8 3.8 GRAPHIC EQ Your OEX-400 is equipped with a graphic equalizer, and provides 7-band fader controls. Via these faders, you can boost or attenuate the selected frequency by 15dB at a preset bandwidth. When all faders are at the center position, the output of the equalizer is flat response.
- Page 9 3.15 FX RETURN This jack is used to return the sound of an effect unit to the main mix. You can also use it as the extra auxiliary inputs. 3.16 FX SEND This jack is used to send out the signals from AUX bus. 3.17 PHONE This 1/4"...
- Page 10 3.20 DSP SECTION Your OEX-400 features the special 16-preset digital effect , further details please refer to following content. - DSP This control is used to adjust the volume of DSP RETURE. - DSP EFFECT ON This switch is used to activate/deactivate the effect facility. Sometimes, you can also use the FOOTSWITCH jack for convenient operation.
- Page 11 This jack is used to connect the unit to the mains with the enclosed power cord. (Depends on applicable country regulations) - AC SELECT Before connecting the OEX-400 to the mains supply first check that the Voltage Selector is showing the correct voltage for your country.
-
Page 12: Audio Connections
4. AUDIO CONNECTIONS You can connect unbalanced equipment to balanced inputs and outputs. Simply follow these schematics. Ring=Right Signal Sleeve Ring Strain Clamp Tip=Left Signal Sleeve=Ground/Screen Use for Headphone 1/4" Stereo (TRS) Jack Plug Sleeve Tip=Signal Strain Clamp Sleeve=Ground/Screen Use for Mono Line In, Mono 1/4"Jack Plugs 1/4"... -
Page 13: Preset List
5. PRESET LIST Description parameter Preset Rev. Decay time: 360ms WARM HALL Simulate a small acoustic space of the sound. Pre-delay: 45ms Rev. decay time: 290ms Simulate a large acoustic space of the sound. BRIGHT HALL Pre-delay: 23ms Rev. decay time: 210ms Simulate a small acoustic space of the sound. -
Page 14: Technical Specifications
6. TECHNICAL SPECIFICATIONS Mixer Section... - Page 15 Speaker Section Power Section Physical...
-
Page 16: Block Diagram
7. BLOCK DIAGRAM... -
Page 17: Warranty
8. WARRANTY 8.1 WARRANTY REGISTRATION CARD To obtain Warranty Service, the buyer should first fill out and return the enclosed Warranty Registration Card within 10 days of the Purchase Date. All the information presented in this Warranty Registration Card gives the manufacturer a better understanding of the sales status, so as to purport a more effective and efficient after-sales warranty service. - Page 18 No. 1, Lane 17, Sec. 2, Han Shi West Road, Taichung 40151, Taiwan http://www.altoproaudio.com Tel: 886-4-22313737 email: alto@altoproaudio.com Fax: 886-4-22346757 All rights reserved to ALTO. All features and content might be changed without prior notice. Any photocopy, translation, or reproduction of part of this manual without written permission is forbidden. Copyright 2006 SEIKAKU GROUP NF 02565-1.1...


