Table of Contents

Related Manuals for Electrolux EGM 626


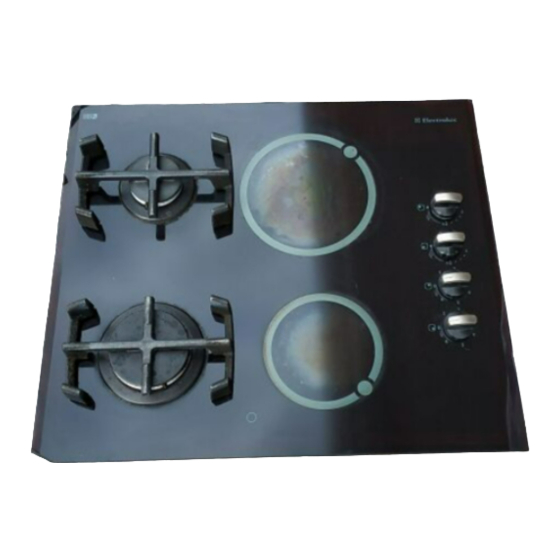
Summary of Contents for Electrolux EGM 626
- Page 1 Gas hobs INSTR INSTR UCTION BOOKLET UCTION BOOKLET INSTR UCTION BOOKLET UCTION BOOKLET INSTR INSTR UCTION BOOKLET Please read this instruction booklet before using the appliance Mod. EGM 626 - EGM 636 HR - SI - PT 35679-2502...
-
Page 2: Important Safety Information
English Important Safety Information These warnings are provided in the interest of safety. You read them carefully before MUST installing or using the appliance. About Installation, Cleaning and Manteinance • It is mandatory that all operations required for the Refer to your local Service Centre. Always insist on installation are carried out by a qualified or competent genuine spare parts. -
Page 3: Table Of Contents
89/336 (Electromagnetical Compatibility Directive); 93/68 (General Directives) and subsequent modifications. These instructions are only for the countries stated by the symbol printed on the front cover of this instruction book. MANUFACTURER: ELECTROLUX HOME PRODUCTS ITALY S.p.A. Viale Bologna 298 - 47100 FORLI’ (Italy) -
Page 4: Instruction For The User
Instruction for the User Once the hob has been installed, it is important to remove any protective materials, which were put on in the factory. Hob burners control knobs The hob burners control knobs are situated on the hob right hand side. The symbols on the knobs mean that: there is no gas supply there is maximum gas supply there is minimum gas supply... - Page 5 Using the plate correctly Use of electric plates Saucepans and frying pans (Fig.2) To switch on the plate, turn the relevant knob to the Saucepans and frying pans should not be smaller required position. than the cooking zone, and preferably not more than The plates are regulated by a 7 position switch: 10-15 mm larger than the diameter of the cooking Position 0: off...
-
Page 6: Cleaning And Maintenance
Cleaning and Maintenance Disconnect the appliance from the electrical FO 2265 supply, before carrying out any cleaning or manteinance work. General cleaning Wash the enamelled components with warm soapy water. Never use abrasive cleaners. Frequently wash the "caps" and the "crowns" with hot soapy water, carefully taking away any built-up of food. -
Page 7: Technical Data
Rapid Burner 2,9 kW (G20) - 2,7 kW (G30/G31) (Mod. EGM 636) Ø 180 mm. 1,8 kW Semirapid Burner 1,9 kW (Mod. EGM 626) Ø 180 mm. 1,8 kW Auxiliary Burner 1,0 kW Ø 145 mm. 1,2 kW Appliance Class... -
Page 8: Electrical Connection
Electrical Connection The appliance is designed to be connected to 230 V RIGID COPPER PIPE OR monophase electricity supply. FLEXIBLE PIPE IN STAINLESS STEEL The connection must be carried out in compliance with the laws and regulations in force. Before the appliance is connected: 1) check that the main fuse and the domestic installation can support the load (see the rating label);... -
Page 9: Adaptation To Different Types Of Gas
Adaptation to different types of gas Injectors replacement • Remove the pan supports. • Remove the burner's caps and crowns. • With a socket spanner 7 unscrew and remove the injectors (Fig. 7), and replace them with the ones required for the type of gas in use (see table 2). •... -
Page 10: Building In
Building In Mod. EGM 636 Mod. EGM 626 Dimensions are given in millimeters = Auxiliary burner = Semirapid burner = Rapid Burner = Electric plate These hobs can be inserted in a built-in kitchen unit Fig. 9 FO 2098 whose depth is between 550 and 600 mm. The hobs dimensions are shown in the relevant diagram. -
Page 11: Possibilities For Insertion
Possibilities for insertion Kitchen unit with door Kitchen unit with oven Proper arrangements must be taken in designing the The hob recess dimensions must comply the indication forniture unit, in order to avoid any contact with the given in Figs. 13 and 14 and must be provided with bottom of the hob which can be heated when it is brackets to allow a continuous supply of air.