Table of Contents
Advertisement
Operating Instructions
GB
English,1
IS60G1
Contents
Installation, 2-6
Positioning and levelling
Start-up and use, 8-10
Oven cooking advice table
You must read these instructions prior to using
your appliance and retain them for future use.
COOKER
GB
Advertisement
Table of Contents

Summary of Contents for Indesit IS60G1
-
Page 1: Table Of Contents
Description of the appliance, 7 Overall view Control panel Start-up and use, 8-10 Using the hob Using the oven Oven cooking advice table IS60G1 Precautions and tips, 11 General safety Disposal Respecting and conserving the environment Care and maintenance, 12 Switching the appliance off... -
Page 2: Installation
Installation ! Before operating your new appliance please read The legs* fit into the slots on this instruction booklet carefully. It contains the underside of the base of important information concerning the safe installation the cooker. and operation of the appliance. ! Please keep these operating instructions for future reference. -
Page 3: Electrical Connection
• the hose must always be in good condition, never Gas connection attempt to repair. ! The installation must comply with gas safety T he cooker should be connected to the gas-supply (installation and use) regulations 1984. In all cases by a corgi registered installer. -
Page 4: Adapting To Different Types Of Gas
Disposing of the appliance • the mains cable is wired directly into a 13 amp cable outlet, controlled by a switch, (in When disposing of the appliance please remove the compliance with BS 5733) which is accessible plug by cutting the mains cable as close as without moving the appliance. - Page 5 Adjusting the gas oven burner’s minimum setting: ! The hob burners do not require primary air adjustment. 1. Light the burner ( see Start-up and Use ). ! After adjusting the appliance so it may be used 2. Turn the knob to the minimum position (MIN) after with a different type of gas, replace the old rating it has been in the maximum position (MAX) for label with a new one that corresponds to the new...
-
Page 6: Technical Data
P.C.S. = 49,47 MJ/Kg Natural P.C.S. = 37,78 MJ/m TECHNICAL DATA Oven Dimensions 31x43,5x43,5 cm HxWxD 58 l Volume IS60G1 Useful width 46 cm measurements depth 42 cm relating to the height 8,5 cm oven compartment Voltage and see data plate... -
Page 7: Description Of The Appliance
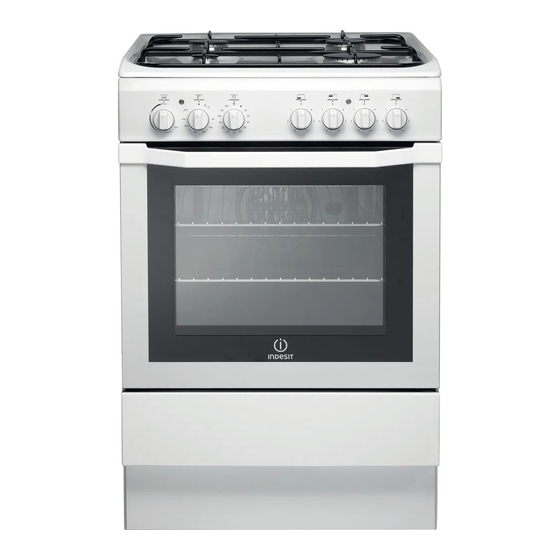
Description of the appliance Overall view Gas burner Containment surface for spills Hob grid GUIDE RAILS Control panel for the sliding racks position 5 GRILL rack position 4 position 3 DRIPPING PAN position 2 position 1 Adjustable foot Adjustable foot Control panel Button for Oven Electronic Lighting for Hob Burners... -
Page 8: Start-Up And Use
Start-up and use Using the hob Practical advice on using the burners Lighting the burners For the burners to work in the most efficient way possible and to save on the amount of gas consumed, For each BURNER knob there is a complete ring it is recommended that only pans that have a lid and a showing the strength of the flame for the relevant flat base are used. - Page 9 turn it in an anticlockwise direction, towards the MAX ! The grill is fitted with a safety device and it is position, until the burner is lit. If, after 15 seconds, therefore necessary to hold the OVEN control knob the burner is still not alight, release the knob, open down for approximately 6 seconds.
- Page 10 Oven cooking advice table Foods Weight (in Rack Preheating time (min) Recommended Cooking time position Temperature (°C) (minutes) Pasta Lasagne 60-75 Cannelloni 40-50 Gratin dishes 40-50 Meat Veal 85-90 Chicken 90-100 Duck 100-110 Rabbit 70-80 Pork 70-80 Lamb 90-95 Fish Mackerel 180-200 35-40...
-
Page 11: Precautions And Tips
Precautions and tips • ! This appliance has been designed and manufactured in • Always make sure the knobs are in the position and that the compliance with international safety standards. gas tap is closed when the appliance is not in use. The following warnings are provided for safety reasons and must be read carefully. -
Page 12: Care And Maintenance
Care and maintenance 06/2011- 195089012.01 XEROX FABRIANO Switching the appliance off Inspecting the oven seals Disconnect your appliance from the electricity supply Check the door seals around the oven regularly. If the before carrying out any work on it. seals are damaged, please contact your nearest Authorised After-sales Service Centre.


