Advertisement
Advertisement
Table of Contents

Related Manuals for DeLonghi BCO255


Summary of Contents for DeLonghi BCO255
- Page 1 Coffee Maker BCO255...
-
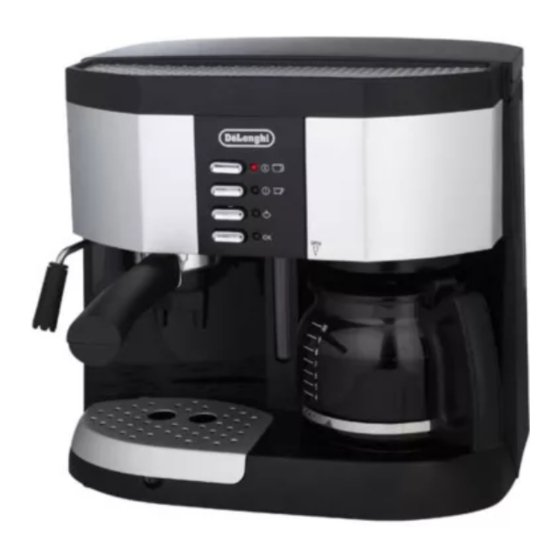
Page 2: Coffee Maker Overview
Coffee Maker... -
Page 3: Installation
Thank you for choosing this coffee machine. To get the very best out of your new coffee machine it is advisable to read these instructions before using the appliance. This is the only way to ensure optimum results and maximum safety. Using for the first time Before using the machine for the first time, wash all the acces- sories in warm soapy water and rinse. -
Page 4: Filling The Water Tank
How to prepare filter coffee Preparing the filter coffee • Lift the lid and fFill the tank with fresh, clean water (Fig. 1) up to the level marker corresponding to the number of cups of coffee being prepared, making sure not to exceed the MAX mark. •... -
Page 5: Preheating Coffee Unit
Replace the tank by connecting the valve at the bottom of the tank with the hole in the base on the machine. The tank may also be filled without it being removed by filling with water from a carafe. NB: Never use the appliance without water in the tank and always remember to top up when the level drops to a couple of centimetres from the bottom (fig. - Page 6 How to prepare espresso coffee using the filter holder for ground coffee 1. After preheating the appliance as described in the previous para- graph, place the ground coffee filter in the filter holder Fig. 12. Note: Use good quality, finely-ground coffee for espresso coffee machines. IMPORTANT: for correct operation, before adding the ground coffee to the filter holder, make sure the filter is free from ground coffee from the previous infusion.
-
Page 7: How To Make Cappuccino
How to make cappuccino 1. Prepare espresso coffee, using cups that are large enough for cap- puccinos 2. Press the steam ON/OFF button (fig. 18). The steam light comes on (fig. 18). 3.Wait until the temperature OK indicator light comes on (fig. 19) indicating that the boiler has reached the ideal temperature for steam production. -
Page 8: Cleaning And Maintenance
HOT WATER PRODUCTION 1. Turn the appliance on by pressing the espresso coffee ON/OFF button (fig. 8). 2. Place a container under the cappuccino maker. 3.When the temperature OK light comes on, press the coffee run- off button (fig. 11) and at the same time turn the steam knob anti- clockwise (fig. - Page 9 Cleaning the boiler outlet About every 200 coffees, the espresso boiler outlet must be cleaned as follows: • Make sure the appliance is not hot and that it is unplugged from the mains; • Using a screwdriver, unscrew the screw fixing the espresso boiler outlet (fig.
- Page 10 Descaling the filter coffee section Formation of scale depends on the hardness of the water and on how often the coffee machine is used.To obtain optimum perform- ance, the appliance should be descaled regularly, at least every 40 cycles. To descale, proceed as follows: 1.
-
Page 11: Problem Solving
Problem solving PROBLEM POSSIBLE CAUSES SOLUTION Coffee filtration takes • The filter coffee machine • Descale as described in must be descaled the paragraph longer. "DESCALING" The coffee has an acid • Inadequate rinsing after • Rinse the appliance as descaling described in the chapter flavour... - Page 12 PROBLEM POSSIBLE CAUSES SOLUTION The coffee crema is light- • The ground coffee has • Tamper the ground cof- not been pressed enough. fee down more. coloured (the coffee comes • The quantity of ground • Increase the quantity of out quickly from the coffee is scarce.
-
Page 13: Safety Warnings
Safety Warnings • This appliance is designed to make coffee. Please be careful to avoid burns from the sprays of hot water or steam and avoid any improper use. • When the appliance is in use, do not touch any of the machine’s hot surfaces. -
Page 14: Warning! This Appliance Must Be Earthed
Electrical requirements Green and Yellow to Earth Before using this appliance ensure that the voltage indicated on the product corresponds with the main voltage in your 13 amp home, if you are in any doubt about your supply contact your Fuse local electricity company. - Page 15 518IDL/ 05.06...