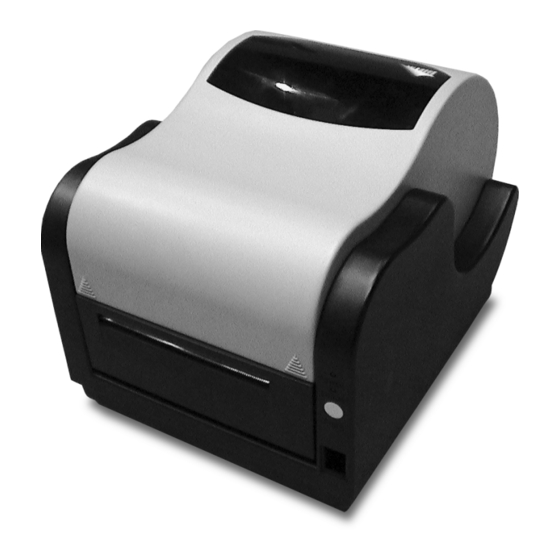
SATO CX400 Quick Start Manual
Hide thumbs
Also See for CX400:
- Programming reference manual (102 pages) ,
- Service manual (39 pages) ,
- Operator's manual (26 pages)
Table of Contents
Advertisement
Advertisement
Table of Contents

Related Manuals for SATO CX400


Summary of Contents for SATO CX400
-
Page 2: Table Of Contents
4.2 Feeding blank labels ..............10 4.3 Label reprint................11 4.4 Sending data to the printer ............11 4.5 Resetting the printer..............11 4.6 Printing labels ................12 4.7 Controlling the printer using direct commands ......13 5. Printer Specifications ................14 © 2009 SATO America, Inc. All rights reserved. -
Page 3: What You Get
1. What You Get Thank you for purchasing the SATO CX Series. To provide outstanding customer services worldwide, SATO operates through its worldwide subsidiaries, value-added resellers and system integrators. Should you require any assistance, you may contact any of these parties. -
Page 4: Safety Precautions
A diagonal line with a circle ( ) indicates something you should not do. The symbol on the left indicates you should not try to take the unit apart. © 2009 SATO America, Inc. All rights reserved. - Page 5 Should the printer ever fall or otherwise becomes damaged, immediately turn off the power and contact your nearest dealer or service center. Continued use creates the danger of fire or electrical shock. © 2009 SATO America, Inc. All rights reserved.
- Page 6 Continued use of such a cord creates the danger of fire or electrical shock. Never modify, excessively bend, twist, or pull the power cord. Doing so creates the danger of fire or electrical shock. © 2009 SATO America, Inc. All rights reserved.
- Page 7 AC adapter from the wall outlet if you do not plan to use the printer for a long time Maintenance and Cleaning For safety during maintenance and cleaning, please ensure the battery pack and the AC adapter are removed from the printer. © 2009 SATO America, Inc. All rights reserved.
-
Page 8: Setup
3.2 Loading ribbon The CX series thermal transfer printer transfers ink from a ribbon to the label to produce an image. 1. Lift the top cover. © 2009 SATO America, Inc. All rights reserved. - Page 9 11. Lower the print head and press it firmly until it locks securely on both sides. 12. Close the top cover. 13. Wait until the ERROR no more blinks and becomes OFF, press the FEED button to feed a label or to resume printing. © 2009 SATO America, Inc. All rights reserved.
-
Page 10: Selecting The Label Sensor Type
See your software documentation for details. If you are writing your own software or controlling the printer using direct commands, you must use printer commands to set up the printer mode and sensing method. © 2009 SATO America, Inc. All rights reserved. -
Page 11: Using The Printer
To feed a label, press the FEED button if no image is in the printer buffer. To clear the printer image buffer you press and hold the FEED button for about 5 seconds and release the FEED button. © 2009 SATO America, Inc. All rights reserved. -
Page 12: Label Reprint
To reset the parameters to factory settings, follow the procedure below. 1. Install ribbon and media. 2. Turn on the printer. 3. Press and hold the FEED button for about 30 seconds until the printer © 2009 SATO America, Inc. All rights reserved. -
Page 13: Printing Labels
If you want to print labels from another Windows application, the CX series Windows Printer Driver must be installed. It is found in the CD-ROM and must be loaded using the standard Windows printer installation instructions. © 2009 SATO America, Inc. All rights reserved. -
Page 14: Controlling The Printer Using Direct Commands
You can also produce labels by sending commands directly to the printer. Simple ASCII commands control the printer. You can write command files using any text editor program that can output ASCII text (including the control codes). © 2009 SATO America, Inc. All rights reserved. -
Page 15: Printer Specifications
(25 ~ 85 RH, non (25 ~ 85 RH, non condensing) condensing) Storage: -20 ~ 60 Storage: -20 ~ 50 (25 ~ 85 RH, non (25 ~ 85 RH, non condensing) condensing) © 2009 SATO America, Inc. All rights reserved. - Page 16 0°, 90°, 180°, and 270°, 4 direction rotation. Barcode Symbologies 1D Barcode UPC-A/E, EAN-8/13, CODE 39, CODE 93, CODE 128, Interleave 2 of 5 (I25), Matrix 2 of 5, Codebar, MSI, Bookland, POSTNET, UCC/EAA-128 2D Barcode PDF417, Maxi Code © 2009 SATO America, Inc. All rights reserved.
- Page 17 CX410 Graphic Specifications Formats Custom graphic, PCX Rotations 0°, 90°, 180°, and 270°, 4 direction rotation. Accessories and Options Options Dispenser, Cutter, RS232C Interface cable, 2MB, or 4 MB additional flash memory © 2009 SATO America, Inc. All rights reserved.