Garmin GPSMAP 420 Installation Instructions Manual
Gpsmap 400 series; gpsmap 500 series
Hide thumbs
Also See for GPSMAP 420:
- Owner's manual (72 pages) ,
- Installation instructions manual (30 pages) ,
- Declaration of conformity (1 page)
Advertisement
Table of Contents
GPSMAP 400/500 Series Installation Instructions
Your GPSMAP 400/500 series chartplotter must be properly installed according to the following instructions. You need the appropriate
fasteners, tools, and mounts listed in each section. If you experience difficulty installing the chartplotter, seek the assistance of a
professional installer, or contact Garmin Product Support.
Before installing your GPSMAP 400 or 500 series chartplotter, confirm that the package contains the items listed on the box. If any parts are
missing, contact your Garmin dealer immediately.
WARNING: See the Important Safety and Product Information guide in the product box for product warnings and other important
information.
WARNING: Always wear safety goggles, ear protection, and a dust mask when drilling, cutting, or sanding.
NotIce: When drilling or cutting, always check the opposite side of the drilling or cutting surface.
To install and use your chartplotter:
1 Select a mounting location (page 2).
2. Mount the chartplotter (page 2).
3. Install the transducer, if applicable (page 3).
4. Install the wiring harness (page 6).
5. Connect the chartplotter to a NMEA 2000 network (optional, if applicable) (page 8).
6. Connect the cables to the chartplotter (page 9).
7. Test the installation (page 9).
Chartplotter Functionality Matrix
The chartplotters in the GPSMAP 400/500 series have different functionality based on model number. Use this matrix to determine the feature
set and installation requirements of your chartplotter.
Chartplotter
GPSMAP 420/430/430x/440/440x/450
GPSMAP 520/525/530/535/540/545/550/555
GPSMAP 421/441/451
GPSMAP 431/531
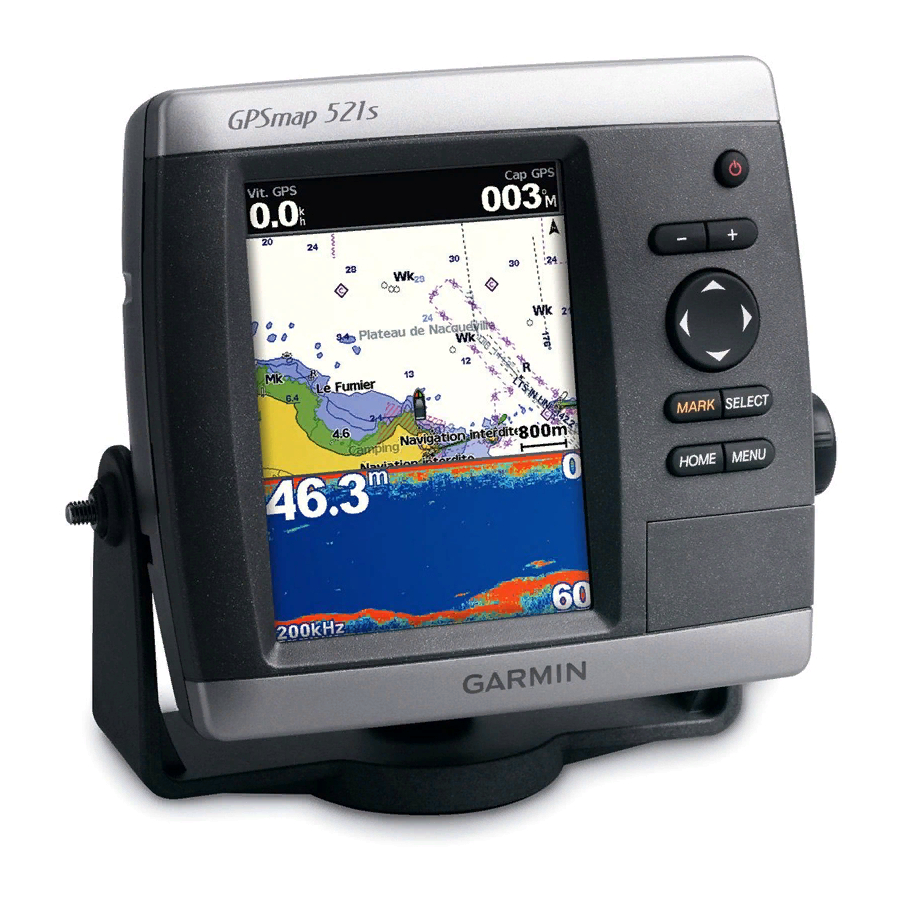
GPSMAP 521/526/536/541/546/551/556
September 2009
NMEA 2000
NMEA 0183
No
Yes
No
Yes
Yes
Yes
No
Yes
Yes
Yes
190-01074-02 Rev. B
Garmin CANet
Sonar
Yes
"s" version only
Yes
"s" version only
No
"s" version only
No
"s" version only
No
"s" version only
Printed in Taiwan
Advertisement
Table of Contents

Related Manuals for Garmin GPSMAP 420


Summary of Contents for Garmin GPSMAP 420
- Page 1 If you experience difficulty installing the chartplotter, seek the assistance of a professional installer, or contact Garmin Product Support. Before installing your GPSMAP 400 or 500 series chartplotter, confirm that the package contains the items listed on the box. If any parts are missing, contact your Garmin dealer immediately.
-
Page 2: Selecting A Mounting Location
Flush Mount—use an optional flush mount kit to mount the chartplotter into a flat panel. For more information on the optional flush mount kit, visit www.garmin.com or contact your local Garmin dealer. Surface-Mounting the Chartplotter Use the included bracket to surface-mount the chartplotter. You will need the following tools and fasteners: •... - Page 3 NotIce: Do not cut the transducer lead or any part of the transducer cable. Cutting the transducer cable voids your warranty. The cable cannot be spliced and connected to any existing (Garmin or non-Garmin) transducer cables. If the transducer lead is too short, extension cables are available from your Garmin dealer.
- Page 4 To mount the transducer on a transom: 1. Position the transducer mount at the selected transom location. Make sure the transducer is parallel with the water line. Mark the center locations of each hole on the transducer mount. Apply marine sealant to all screw threads to prevent water from seeping into the transom. Mount the transducer parallel with the bottom. 2. Drill in. (4 mm) pilot holes approximately 1 in. (25 mm) deep at the marked locations. To avoid drilling the holes too deep, wrap a piece of tape around the bit at 1 in. (25 mm) from the point of the bit. 3. Apply marine sealant to the 5 × 30 mm screws (B). Attach the transducer assembly to the transom using the 5 × 30 mm screws. Adjust the transducer assembly to extend beyond the bottom of the transom approximately aluminum hulls. Adjust the transducer assembly to be aligned parallel with the bottom. 4. Tighten the 10-32 locking nut until it touches the mounting bracket, and then tighten 5. Place the first cable clamp (F) on the transducer cable, approximately one third of the distance between the transducer and the top of the transom.
-
Page 5: Shoot-Thru-Hull Installation
6. Route the transducer cable to the GPSMAP 400/500 series chartplotter using cable ties to secure the cable to the motor shaft. You can fill the forward-facing portion (except the cable tie pocket) of the transducer mount with sealant to avoid accumulating debris. NotIce: Leave some slack in the cable to avoid damage while using the trolling motor. NotIce: Avoid routing the cable close to electrical wires or other sources of electrical interference. Shoot-Thru-Hull Installation To avoid drilling a hole to mount a thru-hull transducer, a transom-mount transducer can be secured with epoxy inside a boat (shoot-thru-hull installation). -
Page 6: Installing The Wiring Harness
Installing the Wiring Harness The chartplotter comes with a wiring harness that connects the chartplotter to power and to optional NMEA 0183 and Garmin CANet devices. If applicable, the wiring harness also connects the chartplotter to a transducer. The wiring harness does not connect to a NMEA 2000 network. For instructions on connecting to a NMEA 2000 network with compatible... - Page 7 GPSMAP 400/500 Series Chartplotter Wiring a GPSMAP 400/500 Series Chartplotter to a Standard NMEA 0183 Device To connect the wiring harness to a NMEA 0183 device: 1. For Garmin devices, the ground (black) wires serve as NMEA 0183 ground and must be attached together or on the same terminal as the NMEA 0183 ground on your NMEA 0183 device. Refer to the wiring diagram of your NMEA 0183 device for wire identification. 2. Connect the blue (NMEA 0183 port 1 out) wire from the GPSMAP 400/500 wiring harness to the NMEA 0183 in (or Rx/A +) wire on the wiring harness of the NMEA 0183 device, and the brown (NMEA 0183 port 1 in) wire to the NMEA out (or Tx/A +) wire on the wiring harness of the NMEA 0183 device. 3. Repeat step 2 using the grey and violet wires for an additional NMEA 0183 device. 4. Set the serial port(s) on the chartplotter to use NMEA 0183 data (standard or high speed). See the GPSMAP 400/500 Series Owner’s Manual for more information.
- Page 8 Garmin sounder or fishfinder. NOTE: To use the Garmin CANet with your device, you must purchase an optional CANet Kit. Contact your Garmin dealer, or visit www.garmin.com.
-
Page 9: Testing The Installation
➋ ➌ GPSMAP 421, 441, and 451 ➌ ➊ GPSMAP 420, 430, 431, 440, and 450 ➋ GPSMAP 521, 541, 551 Testing the Installation To turn on your chartplotter for the first time, press and hold the and the SeLect keys, follow the screens to configure your chartplotter. -
Page 10: Physical Specifications
(15.0 × 16.3 × 7.4 cm) Weight: 400 Series: 1.30 lb. (560 g) 500 Series: 1.75 lb. (800 g) Display: GPSMAP 420/421/430/431/440/441/450/451 (s): 4.0 in. diagonal (10.6 cm), QVGA display with adjustable brightness, 320 × 240 pixels. GPSMAP 520/521/530/531/540/541/550/551 (s): 5.0 in. - Page 11 Sonar Power: 1 kW Transducer, 1,000 W (RMS), 8,000 W (peak to peak); (1 kW transducers are supported by the GPSMAP 525s/526s/535s/536s/545s/546s/555s/556s units only.) Dual Frequency, 500 W (RMS), 4,000 W (peak to peak); Dual Beam, 400 W (RMS), 3,200 W (peak to peak) Frequency: 50/200 kHz (dual frequency and 1 kW), 80/200 kHz (dual beam) Depth: 2,500 ft.
- Page 12 All rights reserved. Except as expressly provided herein, no part of this manual may be reproduced, copied, transmitted, disseminated, downloaded or stored in any storage medium, for any purpose without the express prior written consent of Garmin. Garmin hereby grants permission to download a single copy of this manual onto a hard drive or other electronic storage medium to be viewed and to print one copy of this manual or of any revision hereto, provided that such electronic or printed copy of this manual must contain the complete text of this copyright notice and provided further that any unauthorized commercial distribution of this manual or any revision hereto is strictly prohibited.