Dimplex DFB6016 Parts & Service Manual
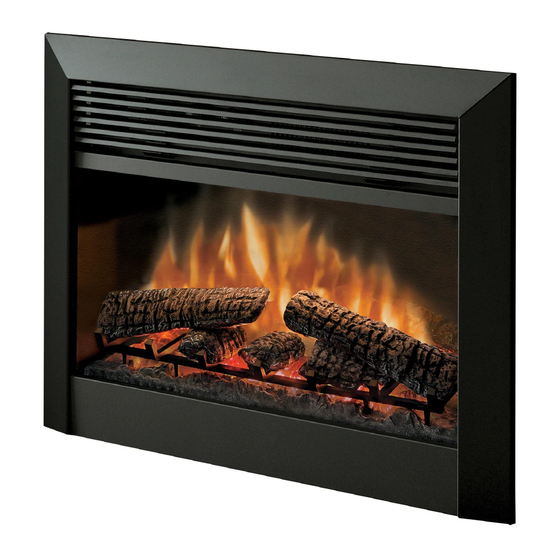
30” electric fireplace
Hide thumbs
Also See for DFB6016:
- Owner's manual (19 pages) ,
- Service manual (16 pages) ,
- Owner's manual (19 pages)
Advertisement
Table of Contents
- 1 Operation
- 2 Resetting the Temperature Cutoff Switch
- 3 Replacement Parts
- 4 Wiring Diagram
- 5 To Replace Led/Switch Harness
- 6 To Replace Light Dimmer Switch
- 7 To Replace Flame Speed Control
- 8 To Replace Flame Motor/Flame Rod
- 9 To Replace Heater On/Off Switch
- 10 To Replace Heater Assembly
- 11 To Replace the Circuit Board
- 12 To Replace the Power Cord
- Download this manual
Advertisement
Table of Contents

Related Manuals for Dimplex DFB6016


Summary of Contents for Dimplex DFB6016
- Page 1 PARTS & SERVICE MANUAL FOR THE 30” ELECTRIC FIREPLACE MODEL NUMBER DFB6016...
- Page 2 TABLE OF CONTENTS OPERATION PAGE 2 PARTS DRAWING PAGE 4 PARTS LIST PAGE 5 WIRING DIAGRAM PAGE 6 LIGHT BULB REPLACEMENT PAGE 7 LED/SWITCH HARNESS REPLACEMENT PAGE 9 LIGHT DIMMER SWITCH REPLACEMENT PAGE 10 FLAME SPEED CONTROL REPLACEMENT PAGE 11 FLAME MOTOR/FLAME ROD REPLACEMENT PAGE 12 HEATER ON/OFF SWITCH REPLACEMENT...
-
Page 3: Operation
EF3003, SF3003, DF3003 OPERATION Initializing The Remote Control 1. Turn on the electrical power at the circuit breaker. 2. Slide open the battery cover on the back of the remote transmitter. 3. Install one 9 volt battery into the remote control. Replace the battery cover. OPEN Remote Control Operation The fireplace is supplied with a radio frequency remote control. -
Page 4: Resetting The Temperature Cutoff Switch
It can be reset by switching the MAIN ON/OFF SWITCH to OFF and waiting 5 minutes before switching the unit back on. CAUTION If you need to continuously reset the heater, unplug the unit and call Dimplex North America Limited at 1-800-668-6663. - Page 5 DFB6016...
-
Page 6: Replacement Parts
DFB6016 REPLACEMENT PARTS FIREBOX, 30” – Dimplex CATALOGUE NO. DFB6016 PART NO. 6901110559 REPLACEMENT PART 30” LOG SET ASSEMBLY 0438550100RP MOTOR, ASSEMBLY 1200W,980RPM 2200490200RP WIRE ASSY LAMPHOLDER 4 SOCKET 2500190500RP UPPER WIRE ASSY LAMPHOLDER 2 SOCKETS 4200090100RP ON/OFF SWITCH 2800070200RP... -
Page 7: Wiring Diagram
WIRING DIAGRAM... - Page 8 DFB6016 If unit was operating prior to servicing allow at least 10 minutes for light bulbs and heating element to cool off to avoid accidental burning of skin. Disconnect power before attempting any maintenance or cleaning to reduce the risk of electric shock or damage to persons.
- Page 9 DFB6016 If unit was operating prior to servicing allow at least 10 minutes for light bulbs and heating element to cool off to avoid accidental burning of skin. Disconnect power before attempting any maintenance or cleaning to reduce the risk of electric shock or damage to persons.
-
Page 10: To Replace Led/Switch Harness
DFB6016 If unit was operating prior to servicing allow at least 10 minutes for light bulbs and heating element to cool off to avoid accidental burning of skin. Disconnect power before attempting any maintenance or cleaning to reduce the risk of electric shock or damage to persons. -
Page 11: To Replace Light Dimmer Switch
DFB6016 If unit was operating prior to servicing allow at least 10 minutes for light bulbs and heating element to cool off to avoid accidental burning of skin. Disconnect power before attempting any maintenance or cleaning to reduce the risk of electric shock or damage to persons. -
Page 12: To Replace Flame Speed Control
DFB6016 If unit was operating prior to servicing allow at least 10 minutes for light bulbs and heating element to cool off to avoid accidental burning of skin. Disconnect power before attempting any maintenance or cleaning to reduce the risk of electric shock or damage to persons. -
Page 13: To Replace Flame Motor/Flame Rod
DFB6016 If unit was operating prior to servicing allow at least 10 minutes for light bulbs and heating element to cool off to avoid accidental burning of skin. Disconnect power before attempting any maintenance or cleaning to reduce the risk of electric shock or damage to persons. - Page 14 17. Repeat this process for the (4) remaining wires. (red, blue, orange, grey) 18. Reassemble in the reverse order.
-
Page 15: To Replace Heater On/Off Switch
DFB6016 If unit was operating prior to servicing allow at least 10 minutes for light bulbs and heating element to cool off to avoid accidental burning of skin. Disconnect power before attempting any maintenance or cleaning to reduce the risk of electric shock or damage to persons. -
Page 16: To Replace Heater Assembly
DFB6016 If unit was operating prior to servicing allow at least 10 minutes for light bulbs and heating element to cool off to avoid accidental burning of skin. Disconnect power before attempting any maintenance or cleaning to reduce the risk of electric shock or damage to persons. - Page 17 8. Hold the light sockets while unscrewing the bulbs. 9. Remove the yellow wire from the heater element coming from the heater on/off switch. 10. Remove the blue wire from the circuit board coming from the temperature cutoff switch. 11. Remove the (2) element mounting screws from the top of the element located on both sides of the temperature cutoff switch.
-
Page 18: To Replace The Circuit Board
DFB6016 If unit was operating prior to servicing allow at least 10 minutes for light bulbs and heating element to cool off to avoid accidental burning of skin. Disconnect power before attempting any maintenance or cleaning to reduce the risk of electric shock or damage to persons. -
Page 19: To Replace The Power Cord
DFB6016 If unit was operating prior to servicing allow at least 10 minutes for light bulbs and heating element to cool off to avoid accidental burning of skin. Disconnect power before attempting any maintenance or cleaning to reduce the risk of electric shock or damage to persons.