Table of Contents
Advertisement
Advertisement
Table of Contents

Subscribe to Our Youtube Channel
Related Manuals for Fitness Quest Total Gym 1000

Summary of Contents for Fitness Quest Total Gym 1000
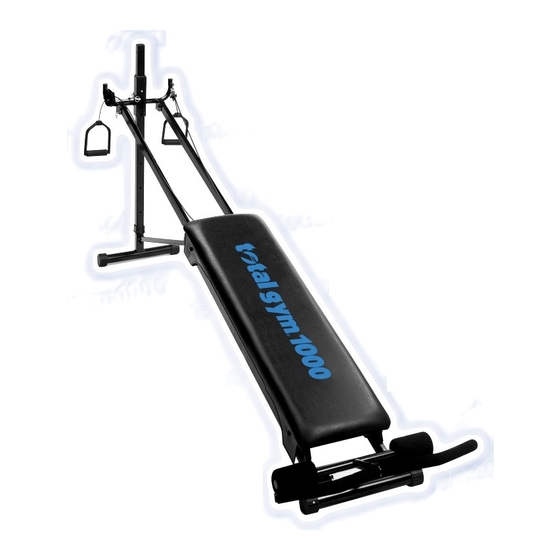
- Page 1 e x e r c i s e s y s t e m O W N E R ’ S M A N U A L...
-
Page 2: Table Of Contents
Congratulations on purchasing your new Total Gym With this product in your home, you have everything you need to start your own workout program, to tone and strengthen the important muscle groups of your upper and lower body. This is vital for all of us, regardless of age, sex, or fitness level, and regardless of whether your primary goal is body sculpting, weight control, health maintenance, or more energy for daily... -
Page 3: Components View & Specifications
PRODUCT SPECIFICATIONS Height Adjustment Vertical Height “C” Pin Adjustment Column Arm Pulley Assembly Height Adjustment Lever Cable Handle Back Crossbar Rollers Leg Pulley Accessory Kit Rope Foot Harness Clip Allen Wrenches Stopper Packed in the leg pulley accessory kit Glideboard Top Inner Rail Center Support Rail 2 Large... -
Page 4: Safety Instructions
SAFETY FAILURE TO READ AND FOLLOW THE SAFETY INSTRUCTIONS IN THIS MANUAL MAY RESULT IN SERIOUS INJURY. Before beginning this or any exercise program, consult a physician or health profes- sional, who can assist you in planning a program appropriate for your age and physical con- dition. -
Page 5: Set Up
SET UP KEEP HAIR, FINGERS, LOOSE CLOTHING, PETS, AND CHILDREN AWAY FROM HINGES AND OTHER MOVING PARTS TO AVOID SERIOUS INJURY. ALSO, TO AVOID SERIOUS INJURY, BE SURE TO HAVE THE HEIGHT ADJUSTMENT “C” PIN AND HITCH PINS AT BASE OF RAILS LOCKED IN PLACE BEFORE GETTING ON YOUR TOTAL GYM 1000. Pull the product out of the shipping box. - Page 6 (a) Position one foot on back crossbar to keep the product from lifting off the floor. With one hand on either the right or left rail and the other hand holding the height adjustment “C” pin, slide the rails up along the height adjustment column.
-
Page 7: Wing Accessory
WING ACCESSORY The wing accessory provided with your unit has been uniquely designed to serve several pur- poses. It can be placed at the top or bottom of the exerciser and angled toward you or away from you depending upon what is comfortable for you. Two thick foam pads are provided with the wing accessory. - Page 8 FRONT PRESS Locate the holes at the bottom of the right and left rails near the front crossbar. With the wing angled toward the glideboard, line up the brackets on the wing with the desired position holes on the rails. Insert the 2 large hitch pins through the holes on the wing accessory brackets and the hole on the rails, as shown in Figure 4.
-
Page 9: To Attach Leg Pulley
HOW TO ATTACH THE LEG PULLEY ACCESSORY KIT Harness Connect the leg pulley bracket to the height adjustment column by aligning bracket with the hole at the top of the column. (Be sure bracket is right side up.) Insert large hitch pin through the hole to secure bracket onto the height adjustment column. -
Page 10: Starting Out
STARTING OUT Wear athletic shoes and comfortable light clothing when exercising on the Total Gym Do not exercise barefoot. Check your exerciser before using to ensure that all the parts are in place and working properly (see page 12 for details of the inspection process). Adult super- vision is required at all times. -
Page 11: To Store
INSPECTION AND MAINTENANCE INSPECT YOUR TOTAL GYM Before using your Total Gym following inspection: • Make sure the equipment is fully opened and sitting on a solid level surface with plenty of clearance on all sides. Unit should be used on carpeted surfaces only. •... -
Page 12: To Remove The Glideboard
(a) Remove the 2 small safety hitch pins located in the brackets at the base of the right and left rails on the column end of the unit. (b) Fold down vertical height adjustment column and replace pins. With caution, to avoid pinched fingers or hands, lift up at the center of the frame and fold the exerciser together until it rests firmly on the front... -
Page 13: Parts List & View
TOTAL GYM 1000 PARTS LIST ® PART # PART DESCRIPTION QTY. Vertical Column Tube Rollers Stoppers Screws Washers Nuts Screws Upper Rail (right & left) Center Support Rail Rectangular Tube Caps Plastic Bushings Shaft Lower Rail Platform Platform Rail PART # PART DESCRIPTION Left Fender Right Fender... -
Page 14: Owner's Purchase Record
(located on the height adjustment column) Important! Save your sales receipt. You may wish to tape or staple it into this book. ©1997 and ©1999 Fitness Quest® Inc. All rights reserved. Made in Taiwan. ©1997 Total Gym Fitness, Ltd. All rights reserved. Total Gym is a registered trademark of Total Gym ®...
Need help?
Do you have a question about the Total Gym 1000 and is the answer not in the manual?
Questions and answers
To replace the front left wheel that allows the bed to track along the frame, what is the order of parts?
To replace the front left wheel on the Fitness Quest Total Gym 1000, use the following parts in order:
1. Wheel (part 19)
2. Wheel Spacer Tube (part 20)
3. Fender Bolts (part 18)
4. Washers (part 5)
5. Nuts (part 6)
This combination secures the wheel to the frame with proper spacing and stability.
This answer is automatically generated